
What you’ll need:
A Pro plan, new Enterprise plan, or trial account.
At least one booking type configured in the Calendar.
An AI agent ready to configure.
Keep in mind:
The AI agent only replies to incoming messages and can’t start conversations.
You can create multiple AI agents in the same workspace. The number of active agents depends on your subscription plan. Learn more about AI agent limits per plan.
AI agents use the shared AI credits in your workspace. If you run out of credits, they stop responding until the credits renew or an admin increases the available AI credits. Learn more about AI credits.
The AI agent can only book services added to its booking actions.
The agent’s full conversation memory expires after seven days without a client message.
After four consecutive off-topic messages during a booking, the agent reminds the client about the unfinished process. After the fifth, it ends the booking.
In Kommo, you can use the AI agent to handle booking conversations with your clients. The agent can help them choose a service and specialist, find an available time, and create an appointment in the Calendar.
Clients can also view, reschedule, or cancel their existing appointments directly in the conversation.
Before you start
Before creating a booking action:
Set up your Calendar — Configure your availability and create the booking types the agent will use. For each booking type, add:
A clear service name.
The service duration.
At least one responsible user.
The days and times when the service is available.
You can assign multiple responsible users if you want clients to choose who performs the service.
Learn how to set up availability and booking types in our article.
Set up your AI agent — Create and configure the agent you’ll use for bookings.
Set up AI agent bookings
Create a booking action
Once your Calendar and AI agent are ready, create an action that tells the agent when to start a booking and which services it can offer.
Go to AI agent → Open the Actions tab, and click + Add action.
In the WHEN condition, choose when the booking action should start (e.g., Client wants to: book or a custom condition) and specify when the action should be triggered.
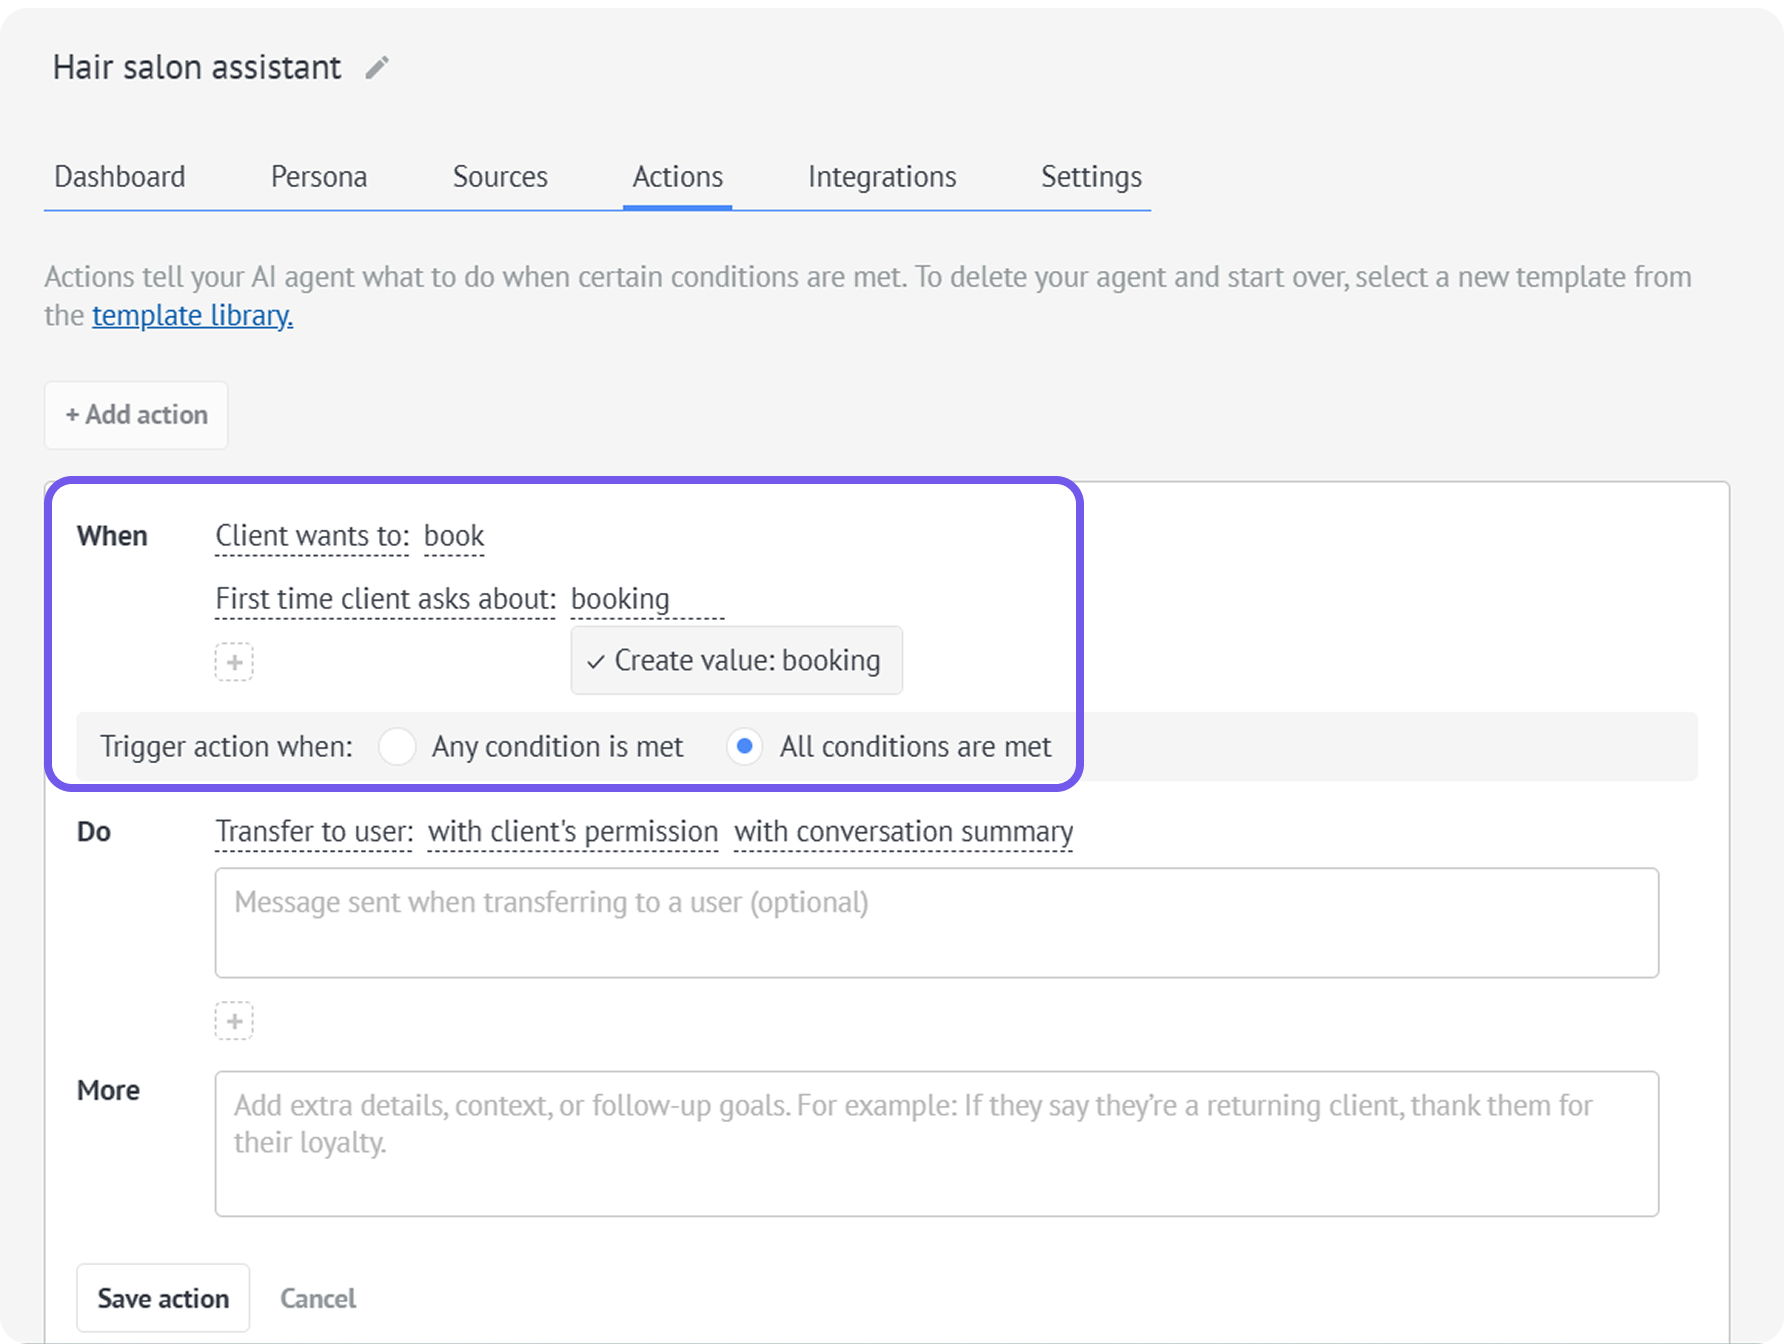
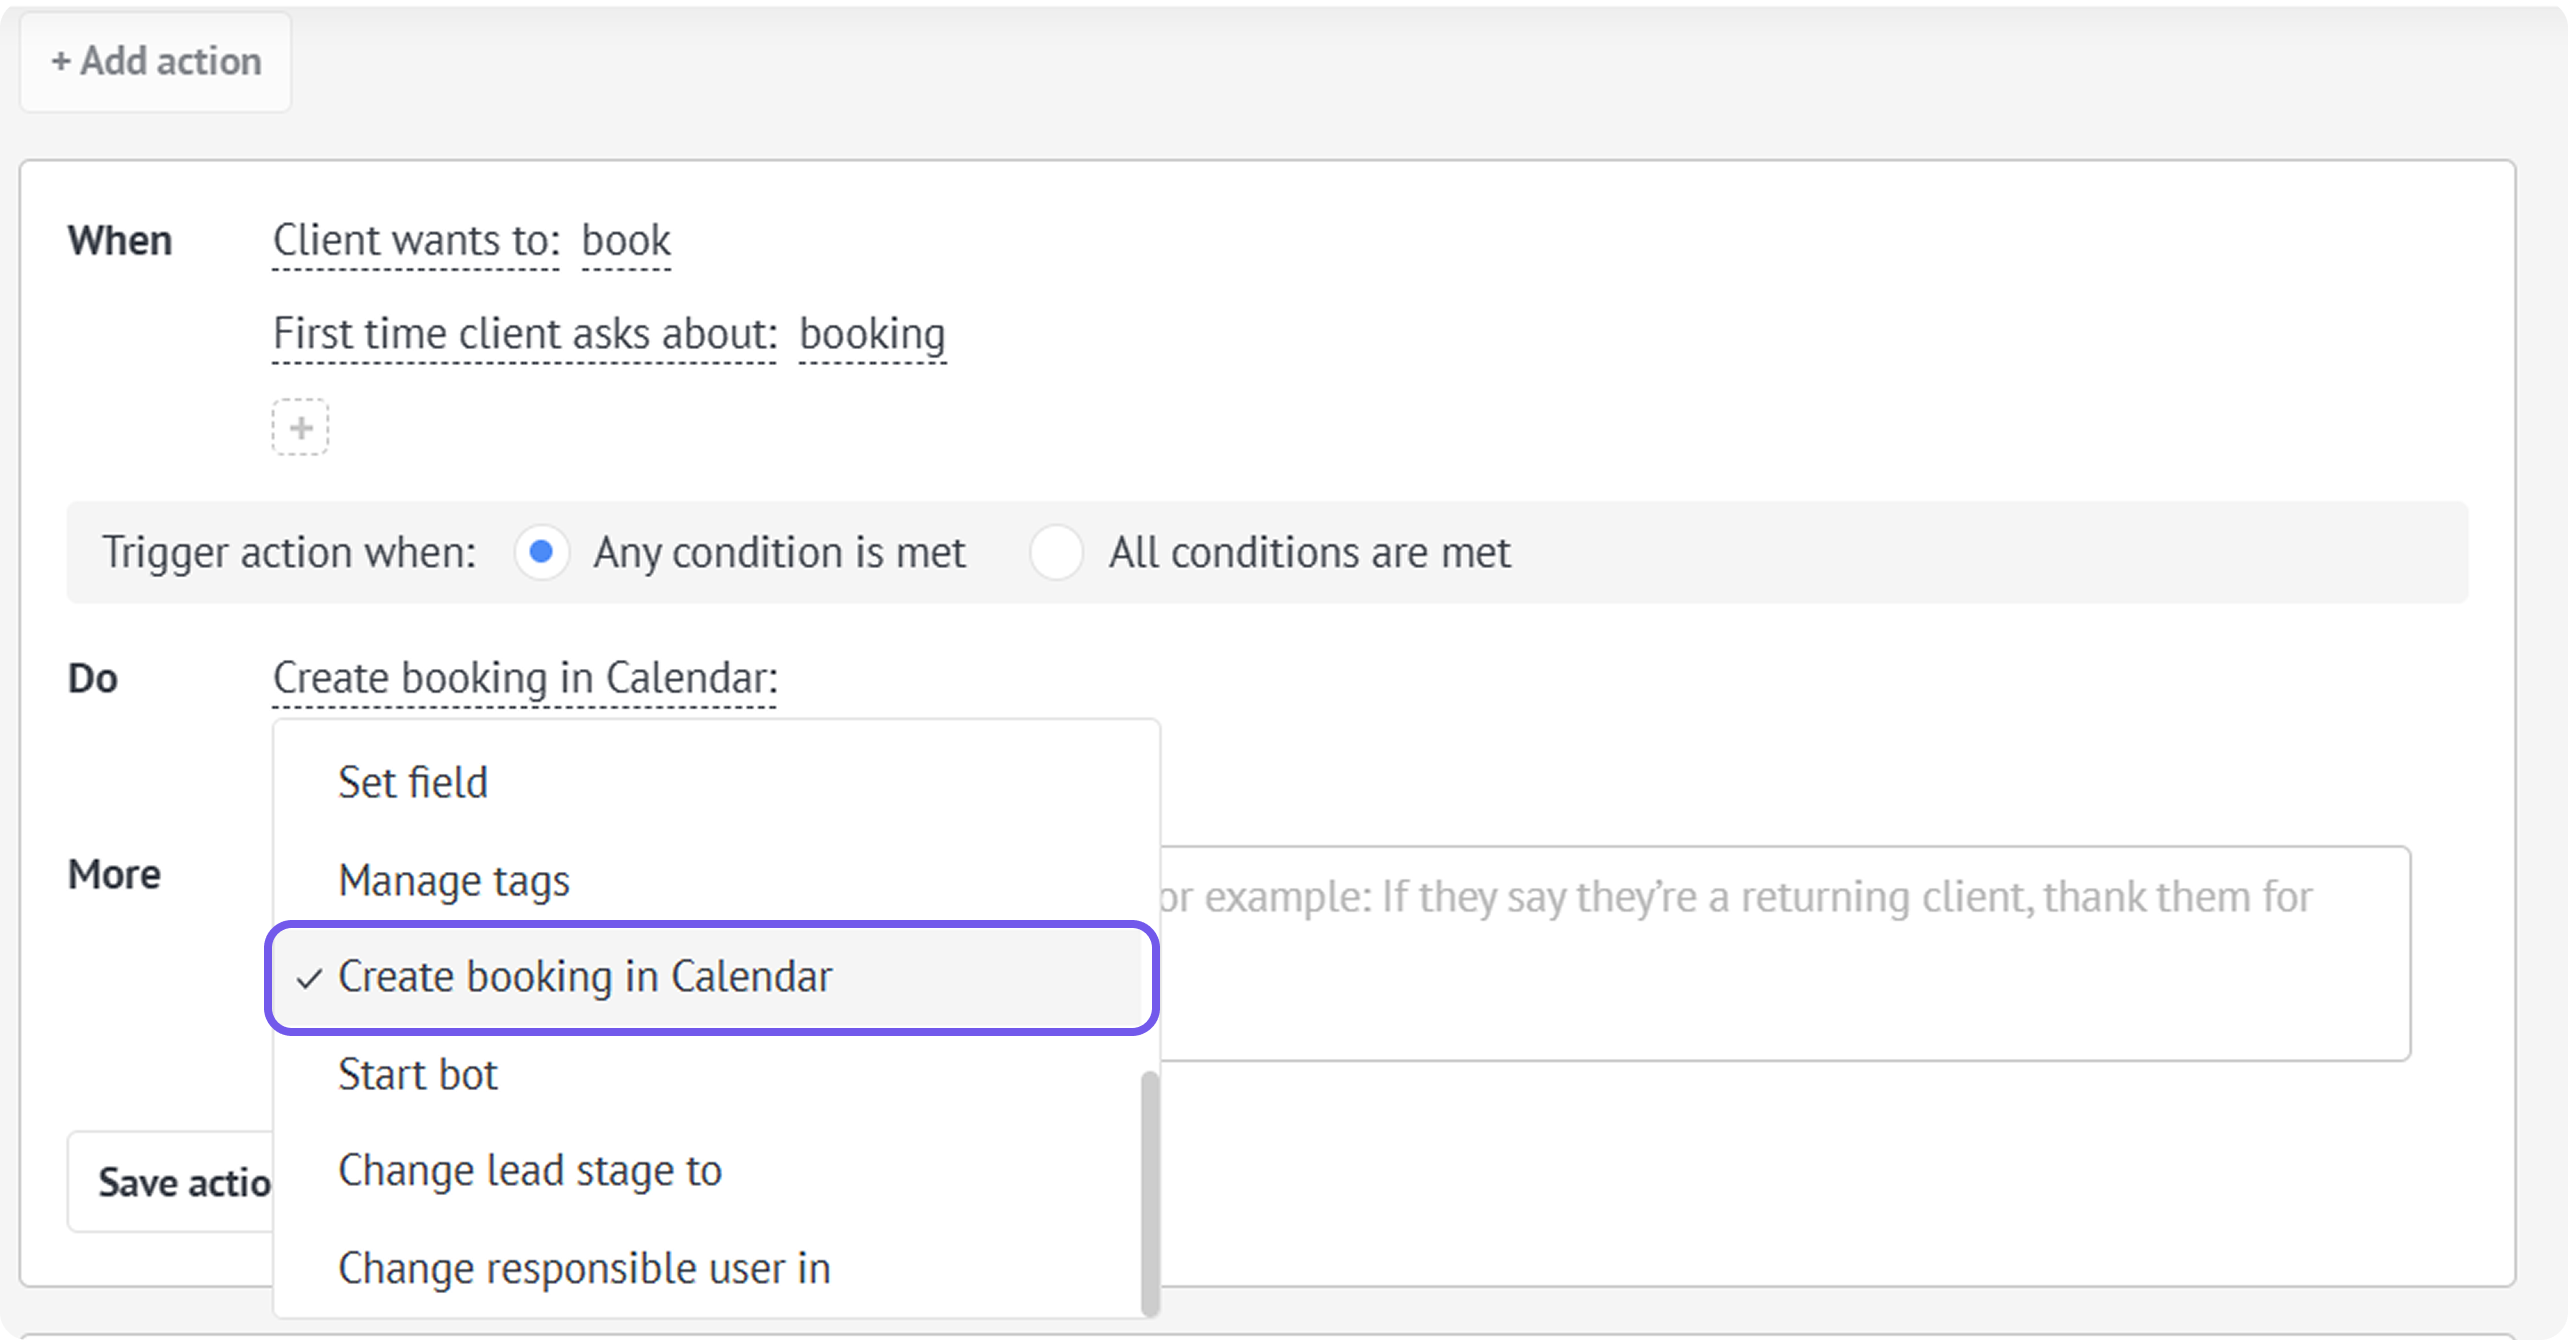
In the DO condition, select Create booking in Calendar.
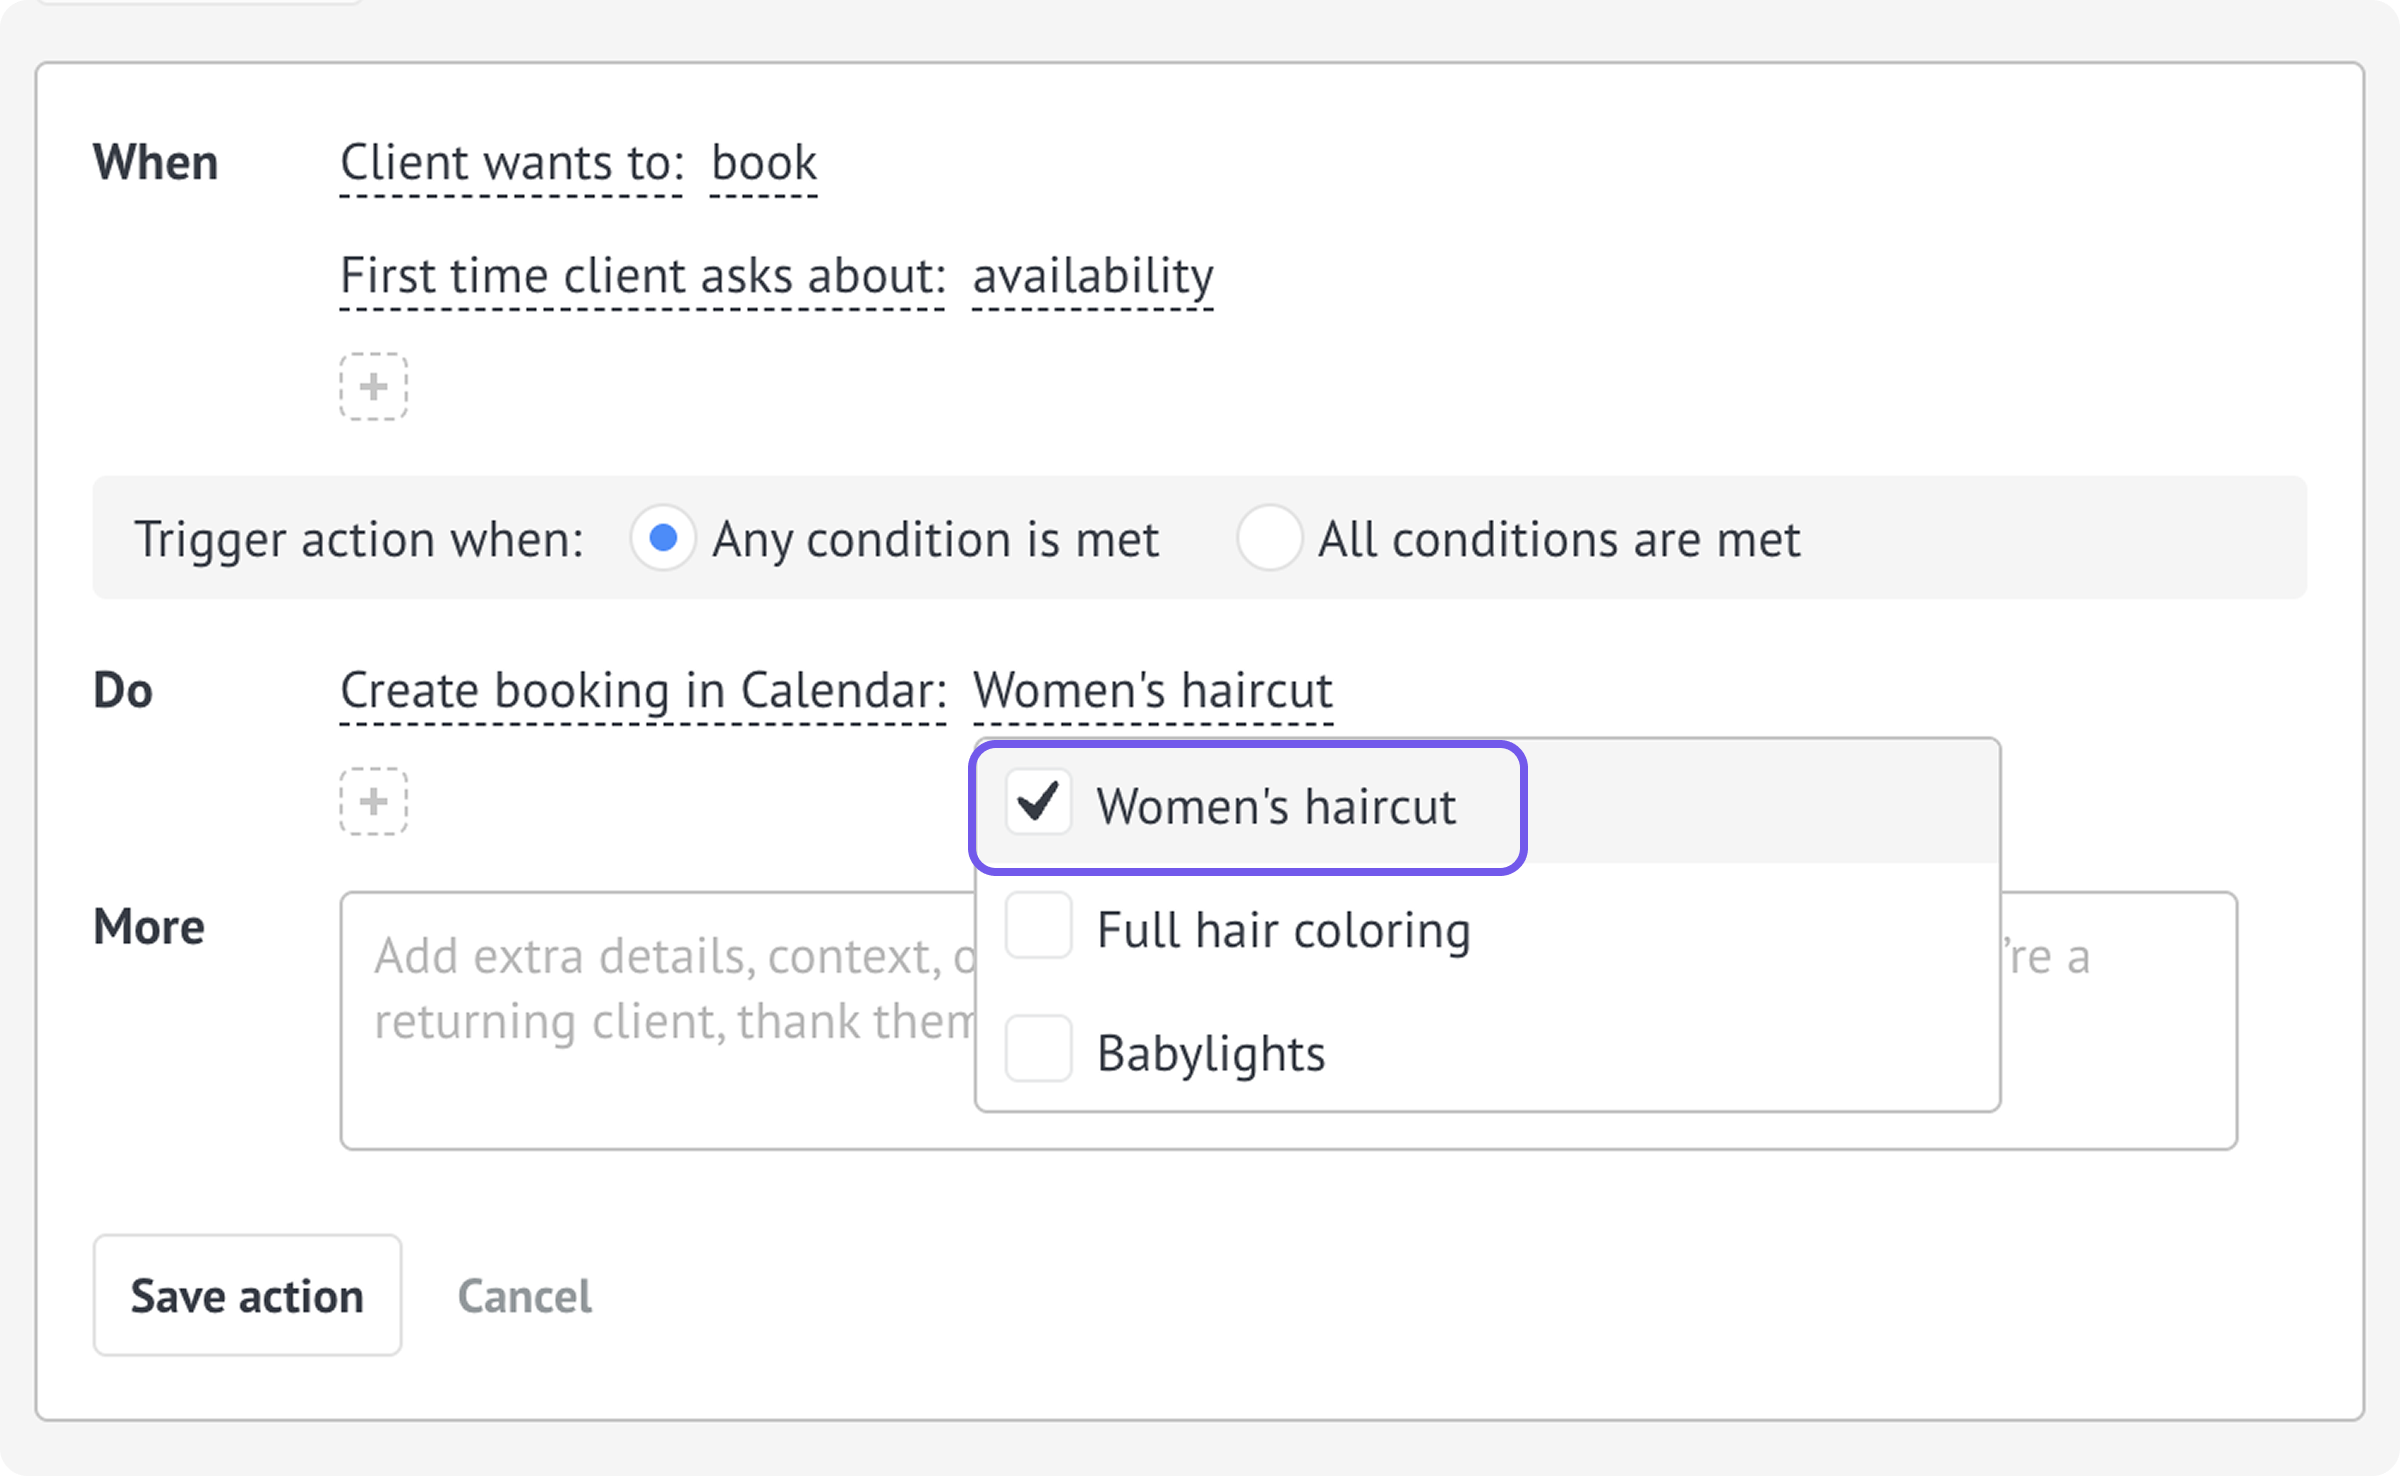
Select one or more services the agent can book.
If needed, add instructions for the agent in the MORE field.
Click Save action.
You can offer multiple services in two ways:
Add multiple services to the same booking action.
Create separate booking actions for different situations.
If several booking actions are triggered during a conversation, the agent combines their services into one list without interrupting the booking in progress.
For example: If a client is booking a haircut and a booking action for a manicure is triggered later in the same chat, manicure is added to the available services while the agent continues booking the haircut.
Deleting a selected service from the Calendar removes it from the agent’s booking options. When no other services are available, the agent tells the client that booking is unavailable.
Add service information
To help the agent answer questions about your services, you can add service information as a knowledge source. This is optional and doesn’t affect which services the agent can book.
You can include:
Service descriptions and duration.
Pricing.
Requirements and preparation instructions.
Cancellation policies.
Other conditions clients should know.
Learn how to add and manage AI knowledge sources.
Test and launch your AI agent
Before activating the agent, use Test mode to check the booking flow and adjust your WHEN, DO, or MORE instructions if needed.
Once everything works as expected, activate the agent to start handling bookings.
Learn how to test an AI agent and how to activate it.
How AI agent bookings work
Once your AI agent is active, it can help clients book services and manage their appointments.
The agent can:
A) Book a service
Once the booking action is triggered, the agent guides the client through the booking:
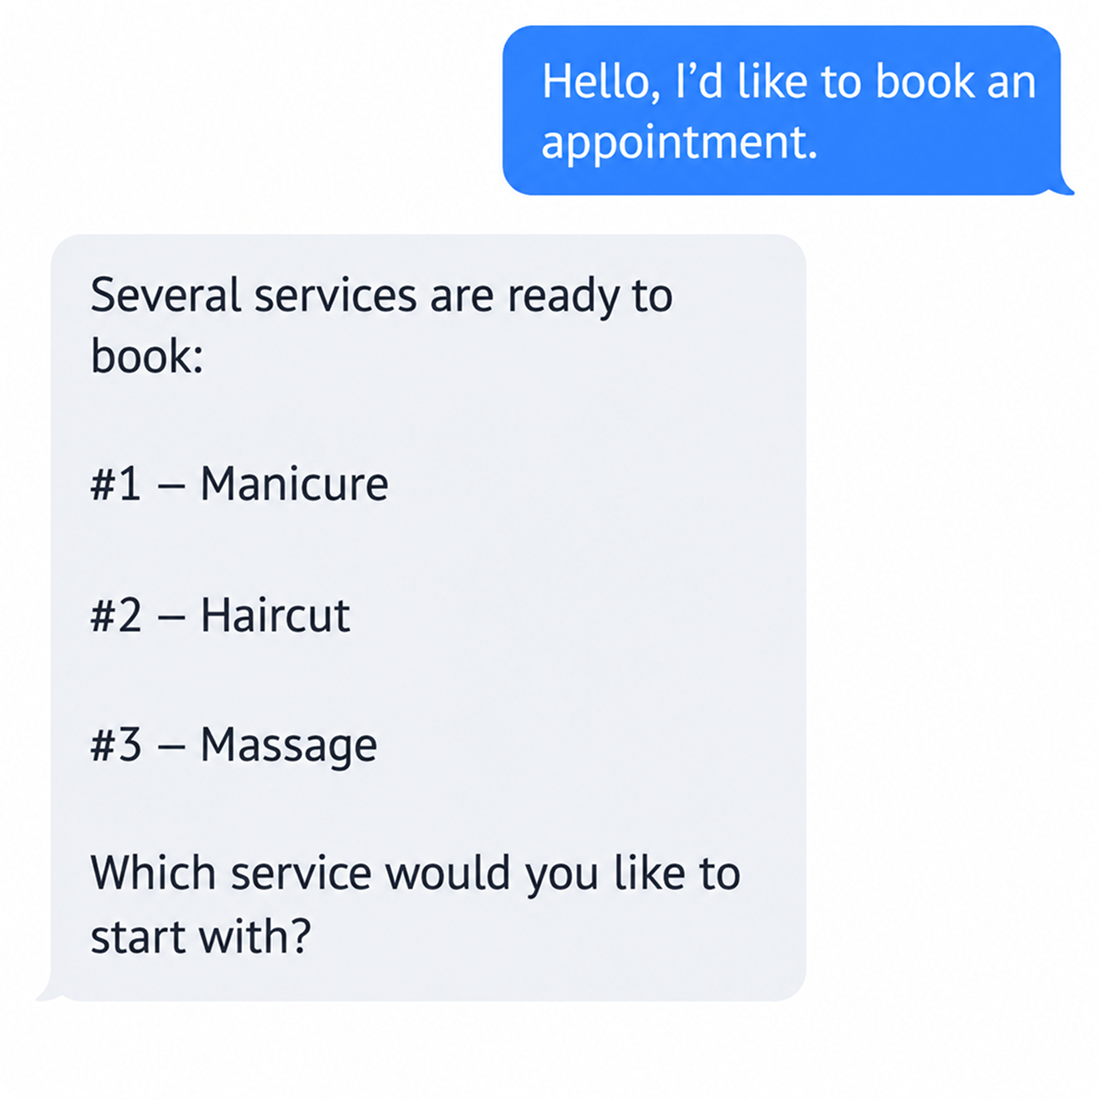
When several services are available, the agent asks the client which one they want to book. With only one service available, the agent goes directly to choosing a date and time.
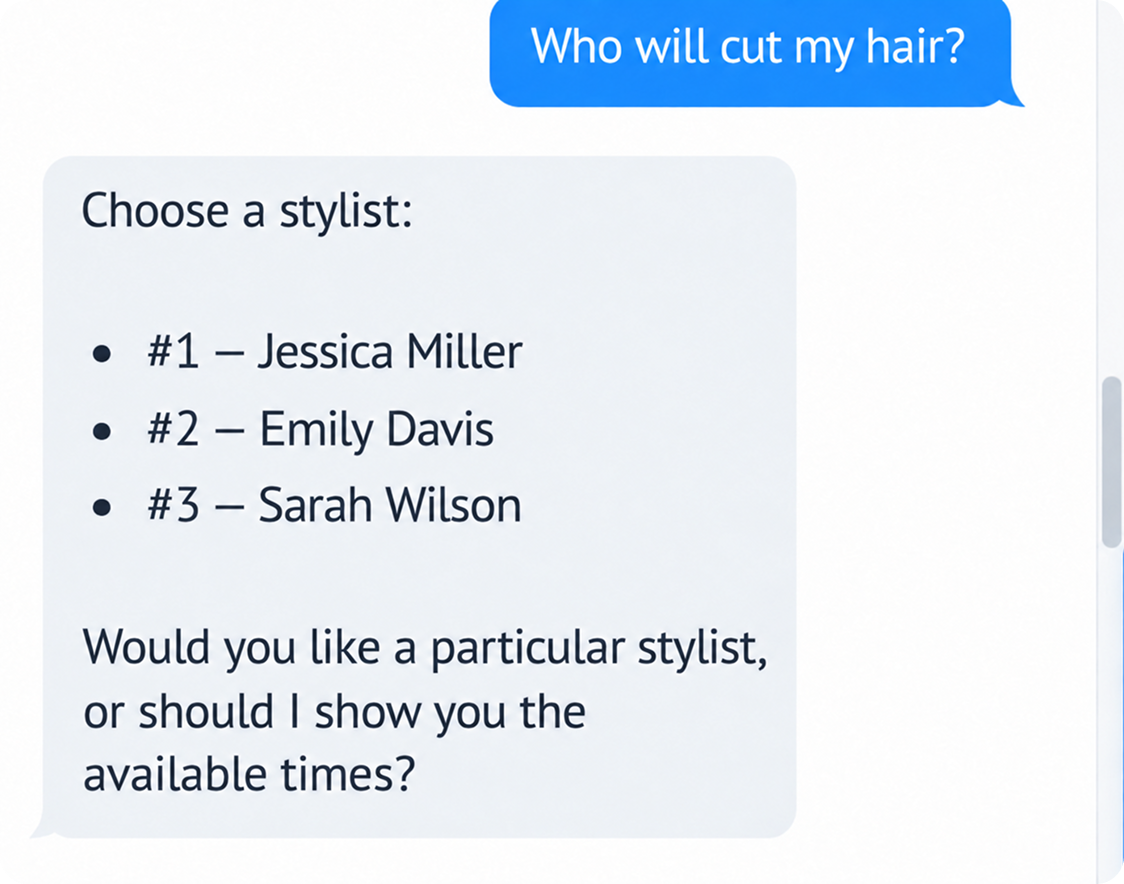
The client selects a service by name or number.
The agent checks the specialists’ availability.
The client selects a date and time or asks for the nearest available appointment.
The agent repeats the service, date, and time for confirmation.
Once confirmed, the appointment is created in the Calendar, and the agent adds a summary of the conversation to it.
The agent checks availability for up to seven days at a time. If the client asks for the earliest appointment, the agent searches for the nearest available time.
Note: Availability may change while the client is booking:
If the selected time is no longer available, the agent suggests other available times.
If the requested service cannot be booked, the agent shows the services that are available for booking.
After the client confirms the booking, the agent books only the selected service. To book another service—or the same service again—the client needs to start a new booking.
Important: Only one booking can be in progress at a time. The client needs to complete or cancel it before starting another one.
B) Choose a specialist
When a service has multiple specialists, clients can choose who they want to book with.
They can:
Ask who performs the service.
Request a specialist by name.
Ask for anyone available.
Clients don’t need to choose a specific specialist. If they don’t have a preference, the agent checks the specialists’ availability without showing their names.
Once the client selects a time, the next step depends on availability. The agent lists all available specialists and asks the client to choose. When only one specialist is available, they’re assigned automatically and the agent tells the client who was assigned.
Note: Specialist availability can change during a booking:
When the requested specialist isn’t available at the selected time, the agent shows who is available or looks for the requested specialist’s nearest available time.
When the selected specialist is no longer assigned to the service, the agent asks the client to choose again.
If multiple specialists have the same name, the agent lists them so the client can choose the right person.
The selected specialist remains the same if the appointment is rescheduled.
Important: The AI agent can’t change the specialist assigned to an existing appointment. To book with someone else, the client needs to cancel the existing appointment and create a new one.
C) Change services during a booking
Clients can change their service selection while a booking is in progress.
They can:
Remove a service from the list by its name or number.
Refuse all offered services.
Switch to another available service.
Select a previously removed service again.
Book the same service again after completing an appointment.
Clients can switch services at any point during the booking. If they’ve already made progress, the agent lets them know that their current progress will be lost and asks them to confirm the change.
The booking ends when the client refuses all available services.
D) Manage existing bookings
The AI agent can also help clients manage appointments that are already in the Calendar. Once a booking action is added, clients can view, reschedule, or cancel their appointments.
View upcoming appointments
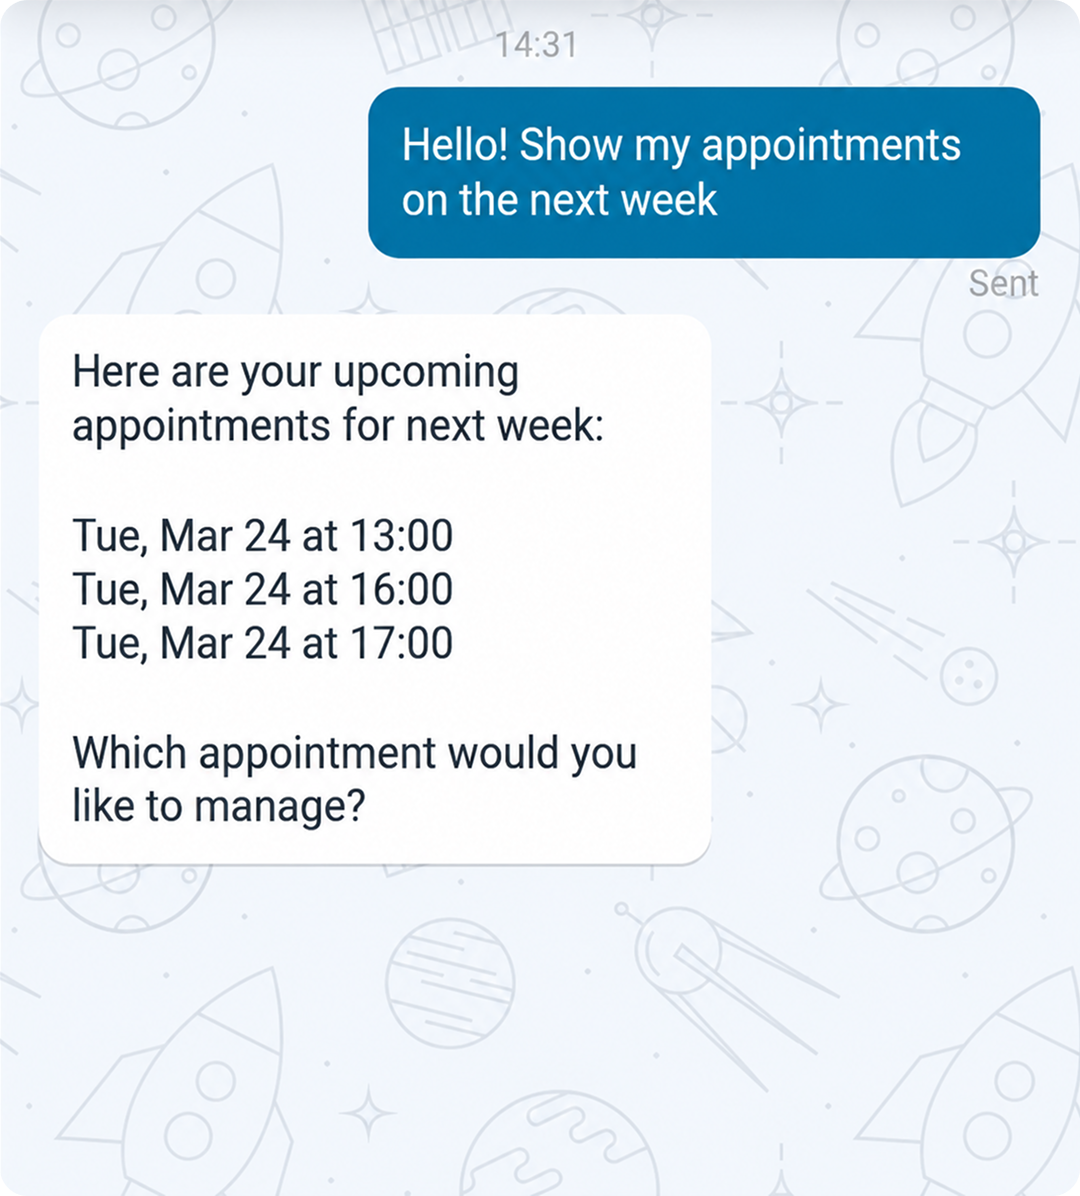
By default, the agent searches for appointments within the next seven days. Clients can also provide a specific date or date range to search outside this period.
Note: The agent displays up to 10 appointments at a time. When more appointments are found, it asks the client to narrow the date range.
When there’s only one appointment, the agent selects it automatically. For multiple appointments, it shows a list so the client can choose the one they want to manage.
Reschedule an appointment
To reschedule an appointment:
The agent asks for a new date and time.
The original service and specialist remain the same.
The client confirms the new date and time before the appointment is changed.
Cancel an appointment
To cancel an appointment, the agent repeats the date and time and asks the client to confirm before removing it from the Calendar.
Note: This section covers appointments managed through the AI agent. To learn how workspace users manage them directly in the Calendar, see our Manage bookings in Kommo article.