What you’ll need:
Any Kommo plan (Base, Advanced, Pro, Enterprise, or 14-day trial)
Keep in mind:
Only users with the Admin role can add, remove, or rename custom fields
In Kommo, you can build a catalog of all the products and services you sell by adding them to the product catalog. This keeps all your product information centralized and up to date, lets you link products to leads to track purchase history and calculate sales value automatically, and gives your AI agent a knowledge source to answer client questions.
Products are displayed in two ways: a list view — a table showing all products at a glance — and a product card, which contains all the details of a specific product.
You can add categories, create and edit fields, and rearrange them in both the list and the card to organize your catalog exactly the way you need it.
This article explains how to customize your product catalog.
Organize products with categories and subcategories
Categories help you organize your catalog into a clear structure. You can create categories and subcategories — for example, by product type or service area — and assign products to them so your team can find what they need quickly.
To add a category and a subcategory:
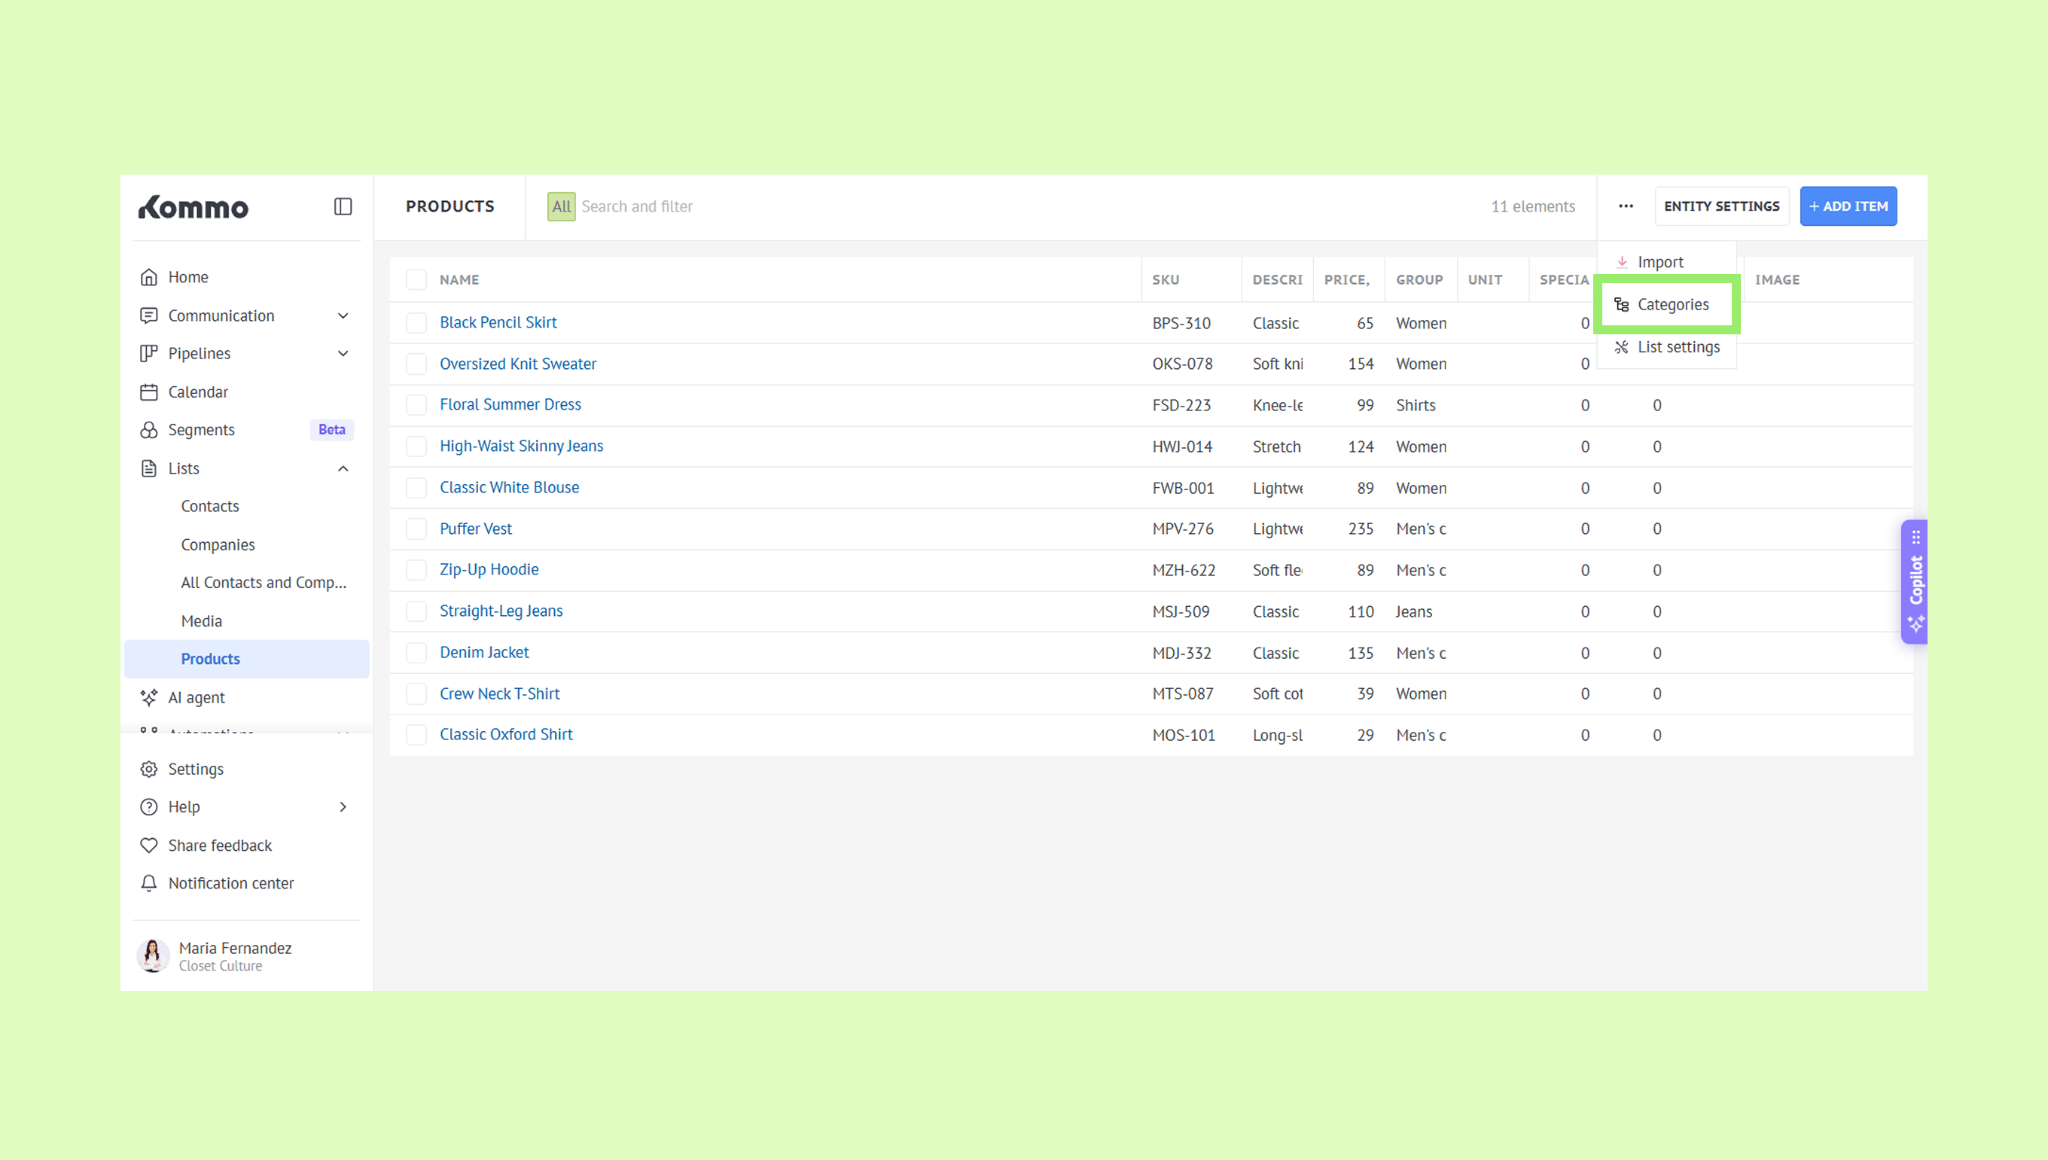
Go to Lists → Products, click the three-dot menu, and select Categories.
Click Add category, enter a name, and click Save.
To add a subcategory, click an existing category, click Add subcategory, enter a name, and click Save.

Tip: To reorder categories, use the up and down arrow icons. To delete a category or subcategory, click it and select the trash icon.
Add and arrange fields in product cards
Both the product card and product list come with default fields — Name, SKU, Price, Description, Unit, and more. You can edit existing fields or add new ones to fit your needs.
Note: The Name field is mandatory and cannot be renamed or removed. You also won't be able to save a product without filling it in.
To customize the product fields:
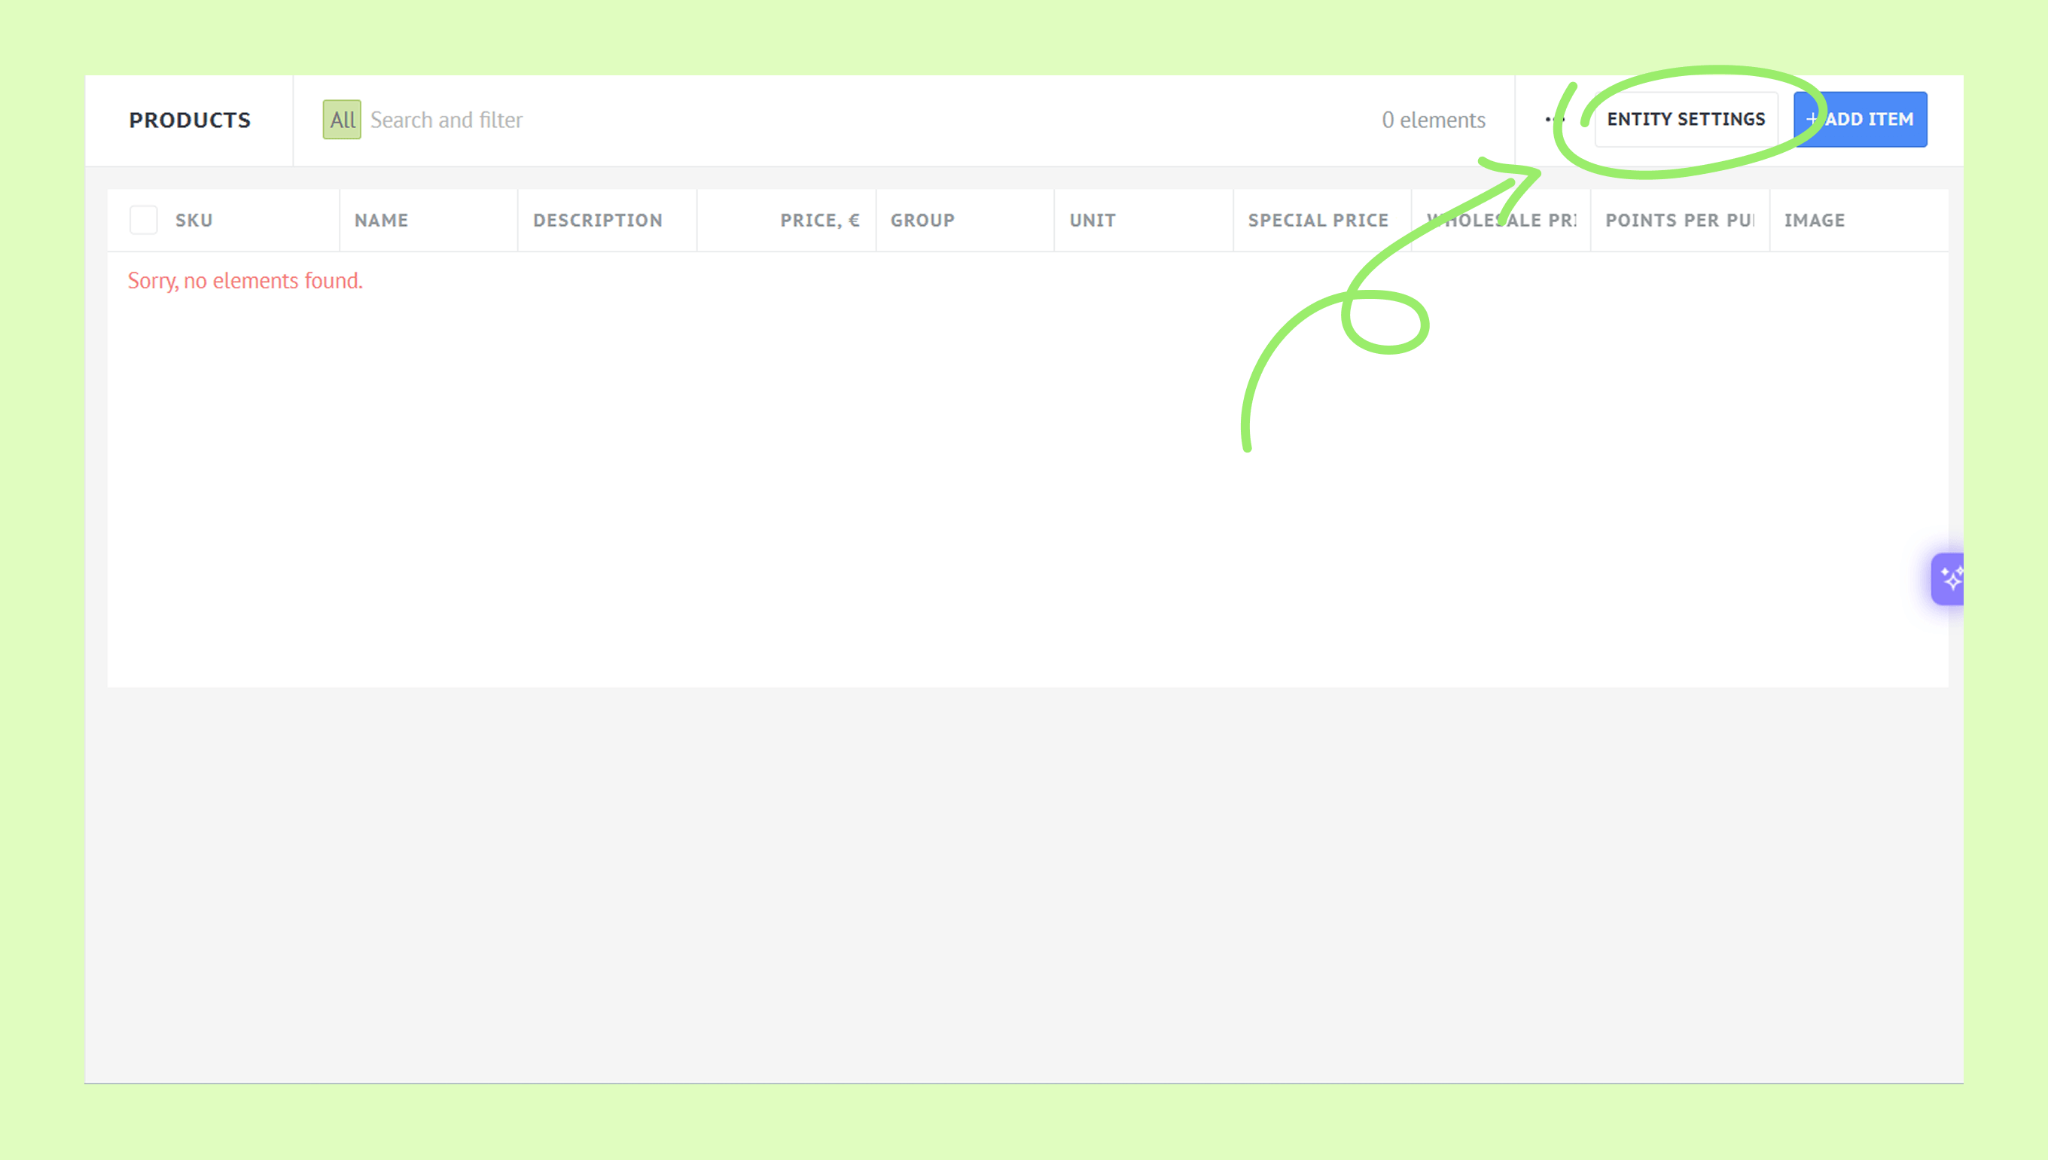
Go to Lists → Products and click Entity settings.
Edit fields:
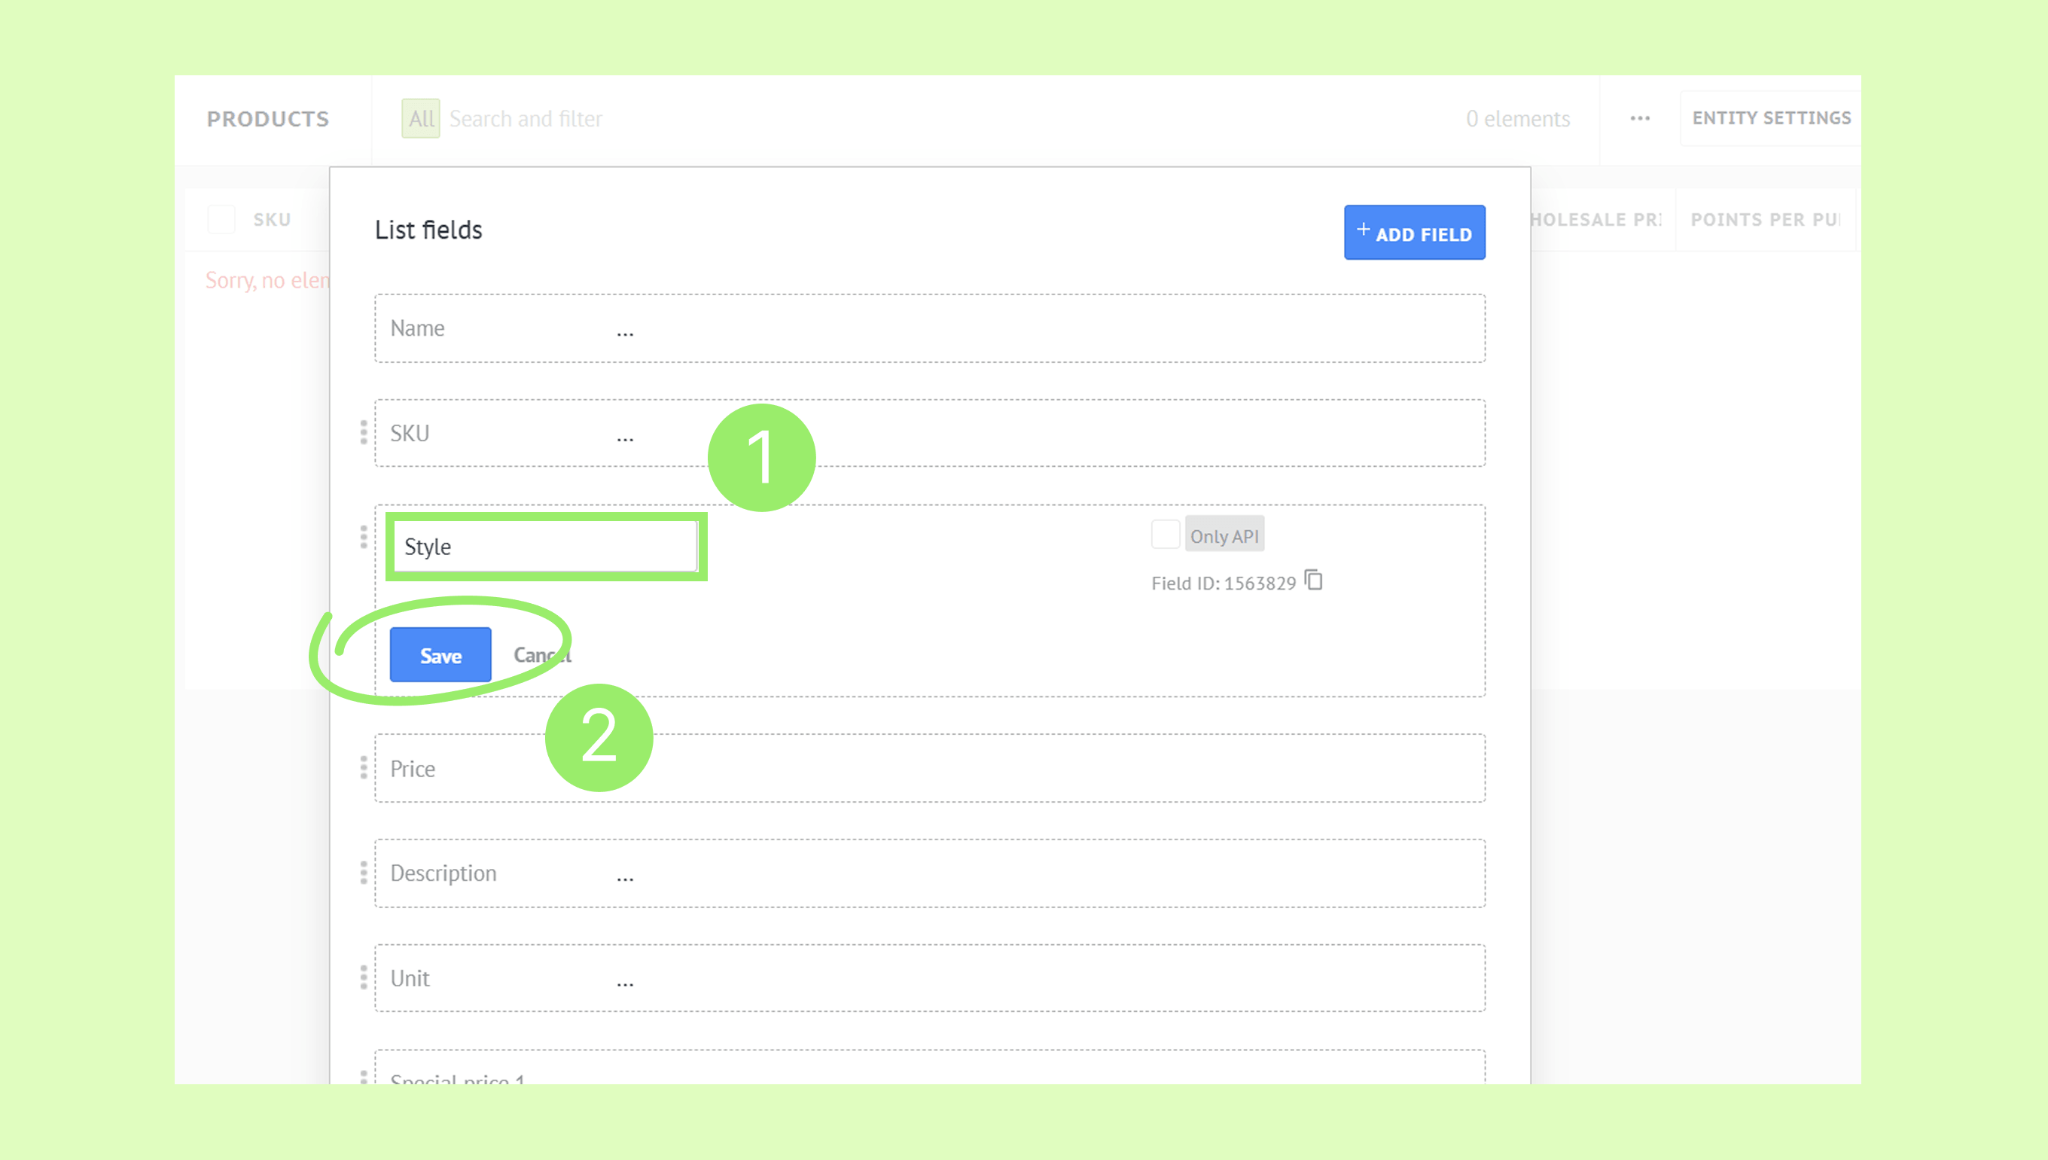
Add a field: Click + Add field.
 Choose a field type (Short text, Numeric, Toggle switch, etc.), enter a name, and click Save.
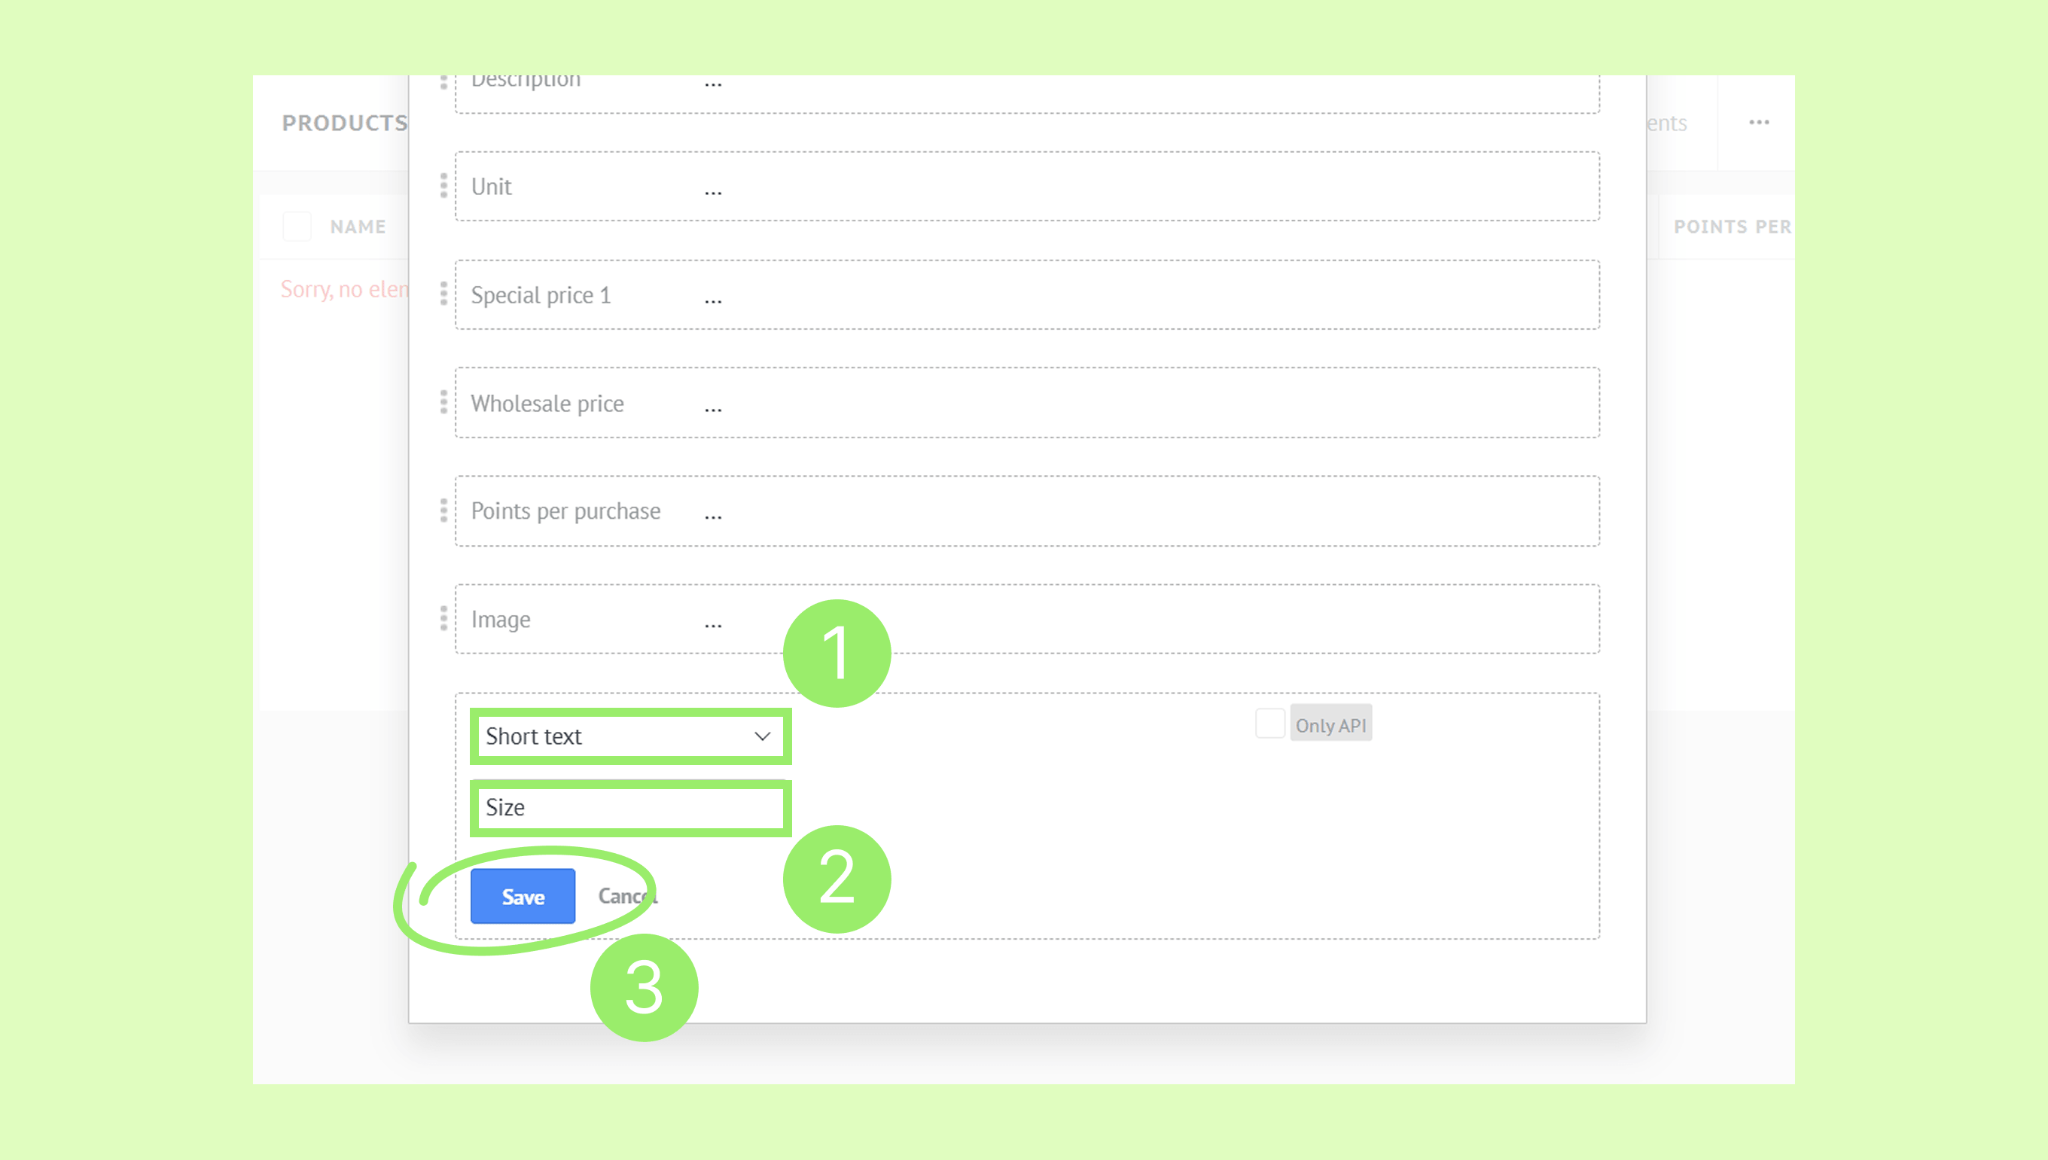
Rename a field: Click the field name, enter a new name, and click Save.
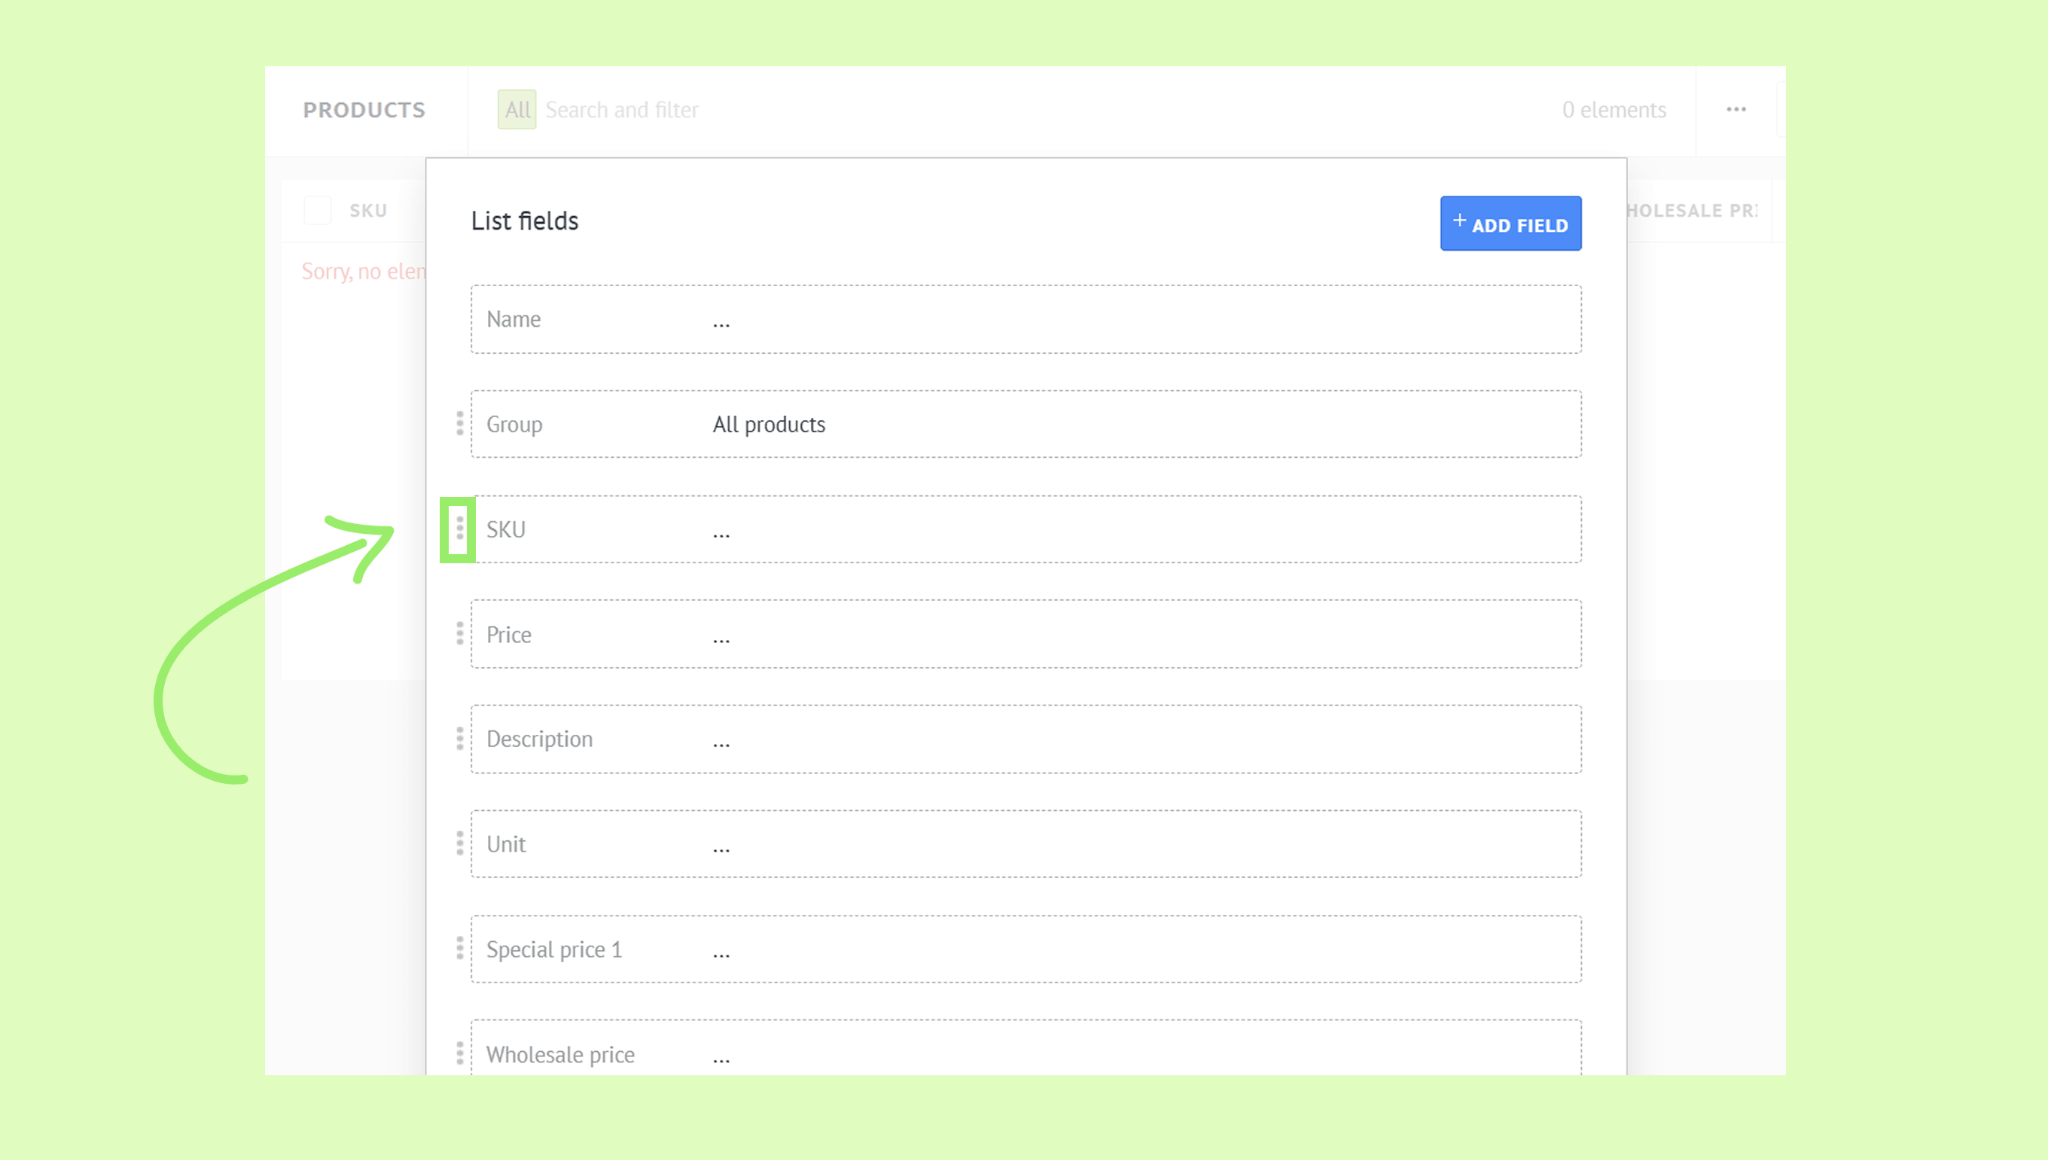
Reorder fields: Hover over the ⋮ icon next to the field until the cross icon appears, then drag it to a new position. This affects the product card only.
Delete a field: Click the field, click Delete, then confirm deletion.
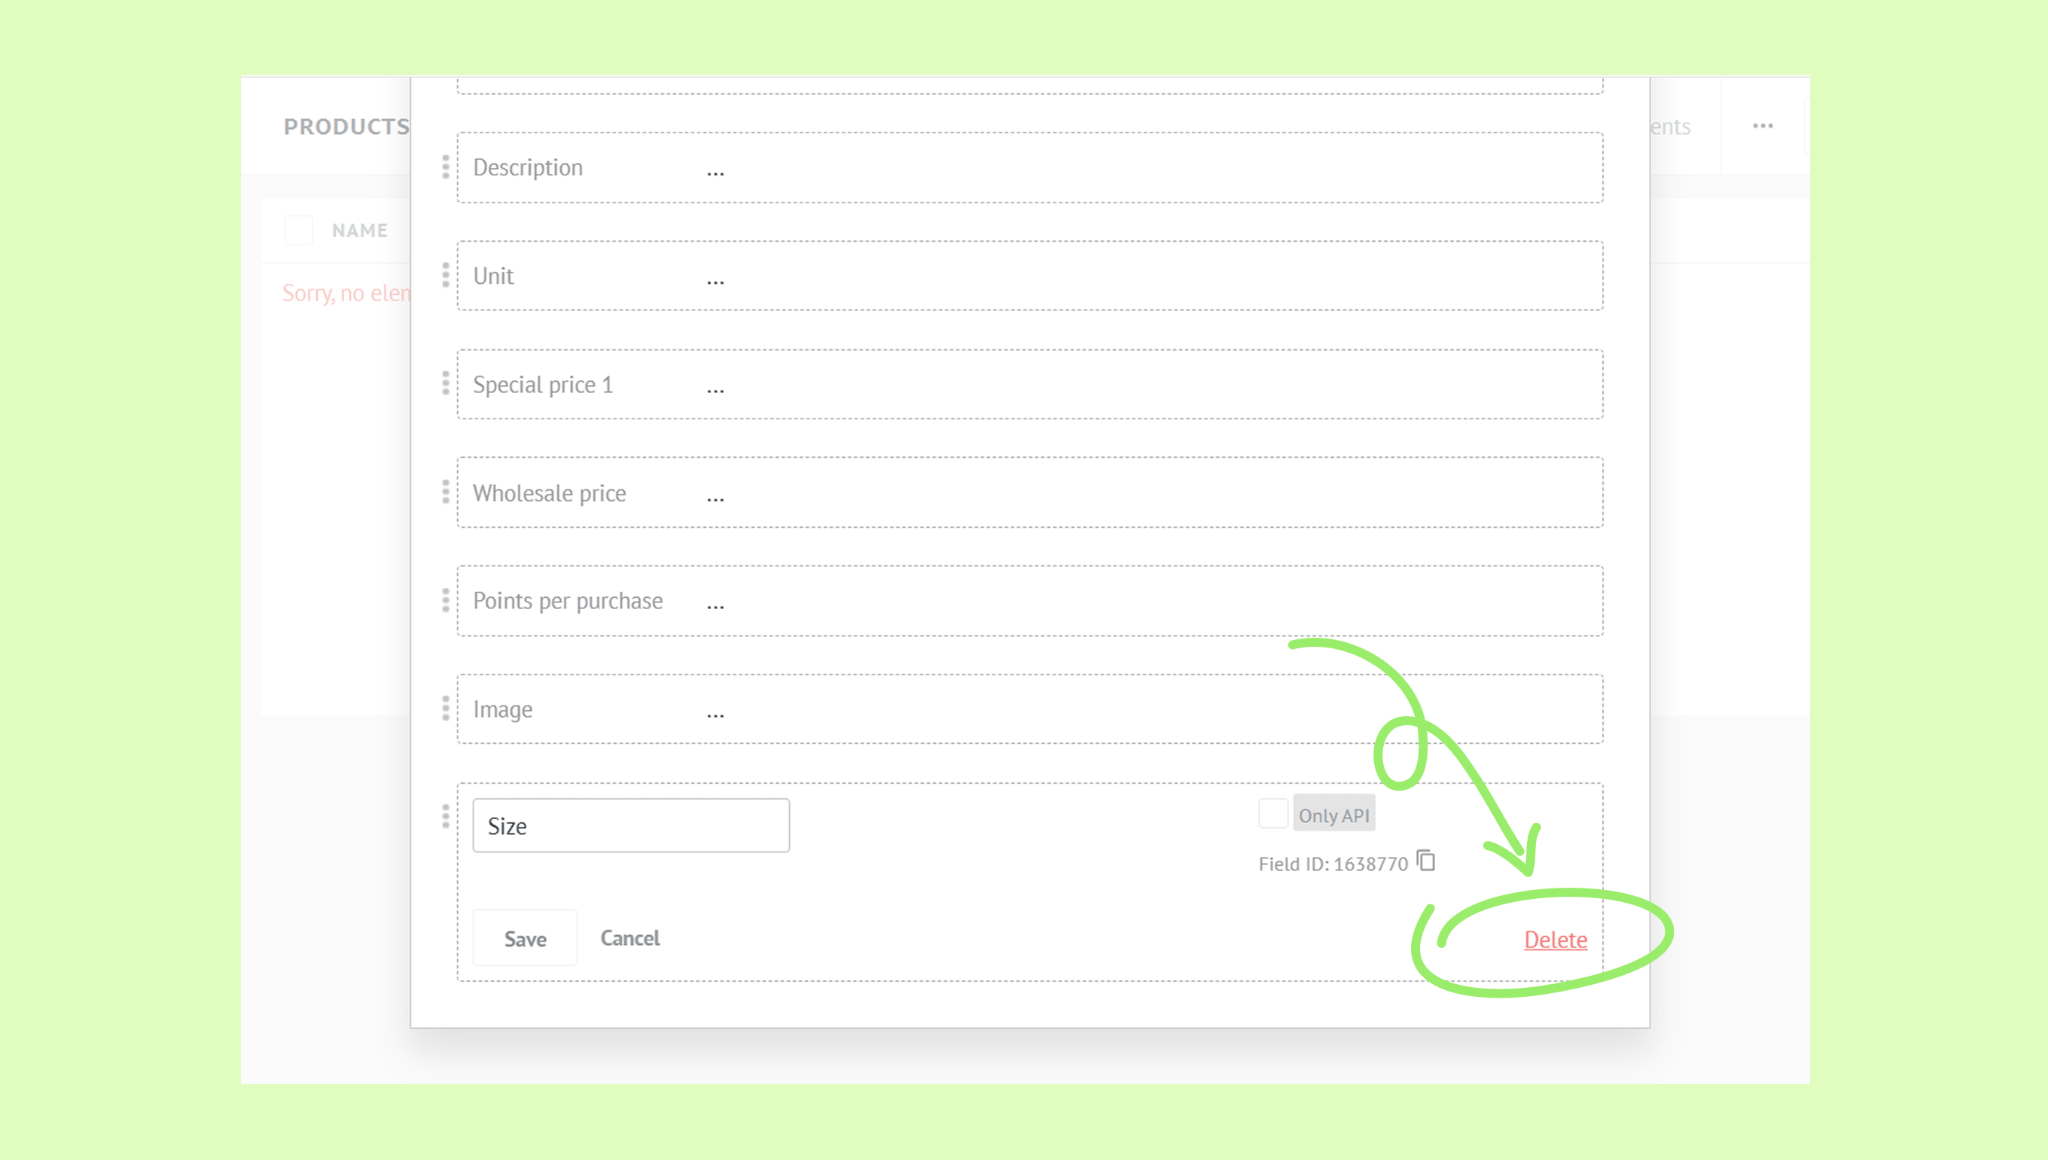
Note: Only custom fields can be deleted, default fields can only be renamed or reordered.
Close the modal. Changes are applied automatically.
Choose which product details appear in the list
The product list gives you a table view of all your products at a glance. You can add, remove, and reorder columns to display the details that matter most. These settings can be applied for yourself only or for all users.
Note: Only Admins can apply list settings for all users.
To customize the product list:
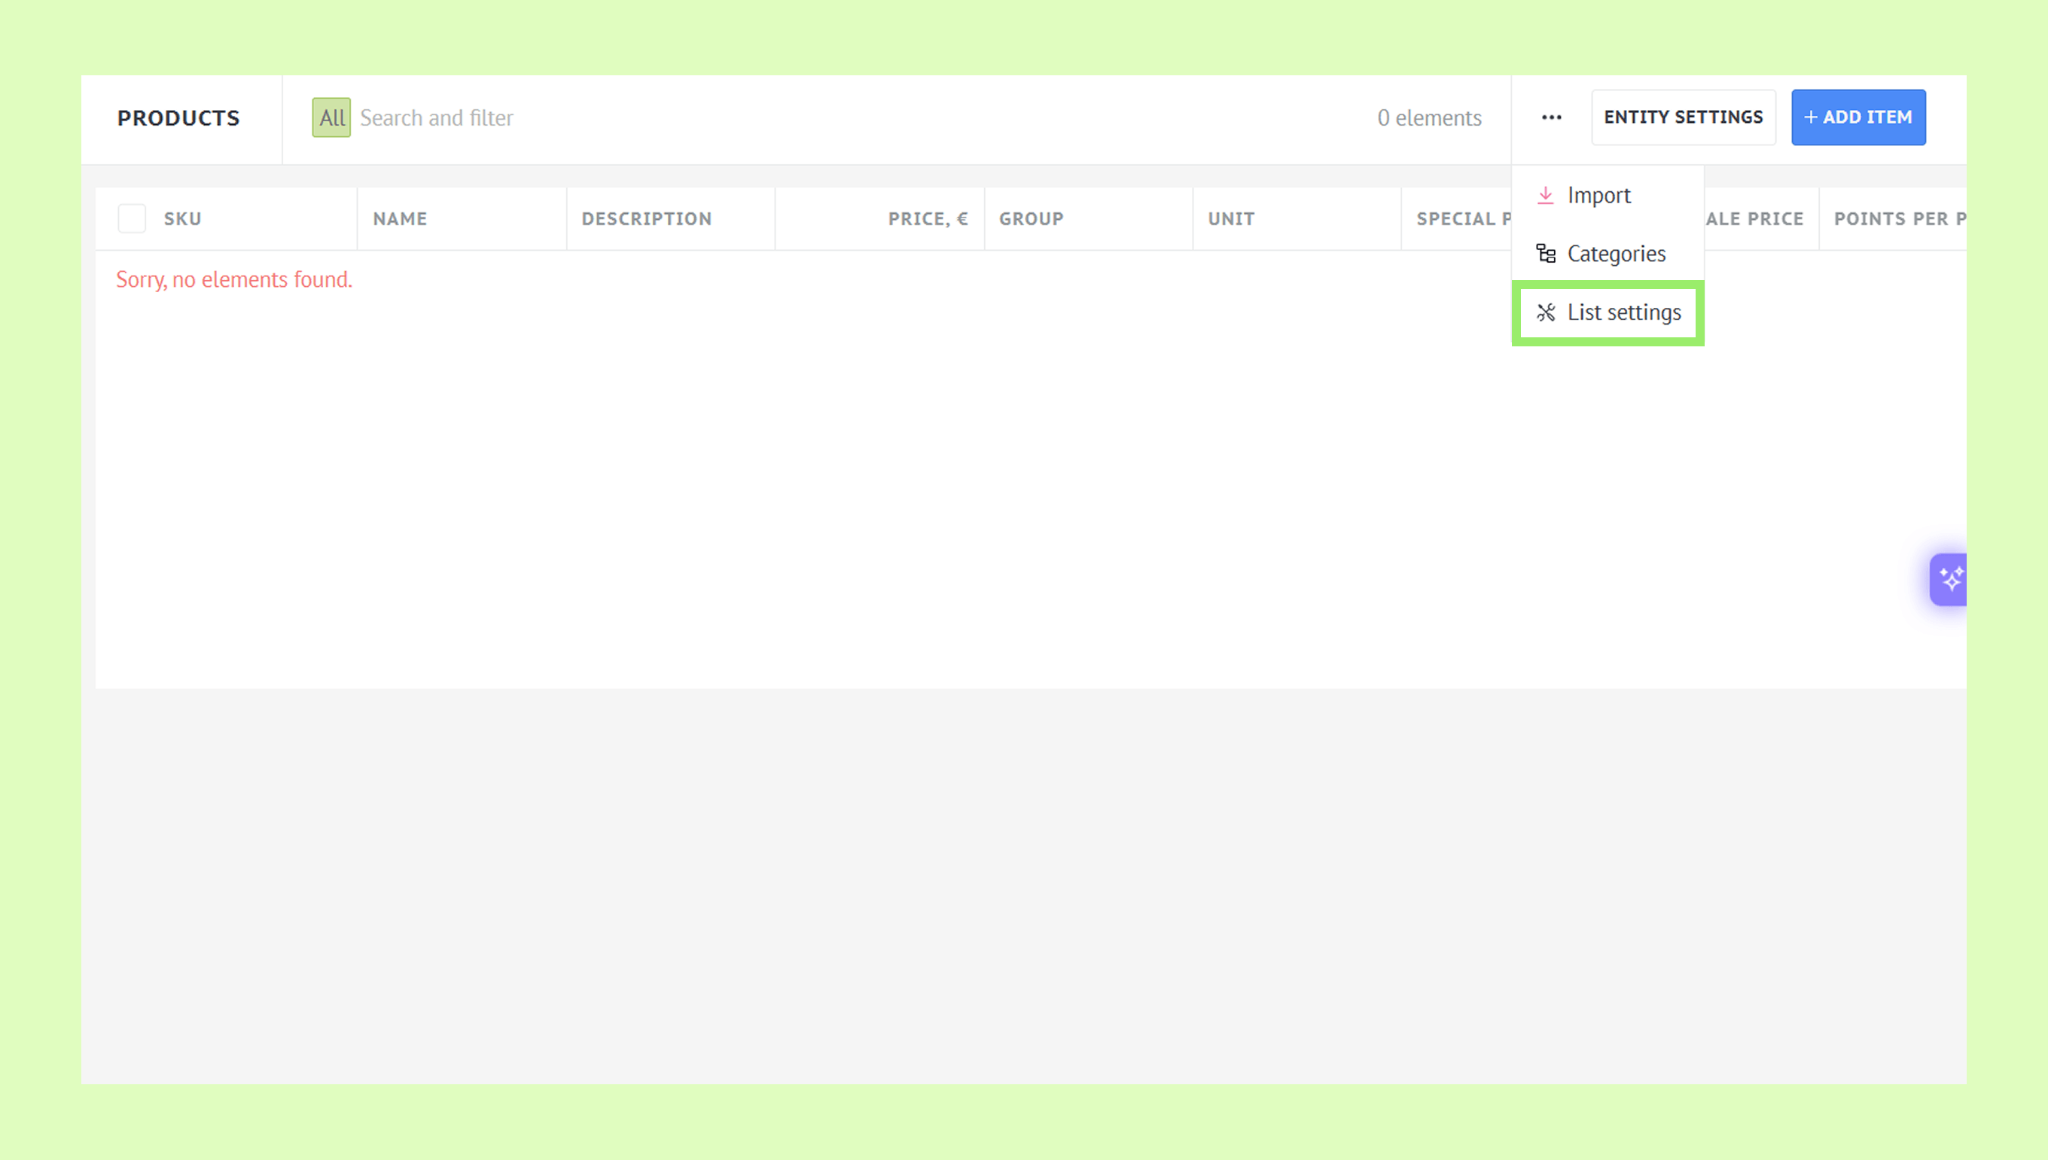
Go to Lists → Products, click the three-dot menu, and select List settings.
Note: The product list shows only the default columns. If you add custom fields to the product card, they’ll appear under Available columns – you can add them to the list anytime:
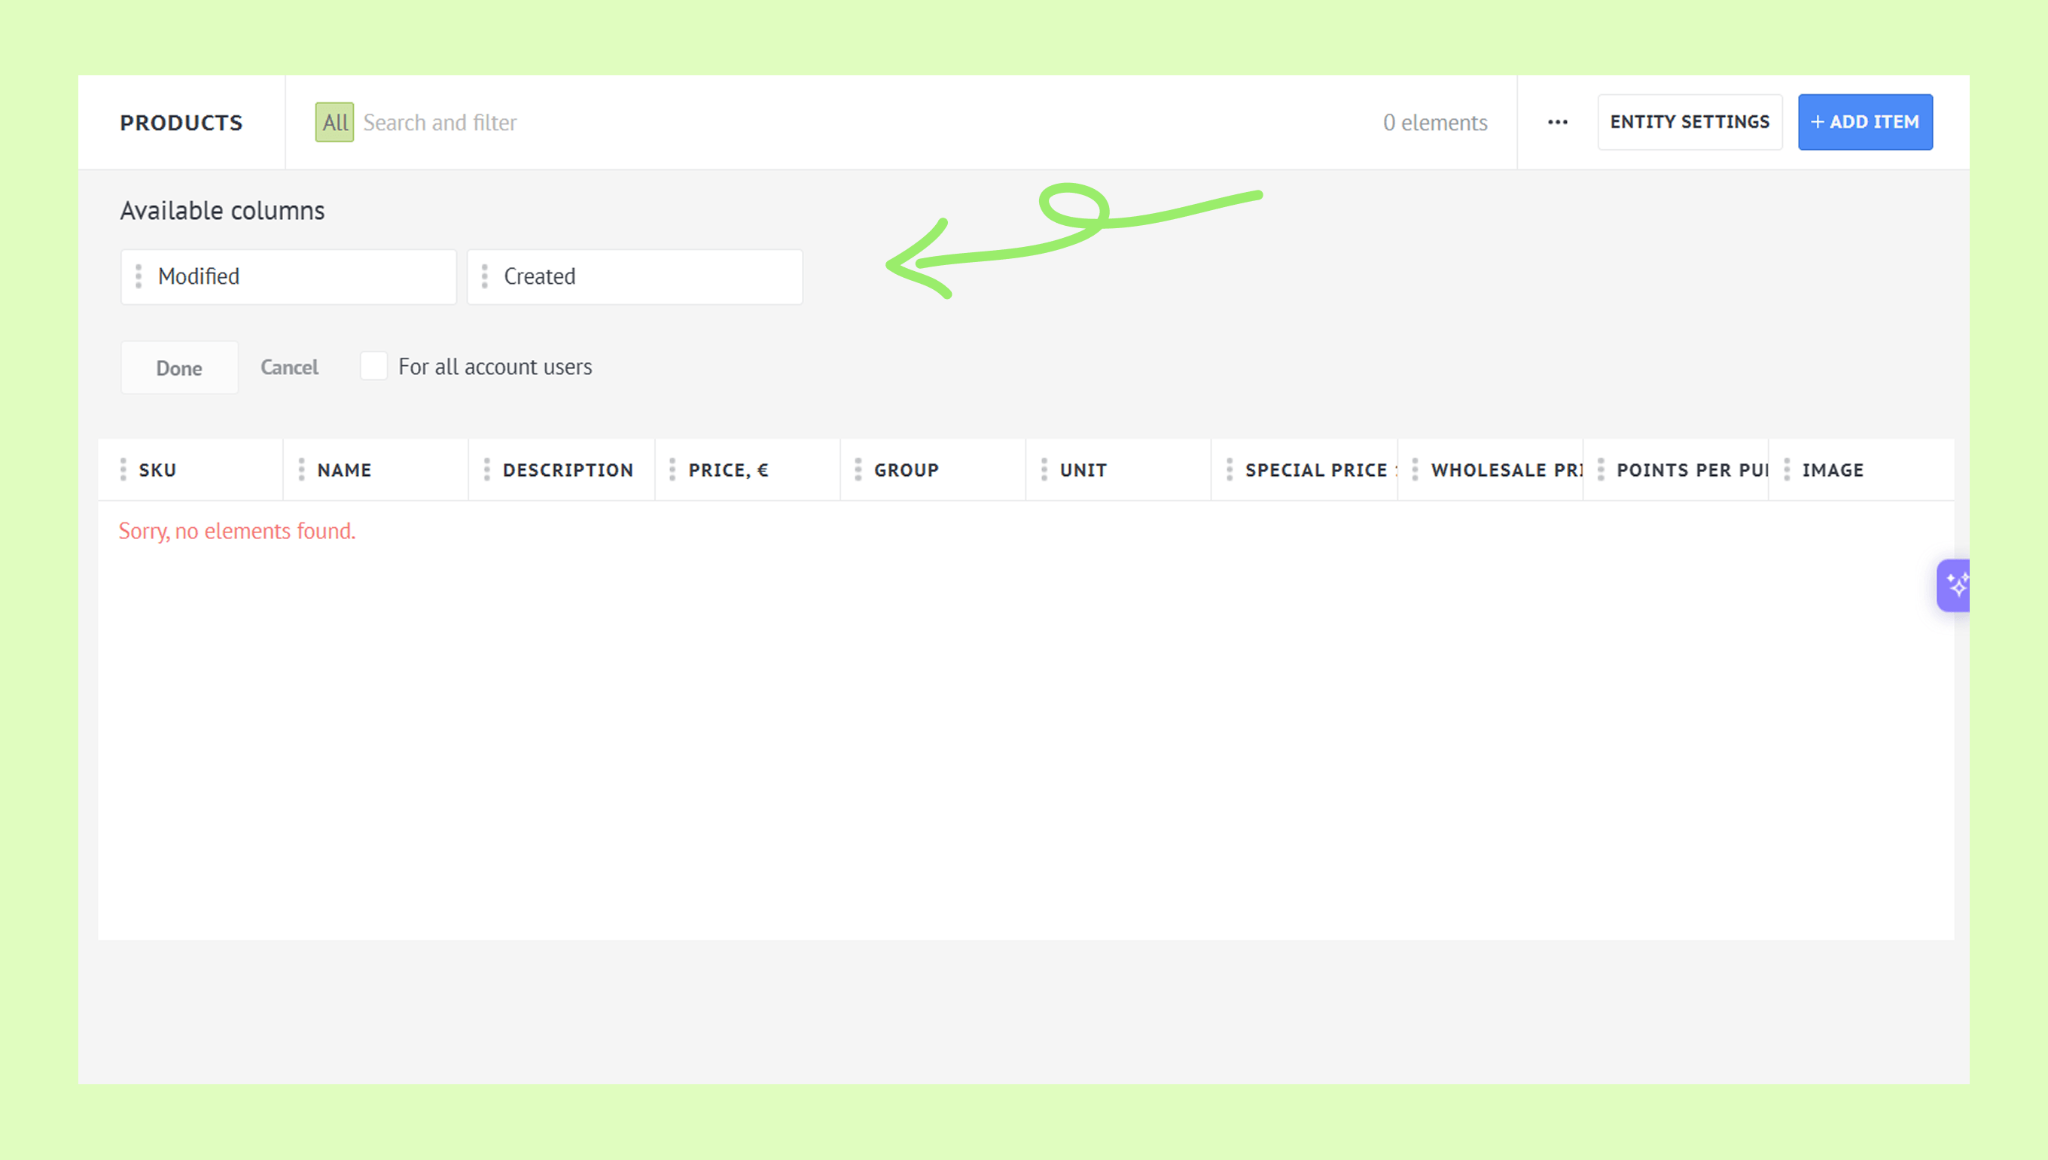
Edit the list:
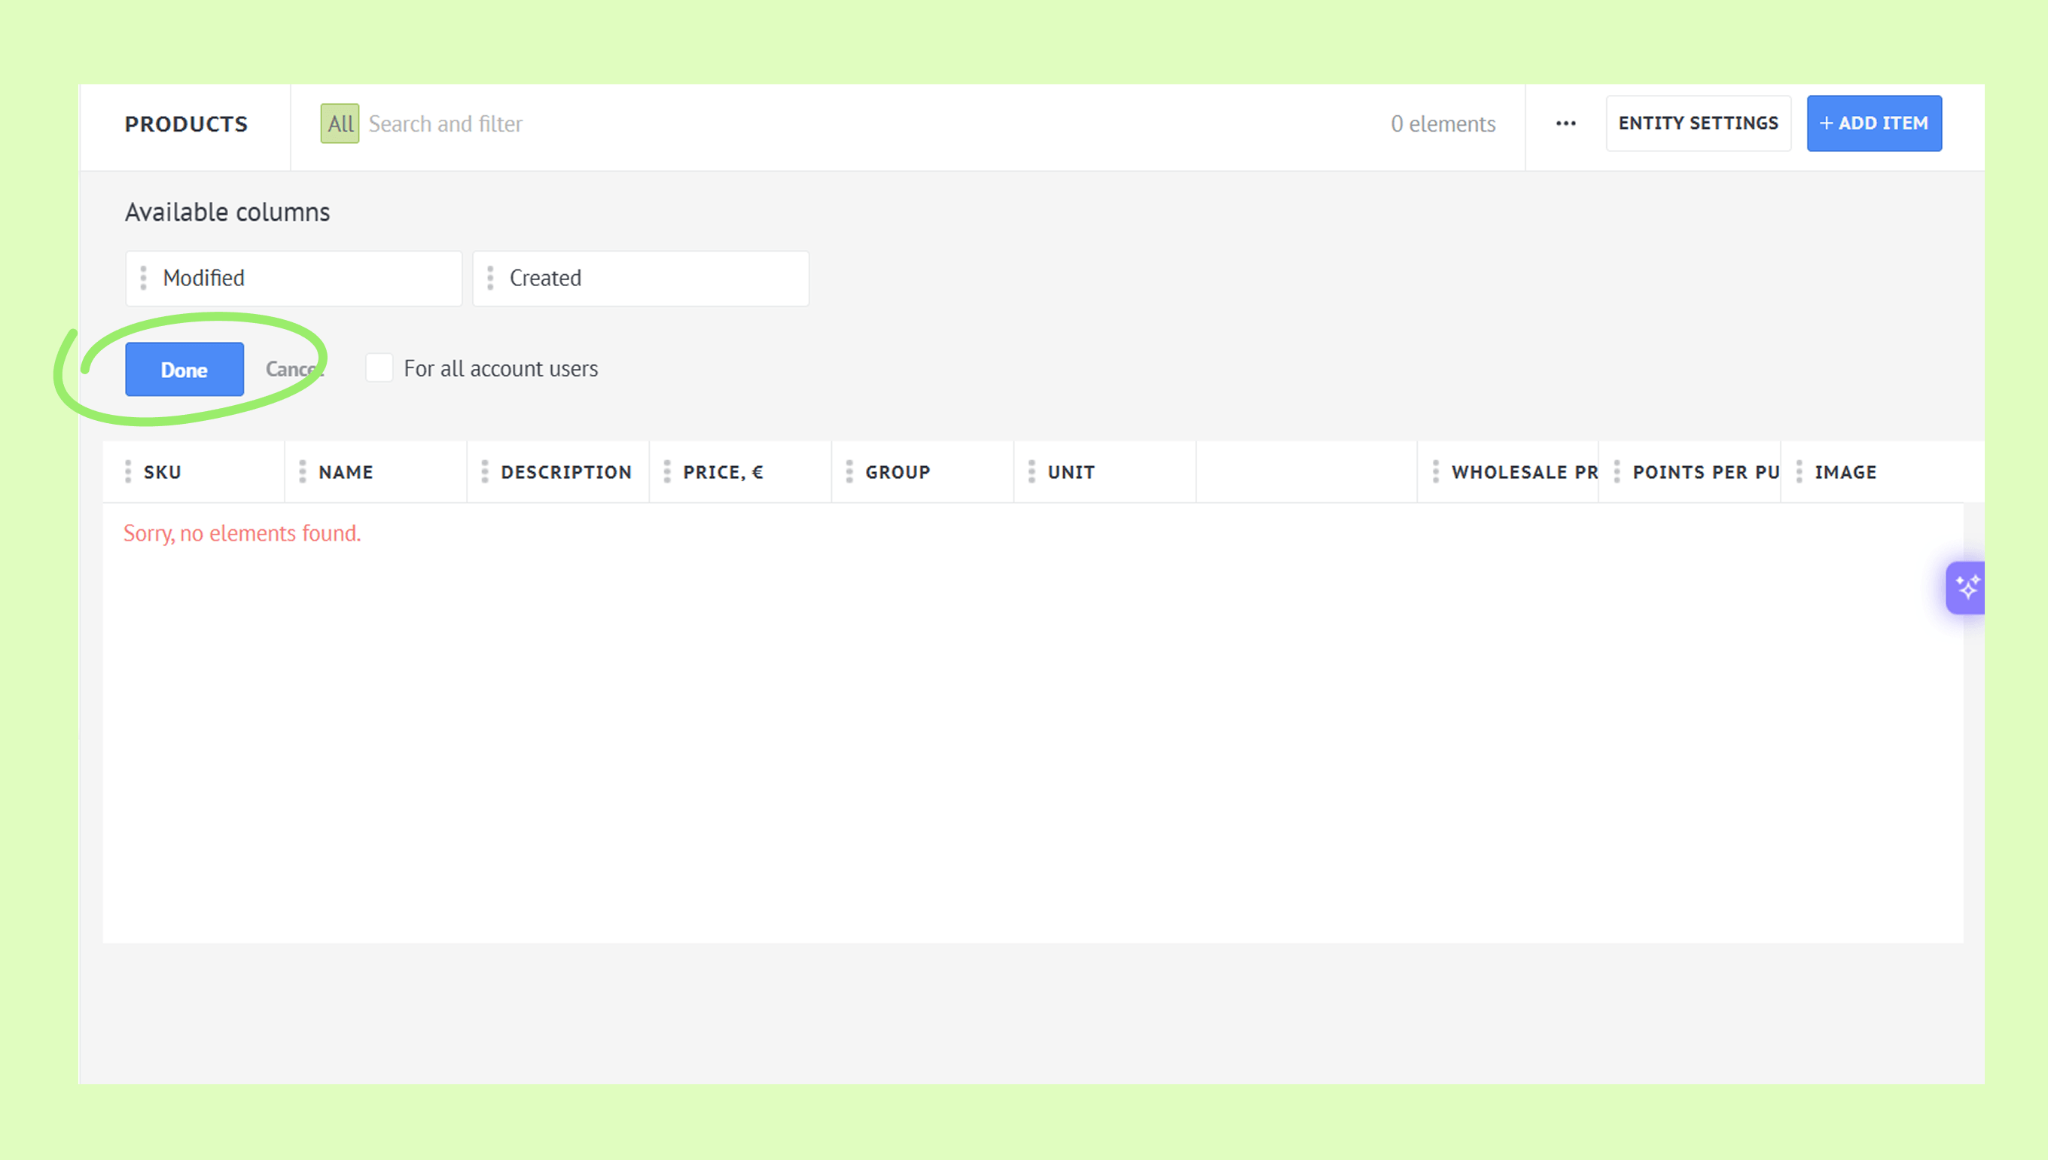
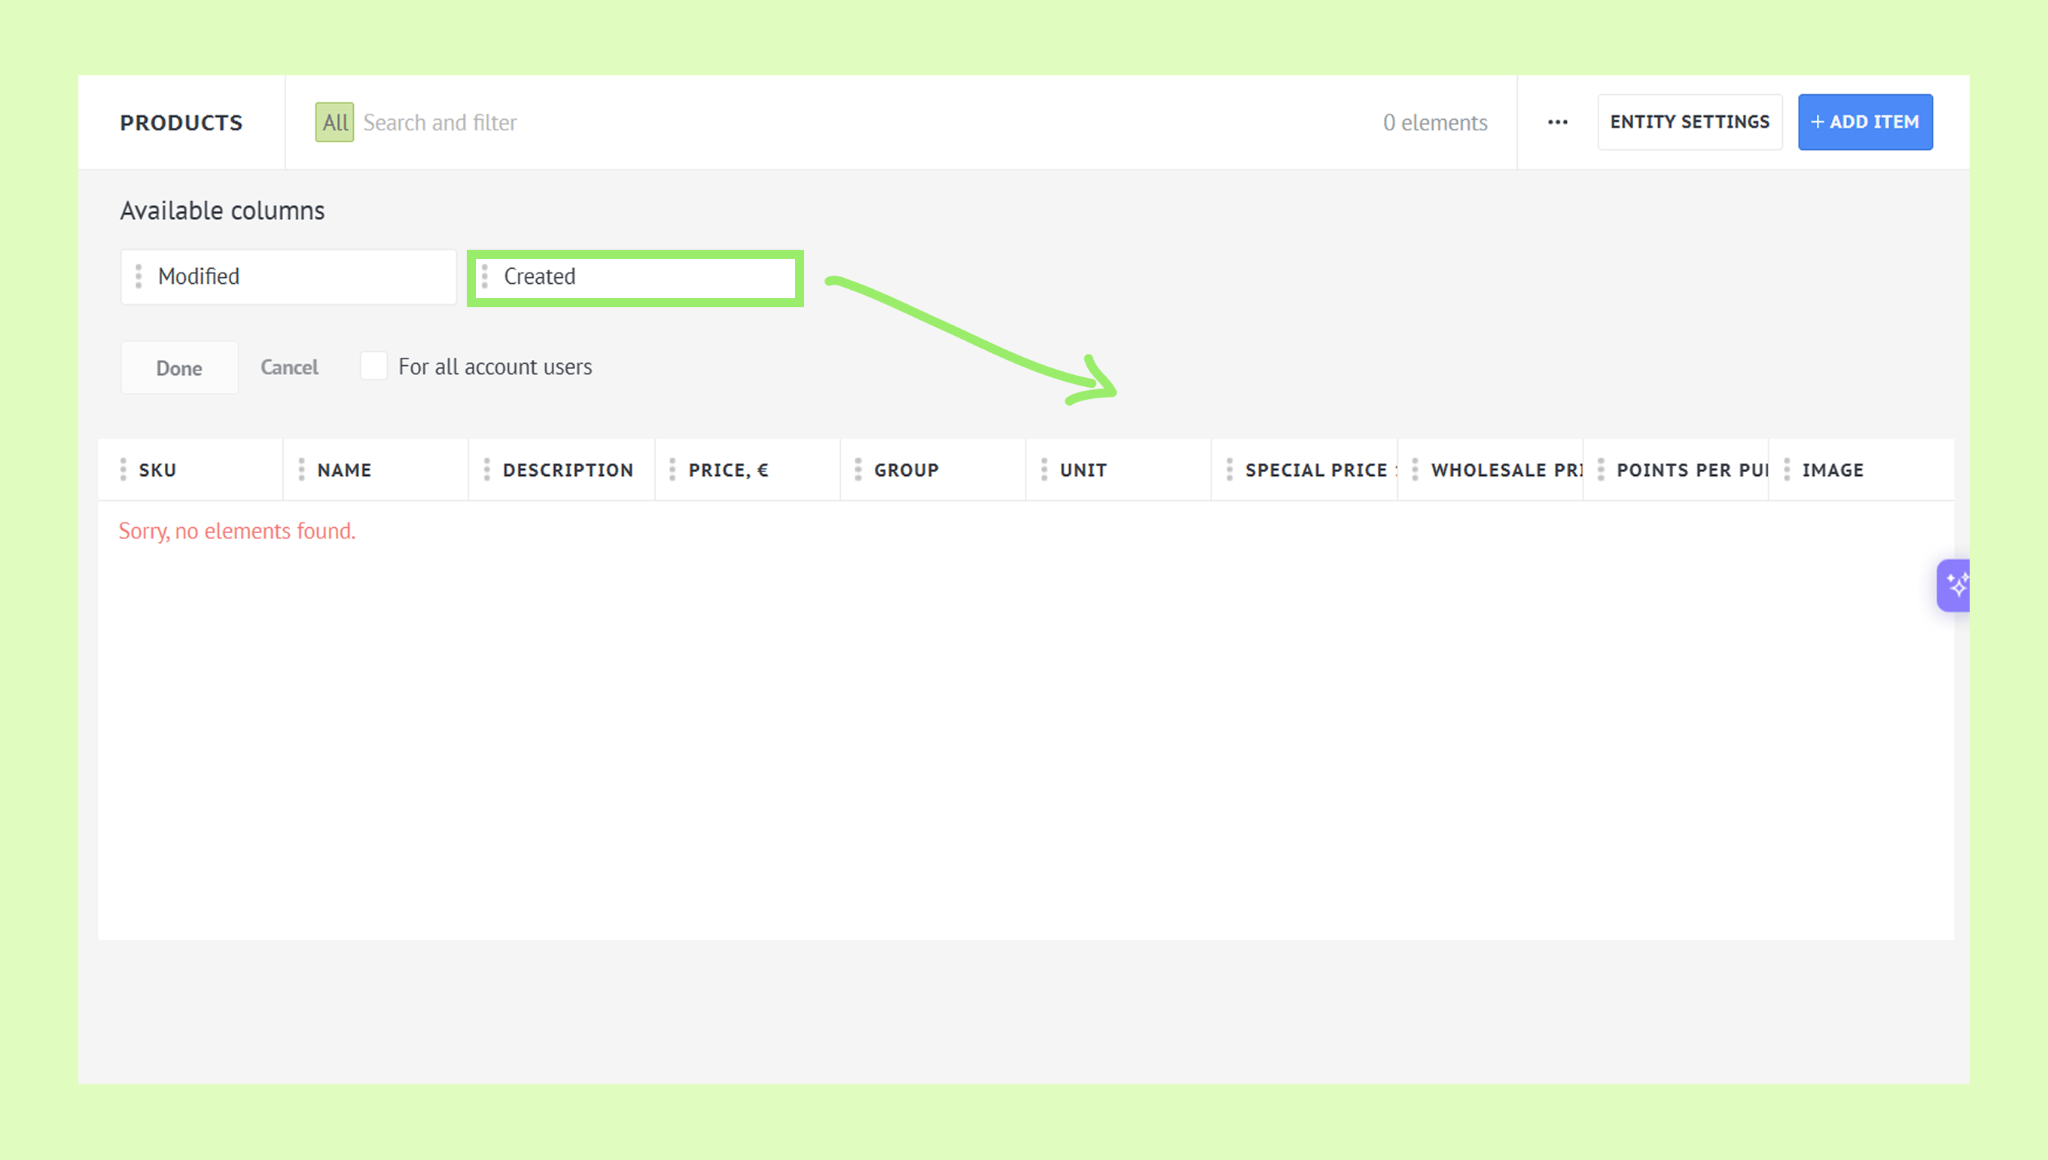
Add a column — find it under Available columns and drag it into the list.
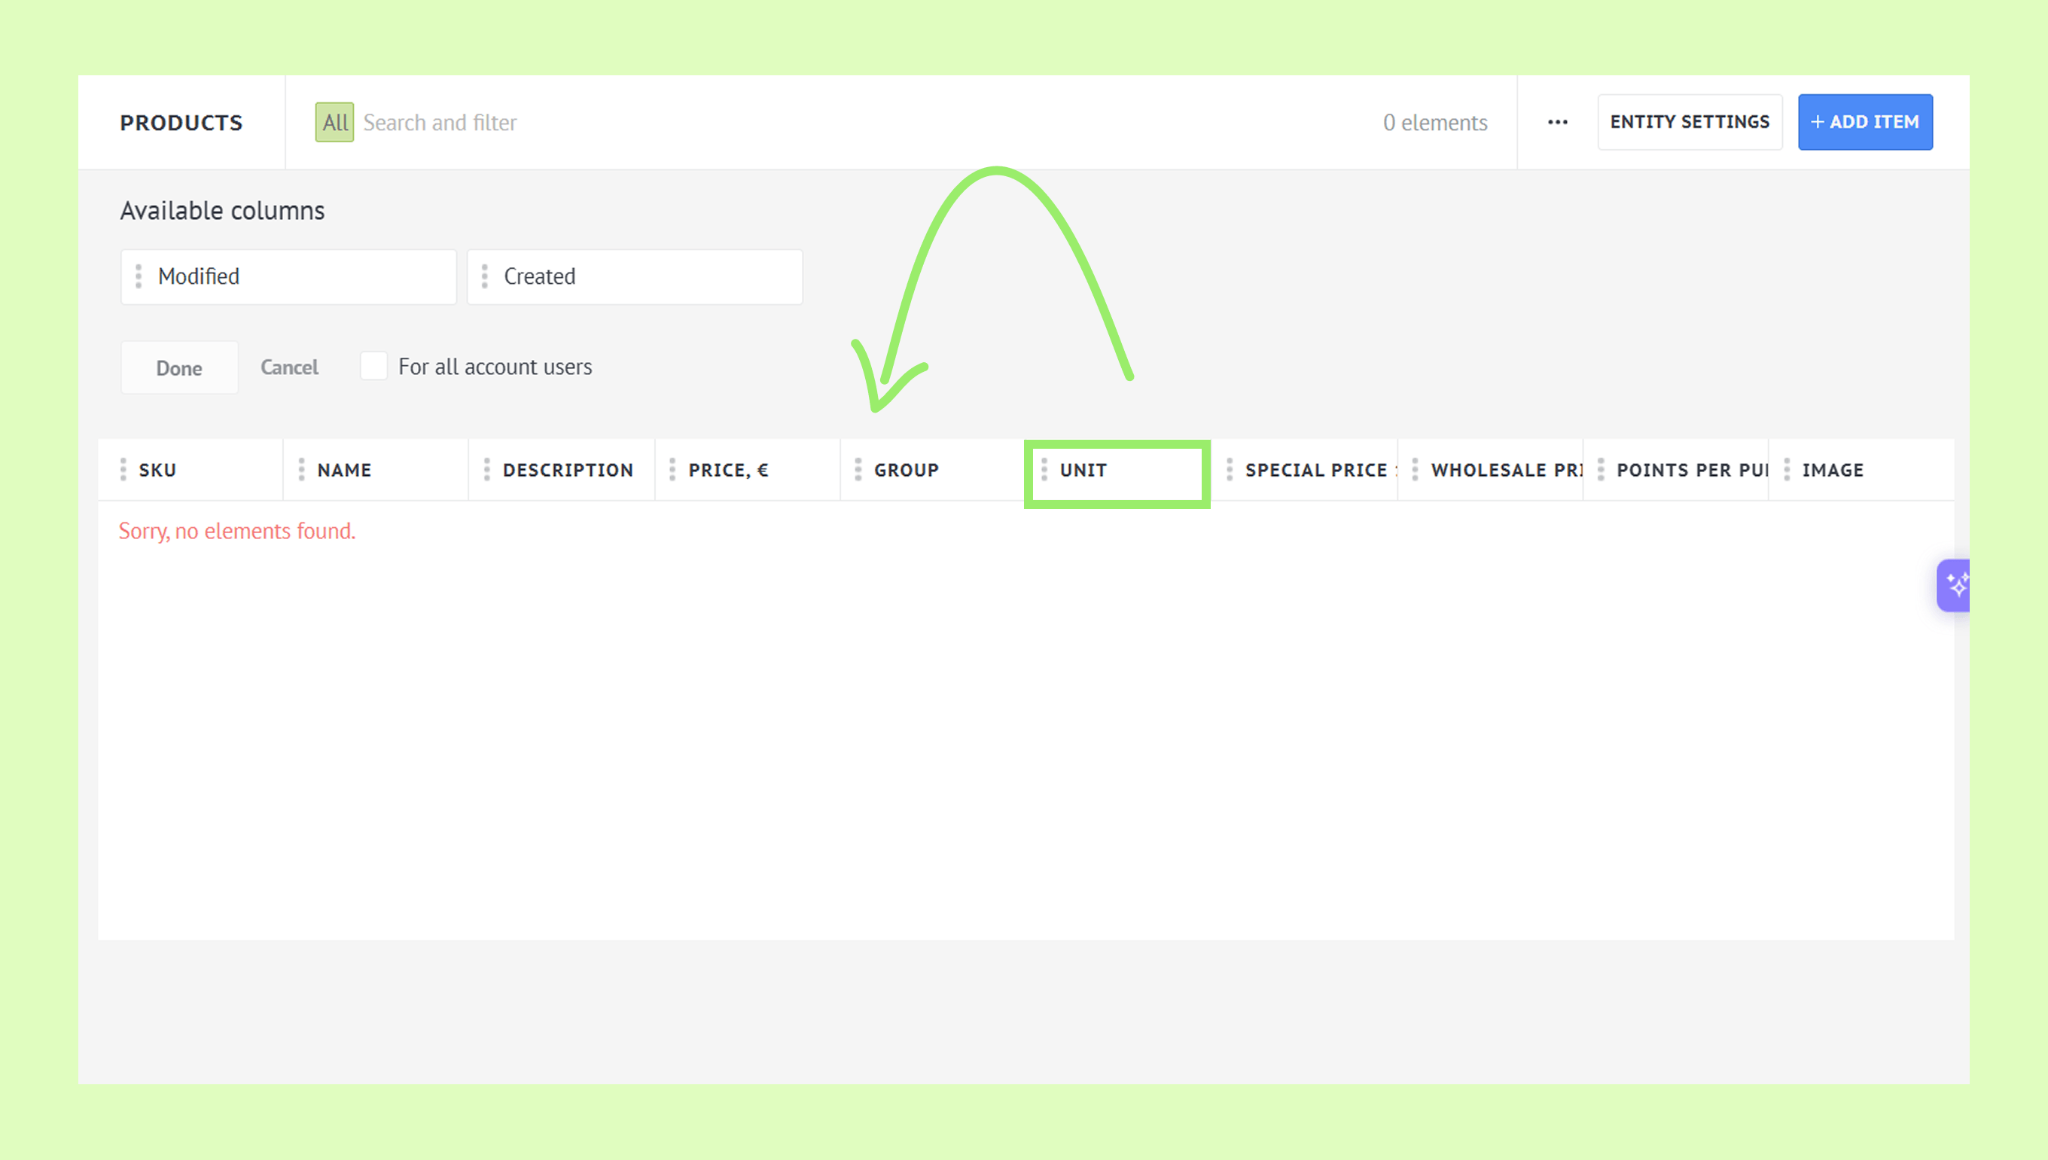
Reorder columns — hover over a column until the cross icon appears, then drag it to a new position.
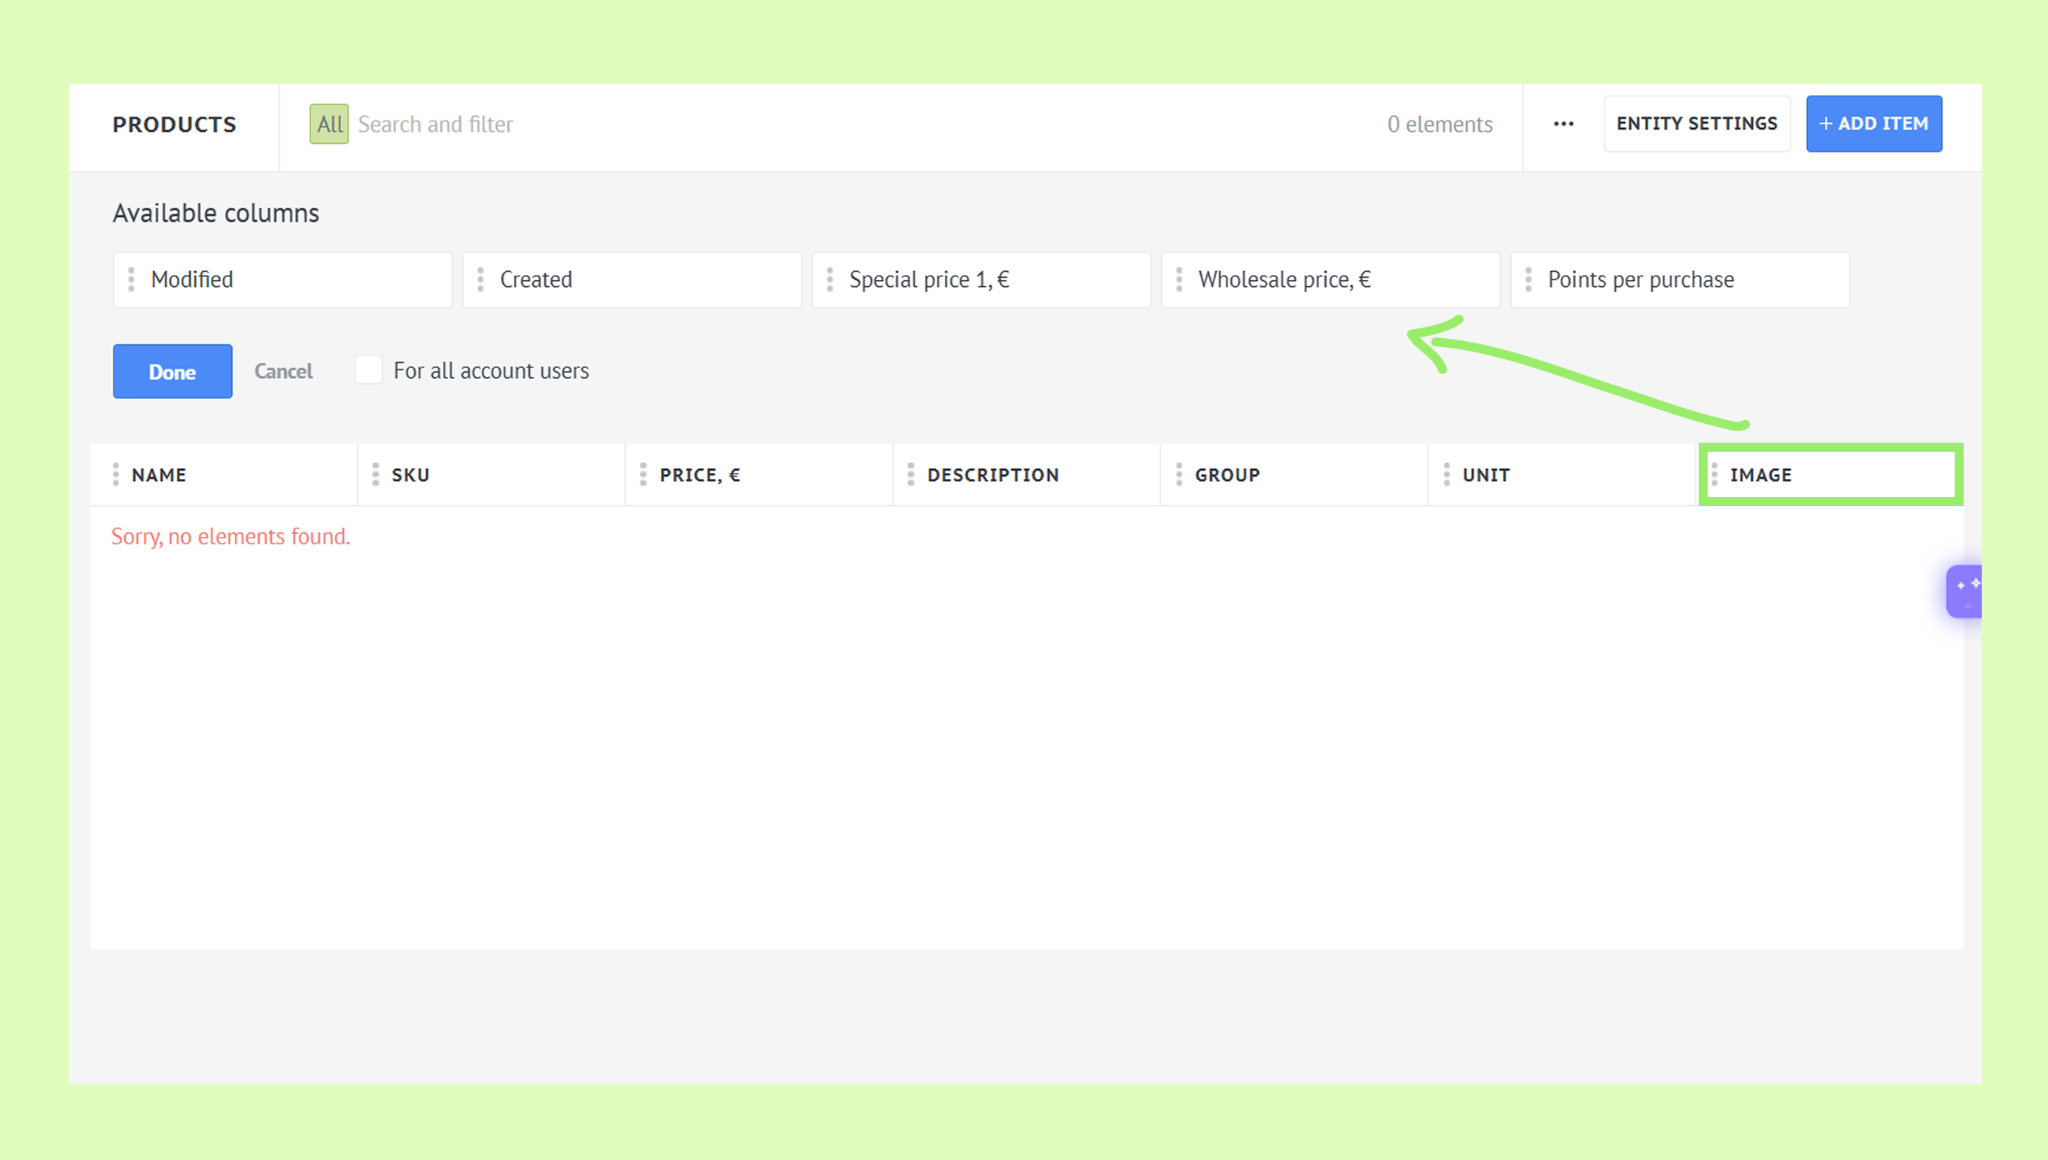
Remove a column — hover over it and drag it back to Available columns.
Delete a column — hover over it and drag it to the trash bin.
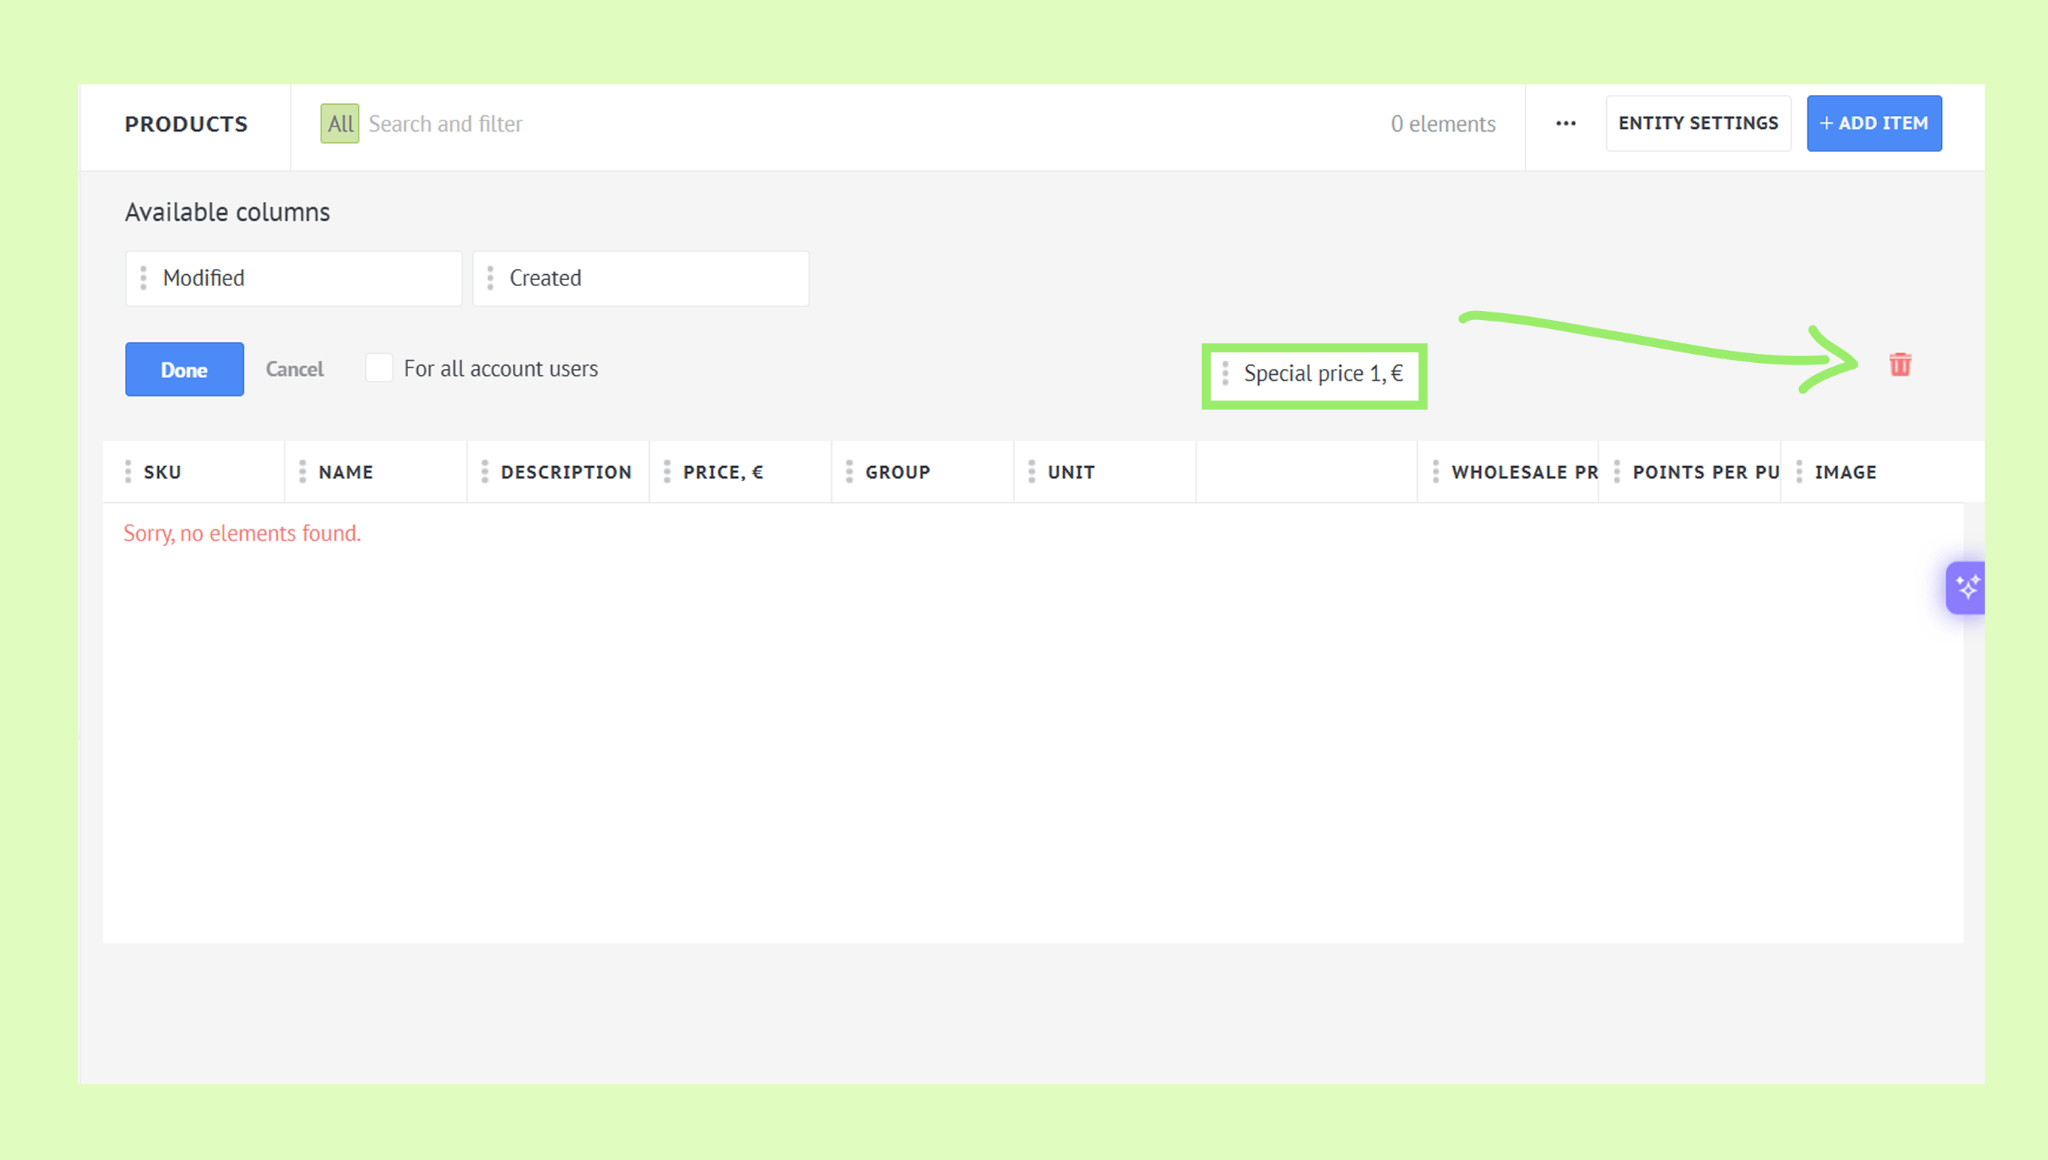
Click Done to save your changes.