What you’ll need
Any Kommo plan (Base, Advanced, Pro, Enterprise, or a 14-day trial)
Admin access in Kommo
Keep in mind
Country-based workspace access is required for all new paid accounts in Brazil. After you set it up for the first time, you can turn it off later.
VPN and proxy services can affect country-based access because they may detect a different country.
Once country-based access is enabled, users logged in from countries that are not allowed will be automatically logged out within an hour.
If you accidentally choose the wrong access settings and lose access to your workspace, contact Kommo support.
Country-based access lets users log in to Kommo only from selected countries. You can allow access from one country, several countries, or all countries.
If someone tries to log in from a country that is not allowed, Kommo blocks the login and records the attempt in the log. You can review these attempts to spot suspicious activity.
Use cases
Allow access from approved countries only — Let your team log in from trusted countries.
Block unwanted access — Stop logins from countries where your team doesn’t work.
Check blocked logins — See denied login attempts in the Activity log.
Choose where users can access your workspace from
The setup process depends on your account location:
Accounts outside Brazil — country-based workspace access is optional.
Brazilian accounts — country-based access is required after you buy your first Kommo subscription.
Set up country-based access for non-Brazilian accounts
If you're located outside of Brazil, you can turn on country-based access in workspace settings at any time.
To set it up:
Go to Settings → Workspace settings. Turn on the Country-based workspace access toggle.
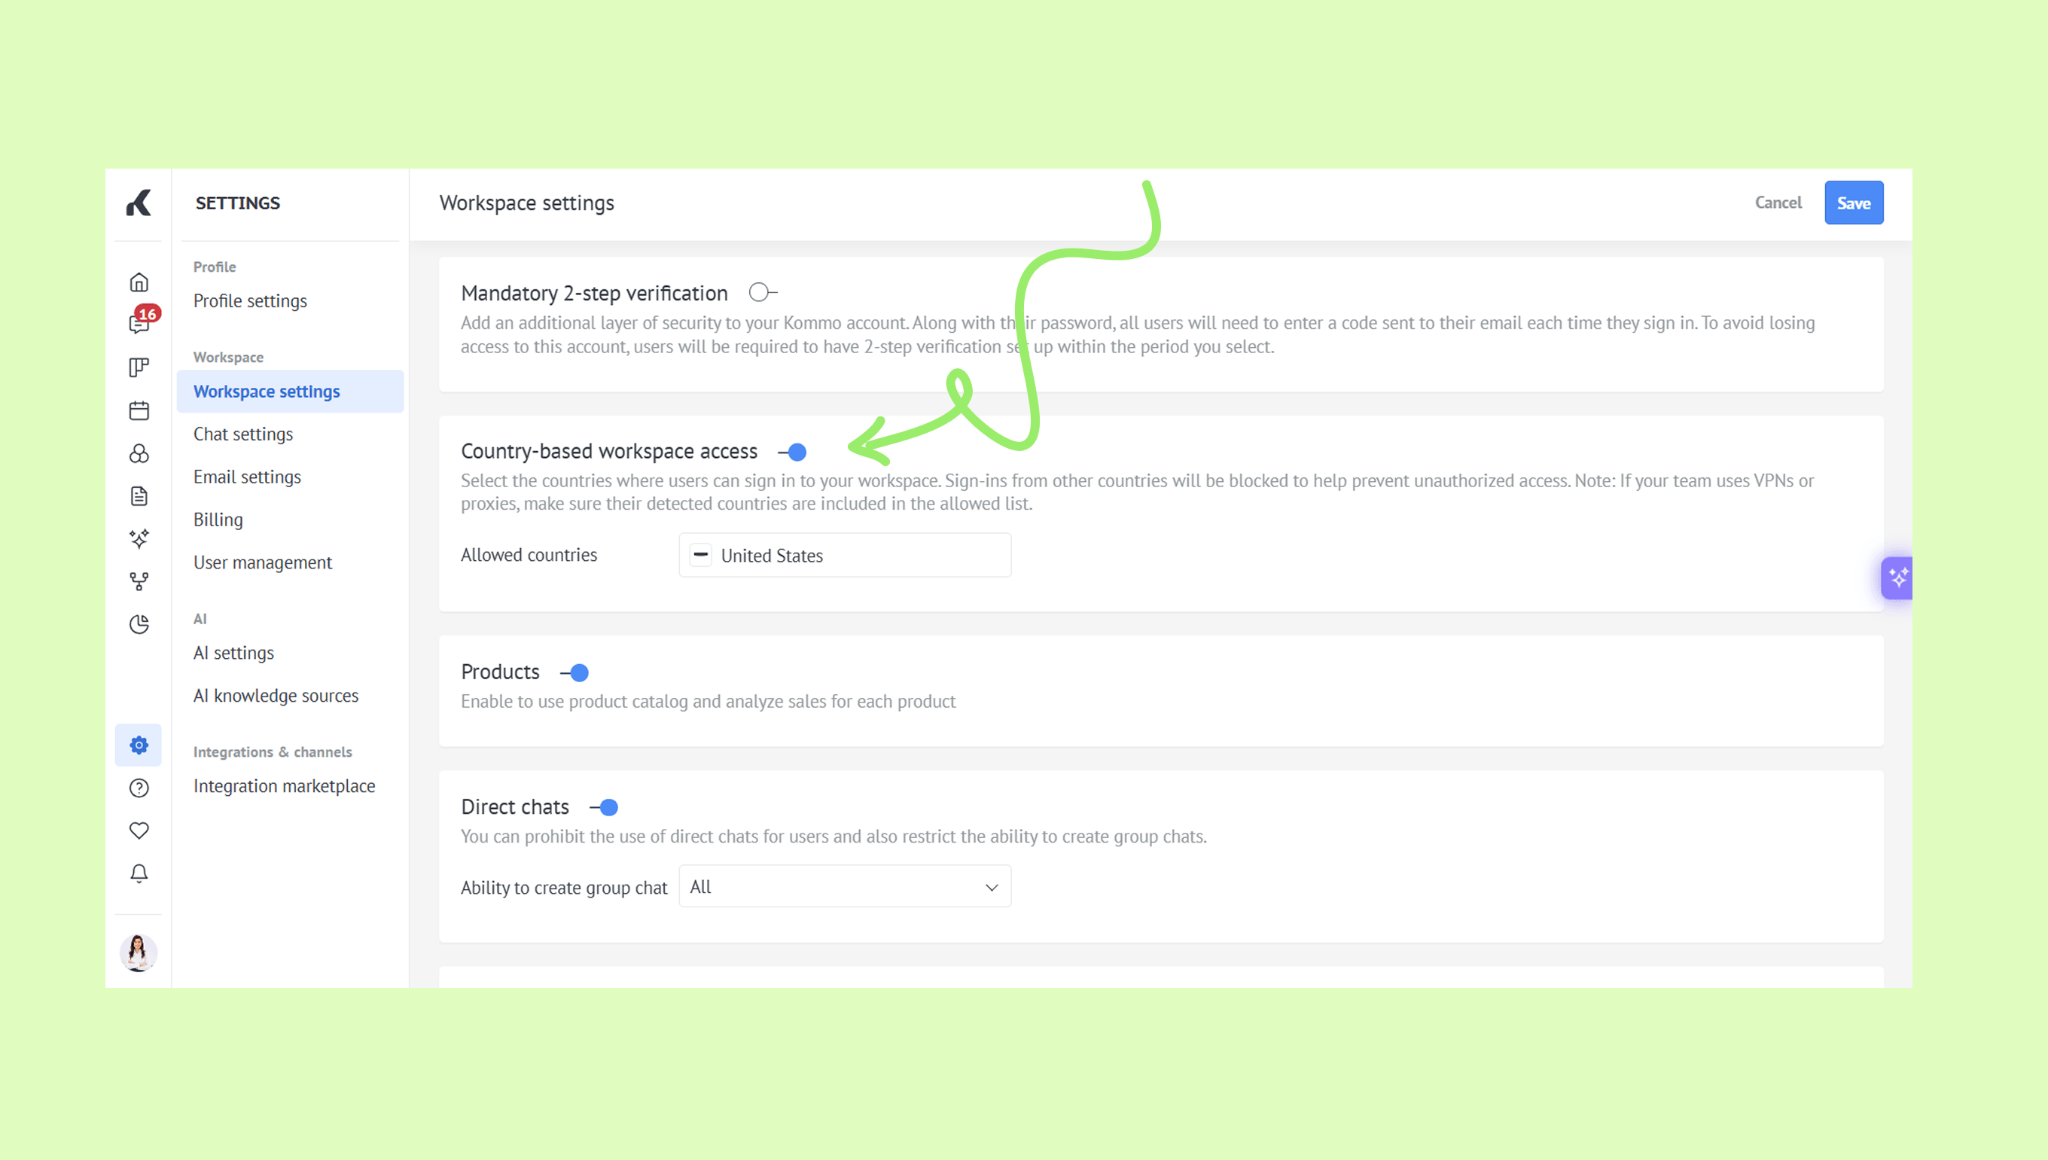
Click the Allowed countries drop-down and select the countries users can access your workspace from.
You can use the search bar or just scroll down the list.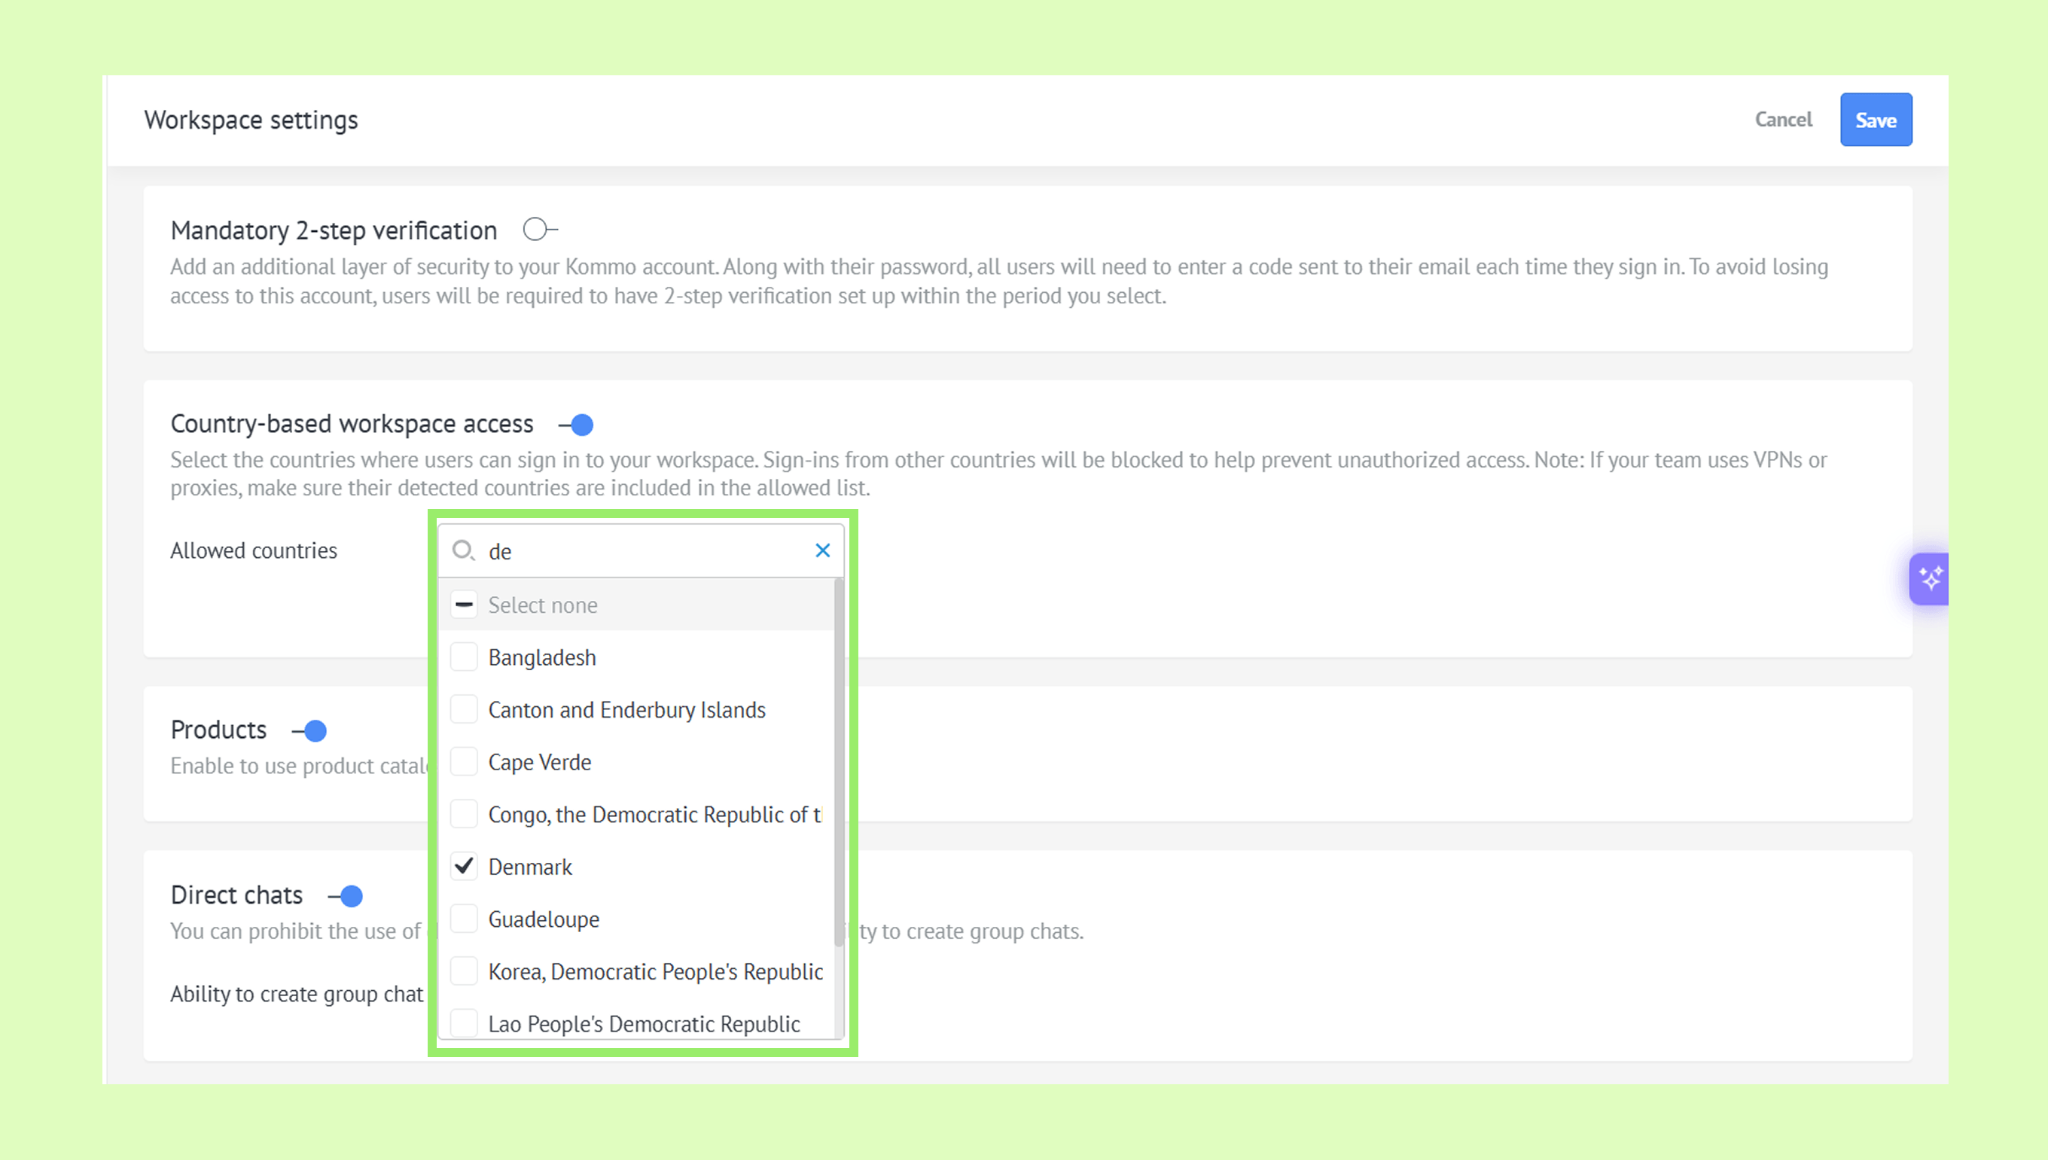
Click Save.
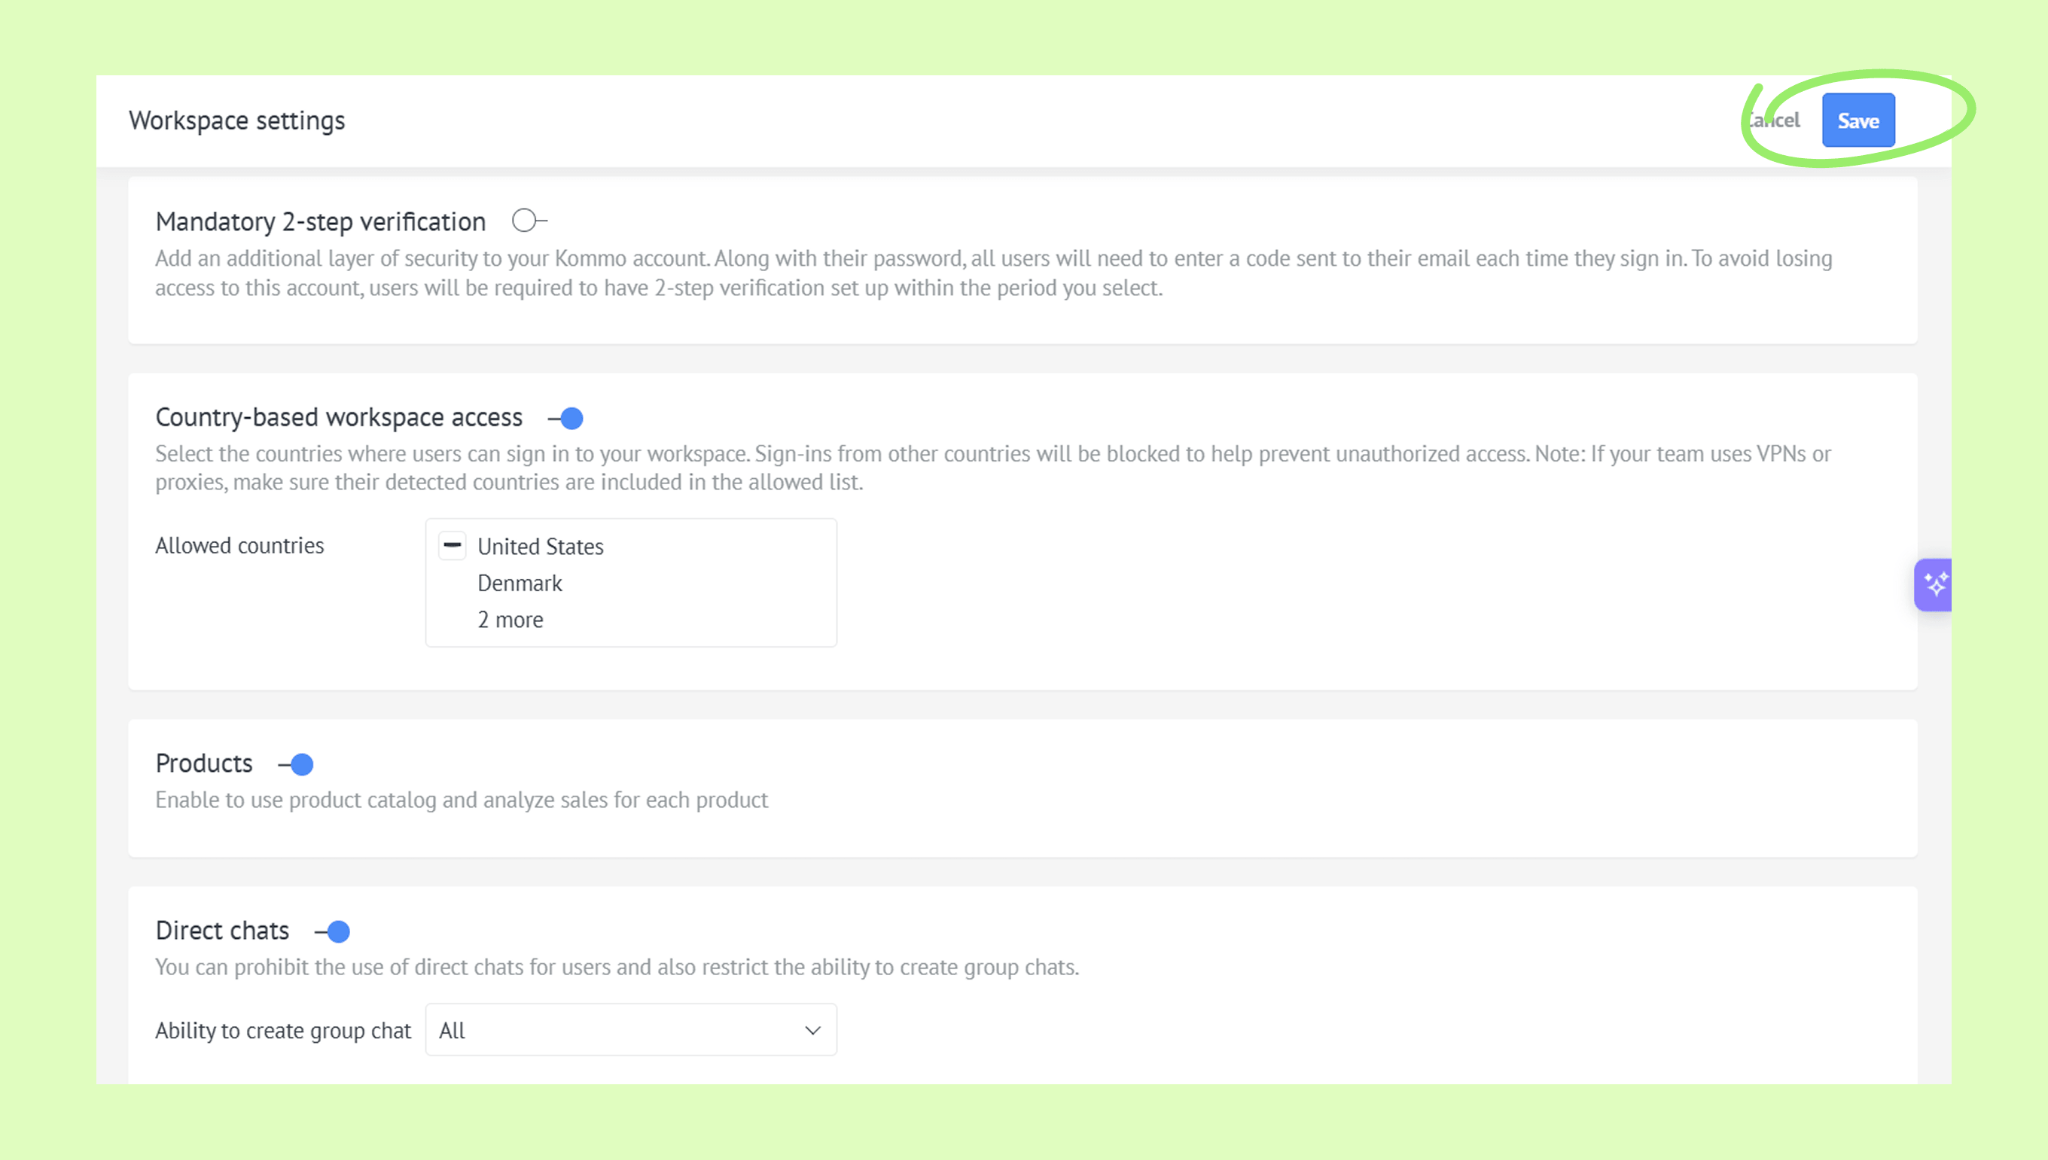
After you save the settings, users can log in only from the countries you selected.
If someone tries to log in from a blocked country, they’ll see an error and need to contact their workspace admin.
Set up country-based access for Brazilian accounts
All paid Brazilian accounts require country-based workspace access.
After you purchase your first Kommo subscription and the system identifies your location as Brazil, you’ll see a country-based access setup window. You need to complete this setup before you can continue using Kommo.
You can change the list of allowed countries or turn off country-based access later.
To set it up:
In the modal window, choose the countries your team can log in from. You can also choose All countries.
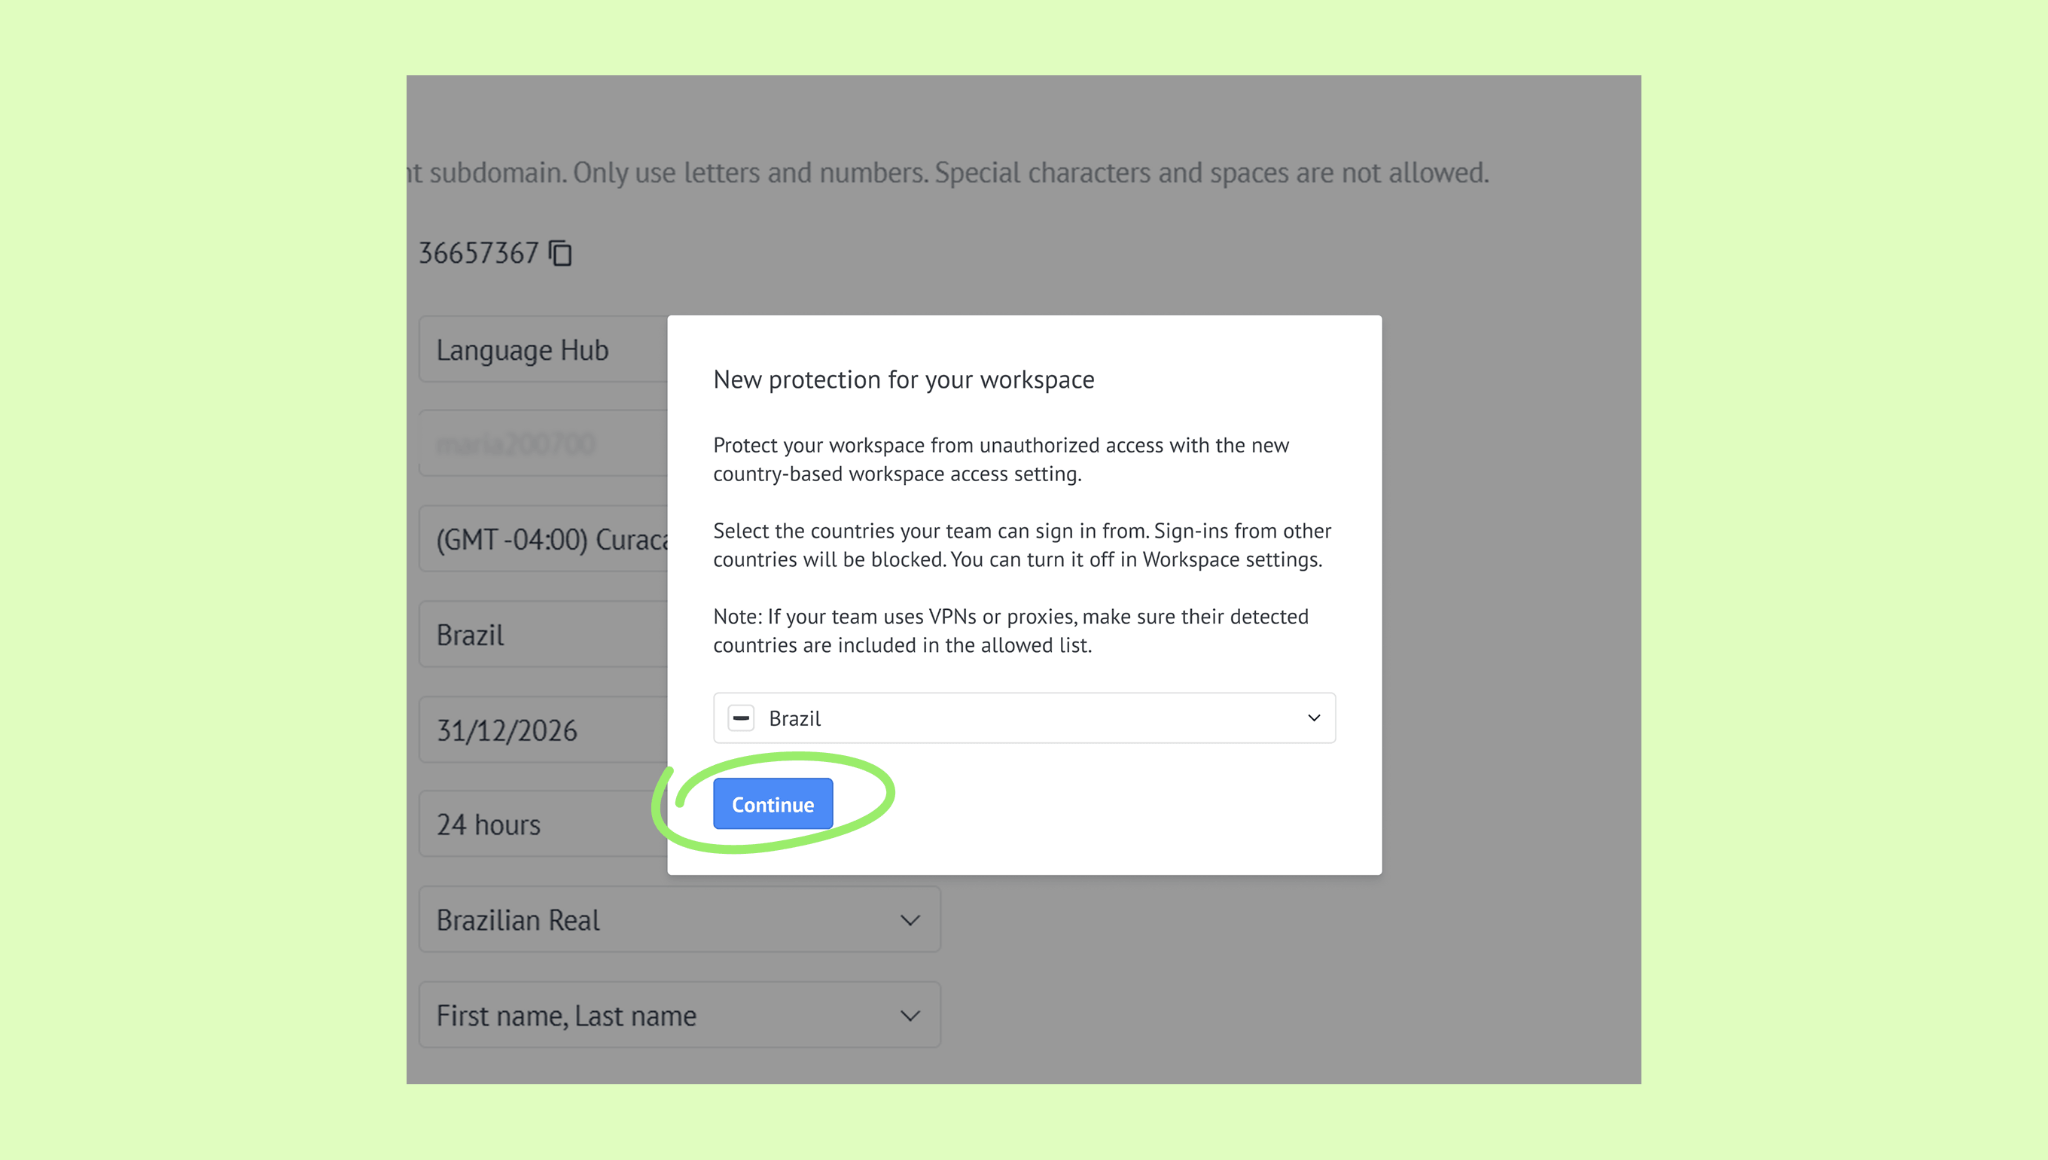
Click Continue.
Review the selected countries.
Click Enable.
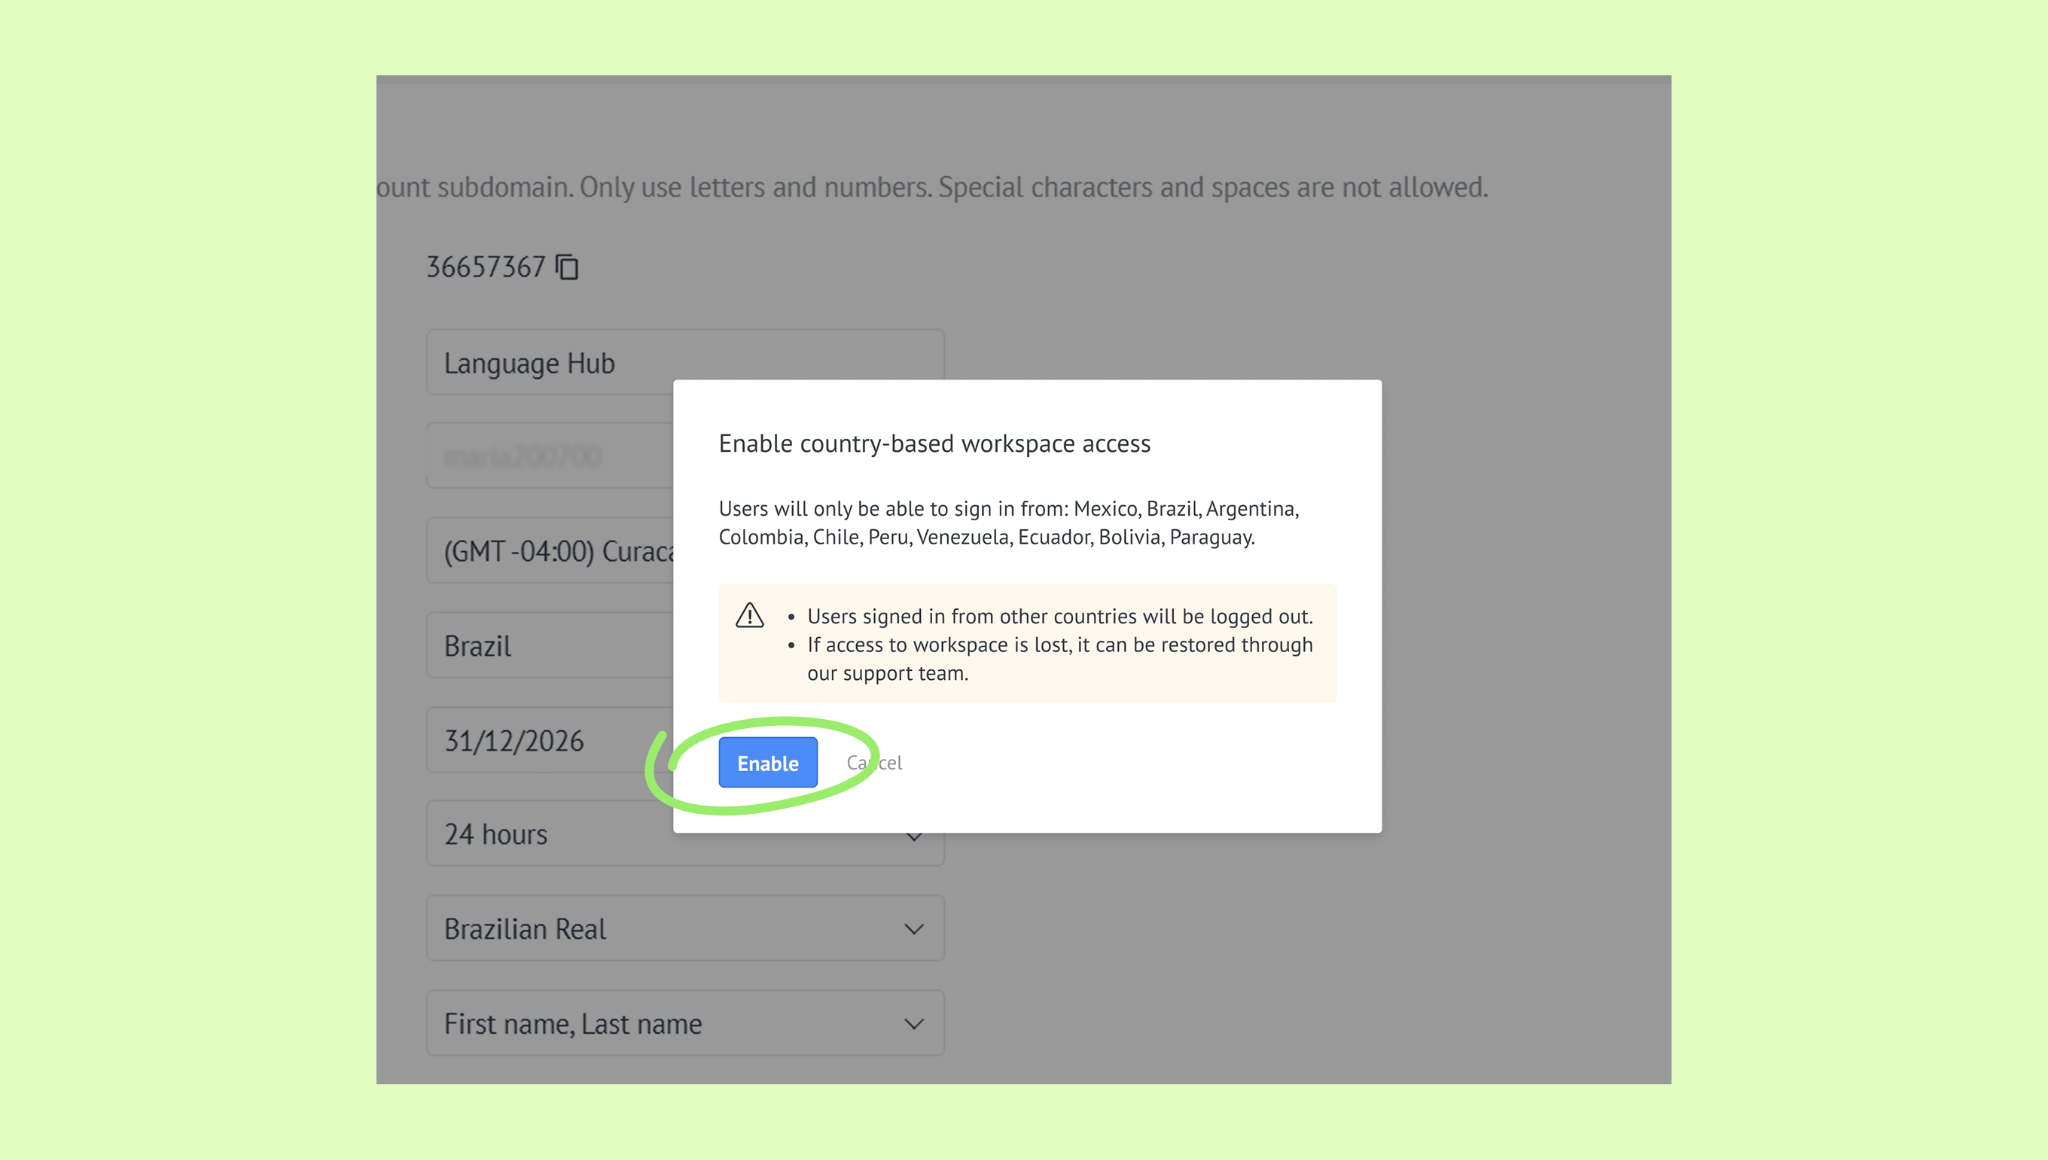
Country-based access will be enabled for your workspace.
Change the list of allowed countries
You can update the list of allowed countries at any time.
To change the list:
Go to Settings → Workspace settings.
Find the Country-based workspace access setting.
Click the list of selected countries.
Add, edit, or remove countries from the list.
Click Save.
The updated settings will apply to future login attempts. Users who are already logged in from a removed country will be automatically logged out within an hour.
View denied access attempts
You can check denied access attempts in the Activity log. Each event shows the user who tried to log in from a country that is not allowed, their role in Kommo, and the time of the attempt.
To check denied access attempts:
Go to Insights → Activity log.
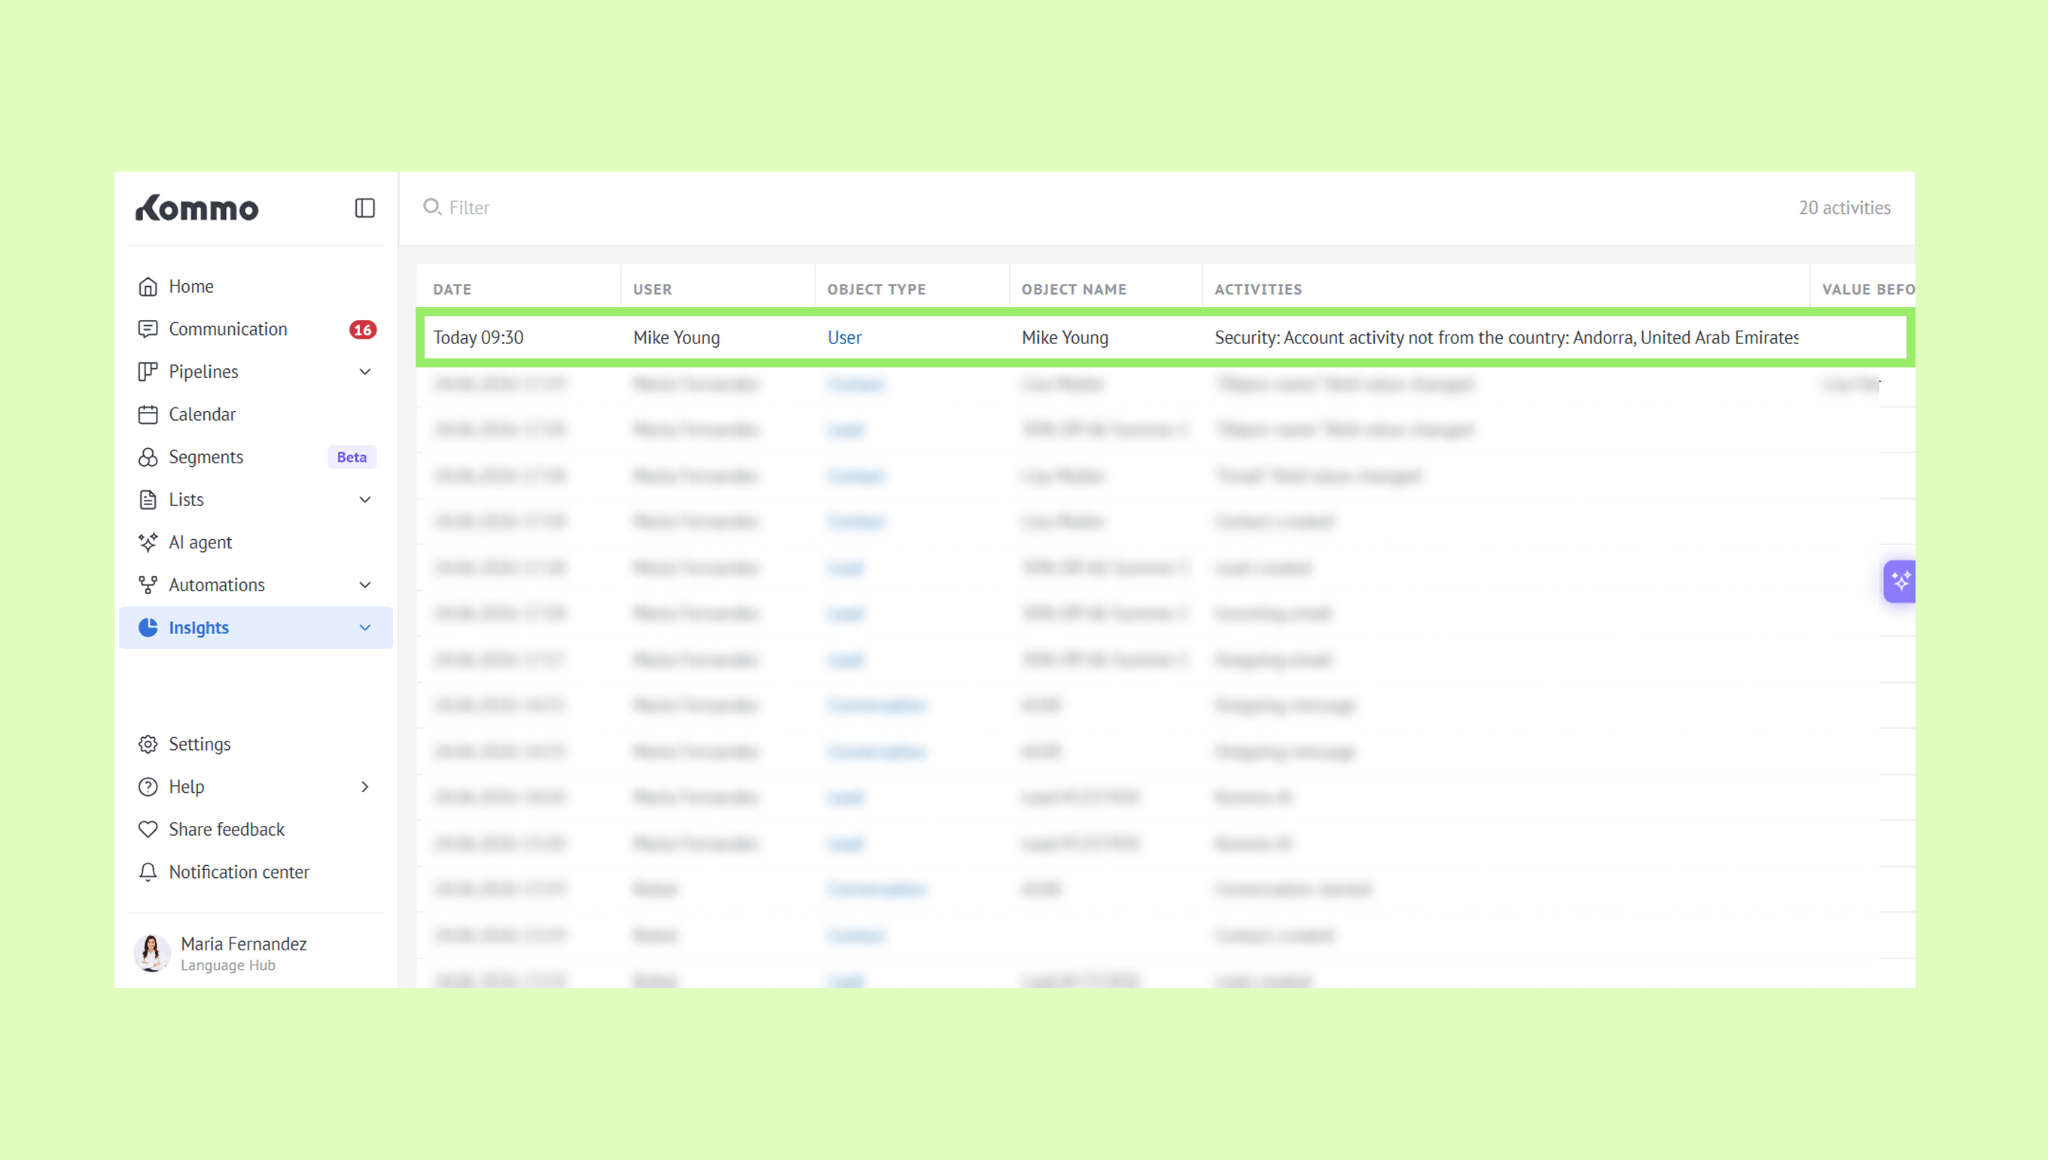
Denied access attempts appear in chronological order together with other workspace activity.
To show only denied access attempts:
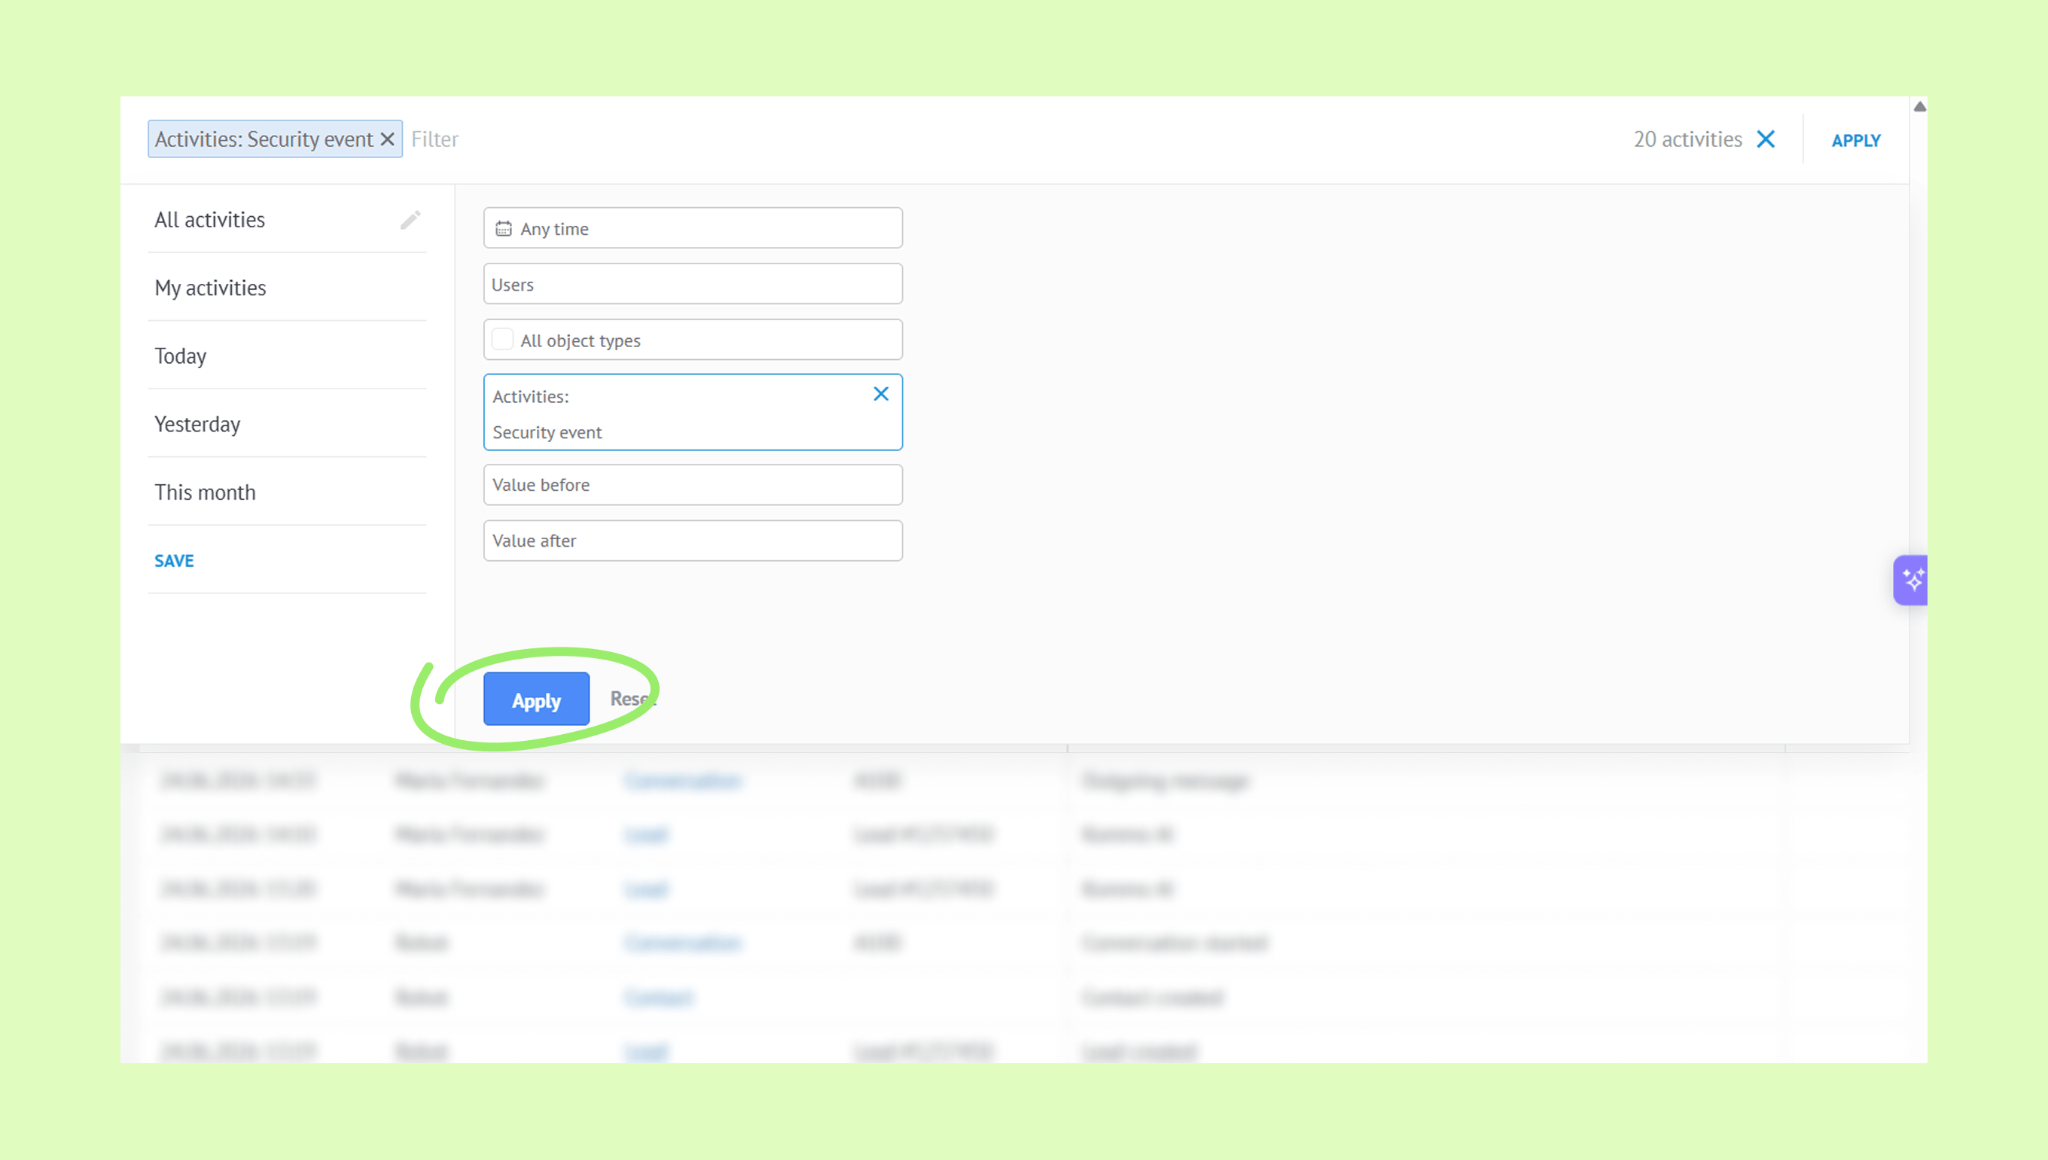
Click Filter > Activities.
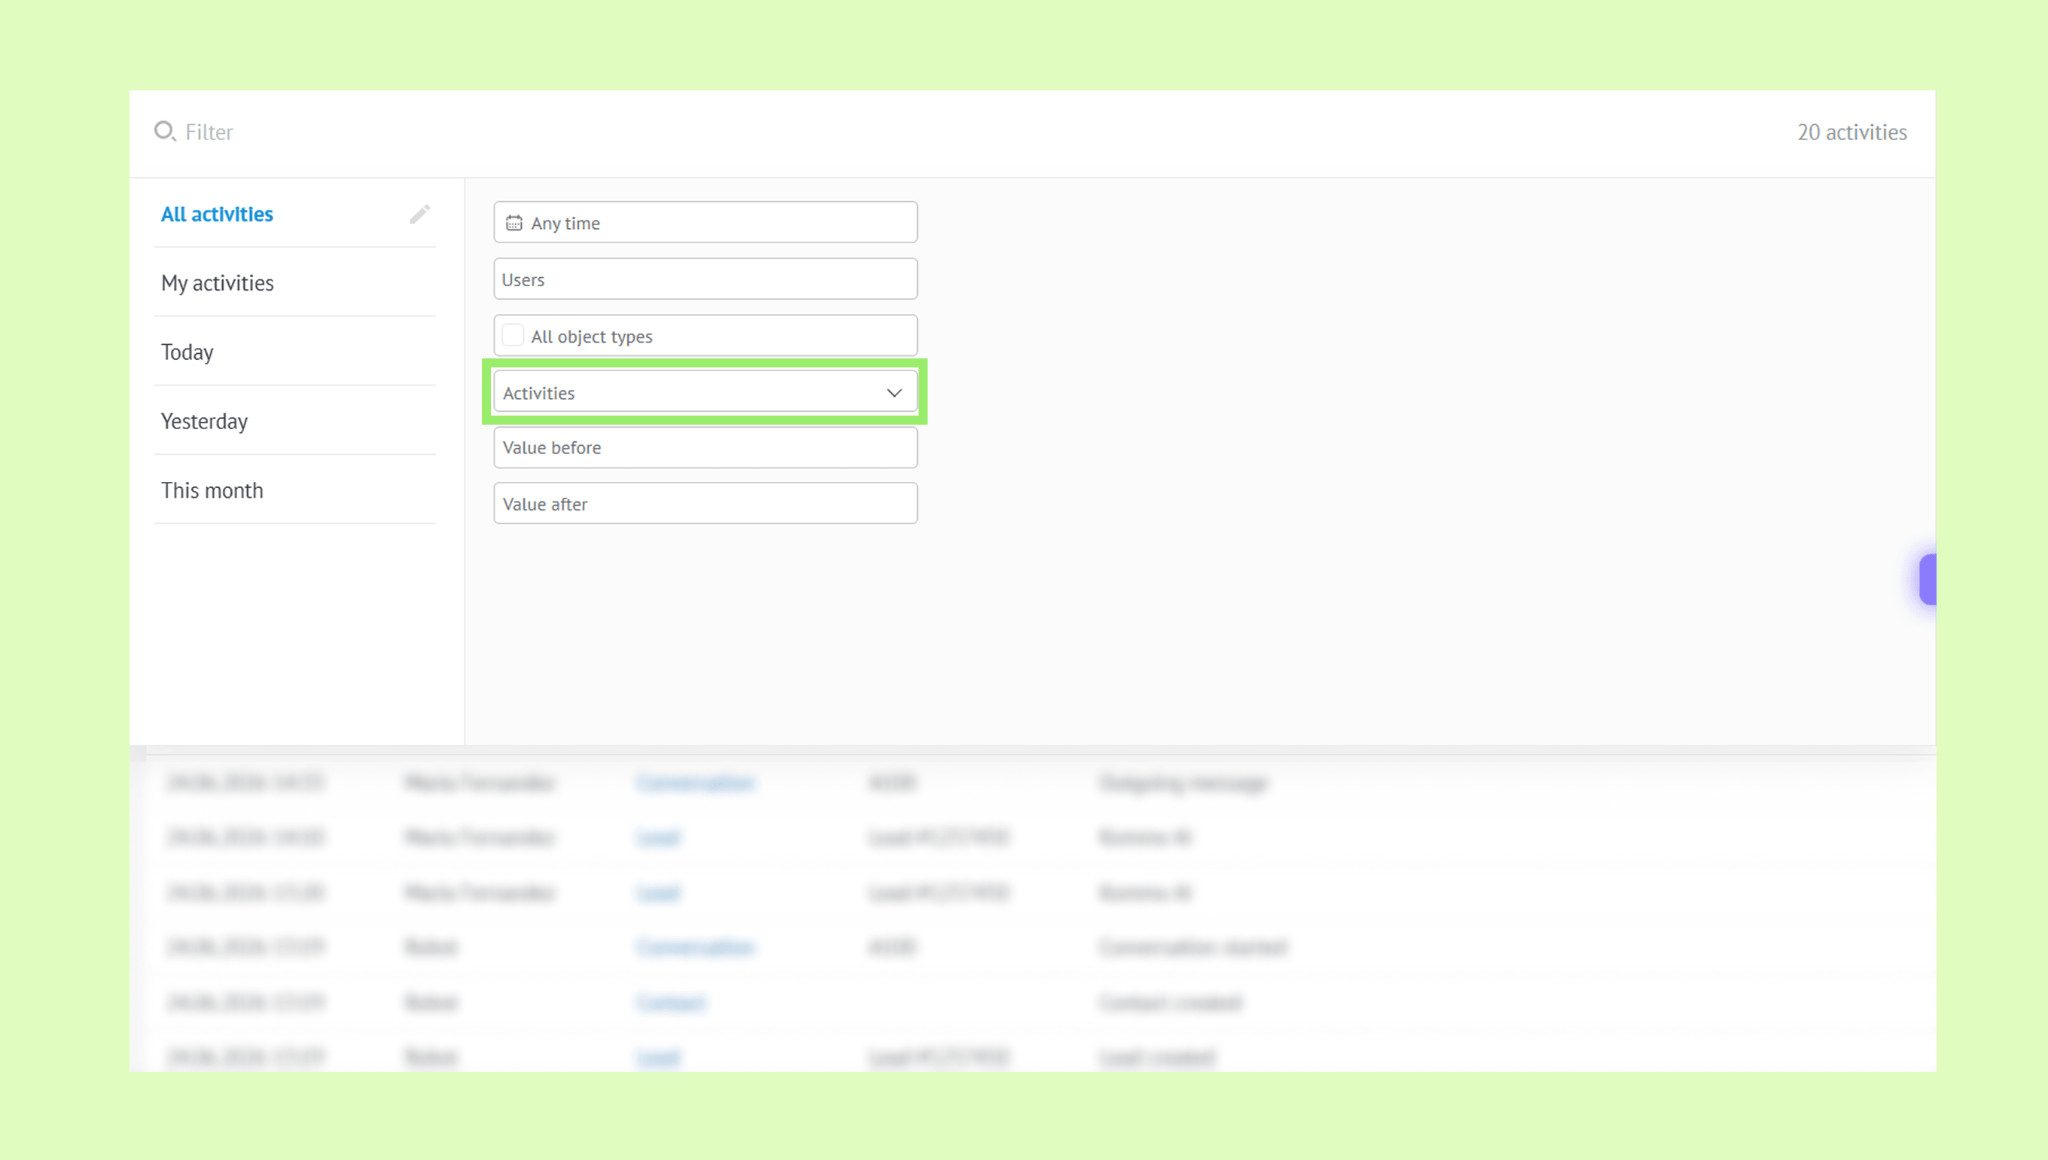
Select Security event from the list, then click OK.
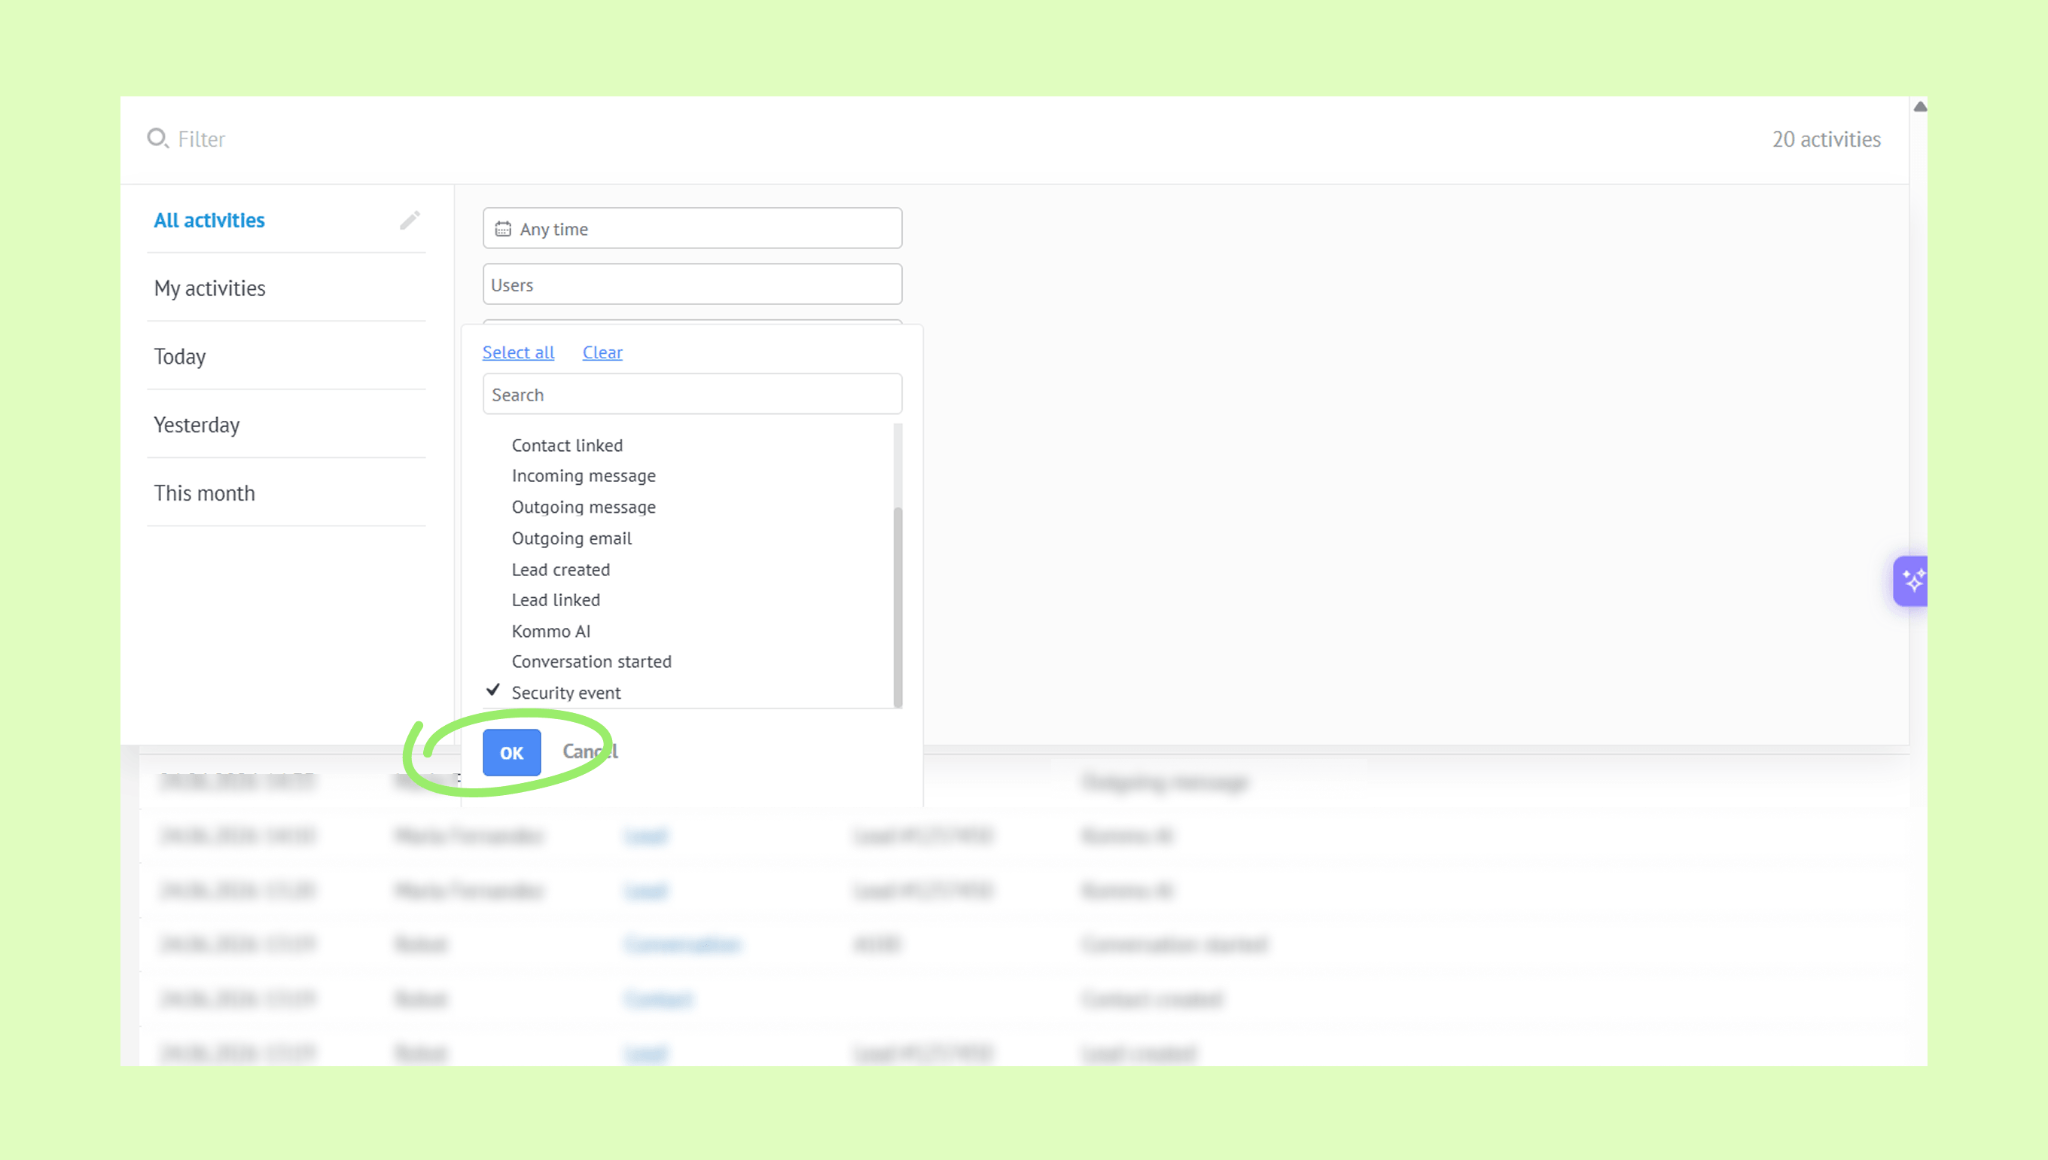
Click Apply.
Only denied access attempts will be shown in the Activity log.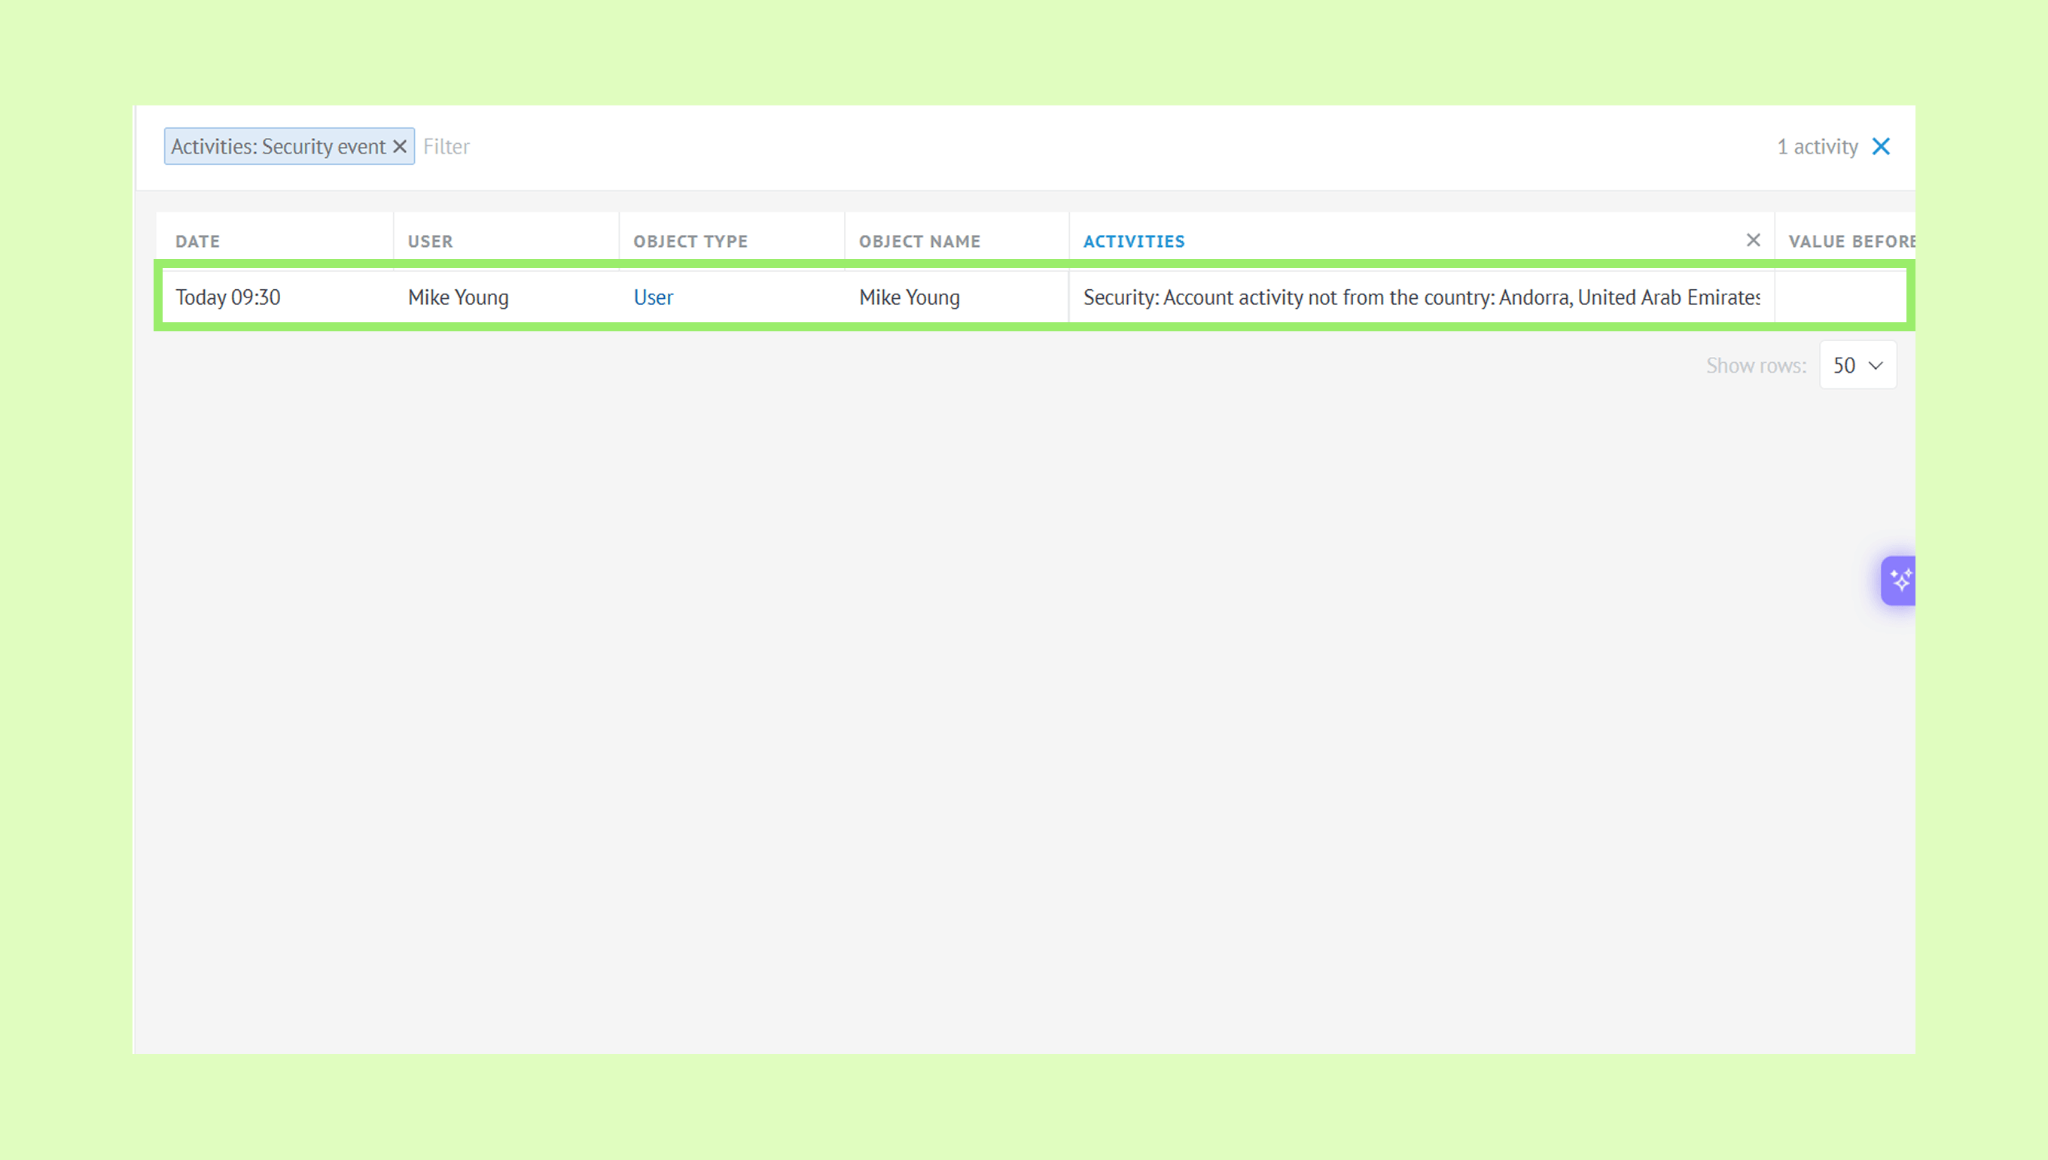
To reset the filter, click the X icon.
Tip: You can also filter the log by time or user name.