What you’ll need:
Any Kommo plan (Base, Advanced, Pro, Enterprise, or 14-day trial).
A connected Facebook integration in Kommo.
Keep in mind:
Only verified Facebook Business pages can be connected; personal pages are not supported, and you must have admin rights to the page.
Each Kommo account can only connect to one Facebook account. If you have multiple pipelines, you can link a different Facebook Business Page to each one, but the same page cannot be connected to multiple pipelines.
What are Facebook Forms Ads?
Facebook Lead Forms (or Instant Forms) are forms embedded in your Facebook ads that allow users to submit their information directly without leaving the platform. You can connect Facebook Forms through the Facebook integration with Kommo.
Use cases
Capture leads from Facebook ads: Leads coming from Facebook ads are filtered by qualities you can set in the Facebook Ads Managers, like gender, age and locations, so you can target the right audience for your product/services.
Know your leads profiles: When a Facebook Form is filled, you’ll receive the lead automatically in your pipeline with all the data they filled in the form already stored in their lead profile’s mapped fields.
Automate lead tagging and pipeline placement based on form responses: You can filter leads based on their answers on Forms.
Create a Facebook Lead Form Ad
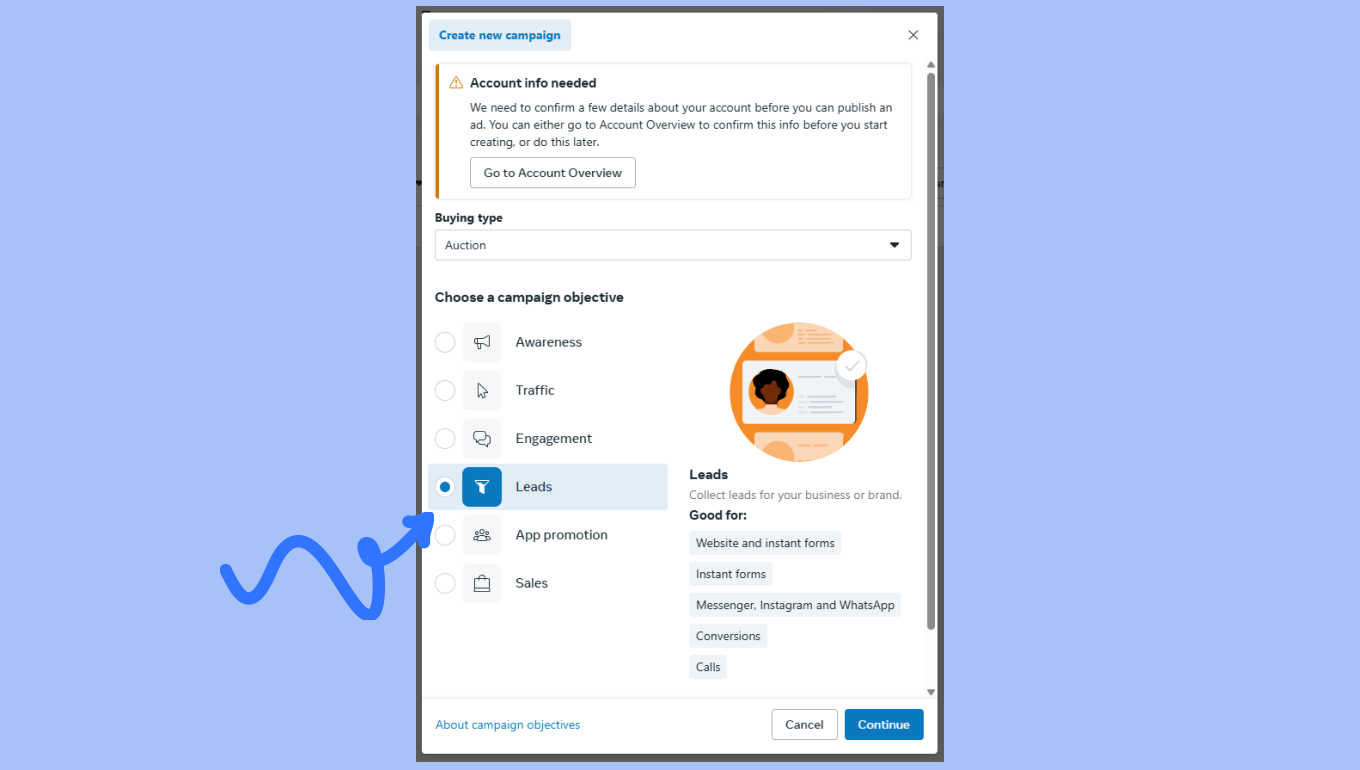
In Meta Ads Manager, open your ads campaign on Facebook or create a new one → set the campaign objective as Leads.
Next, set up your adset with desired parameters and proceed to ad creation.
In Conversion → select Instant form.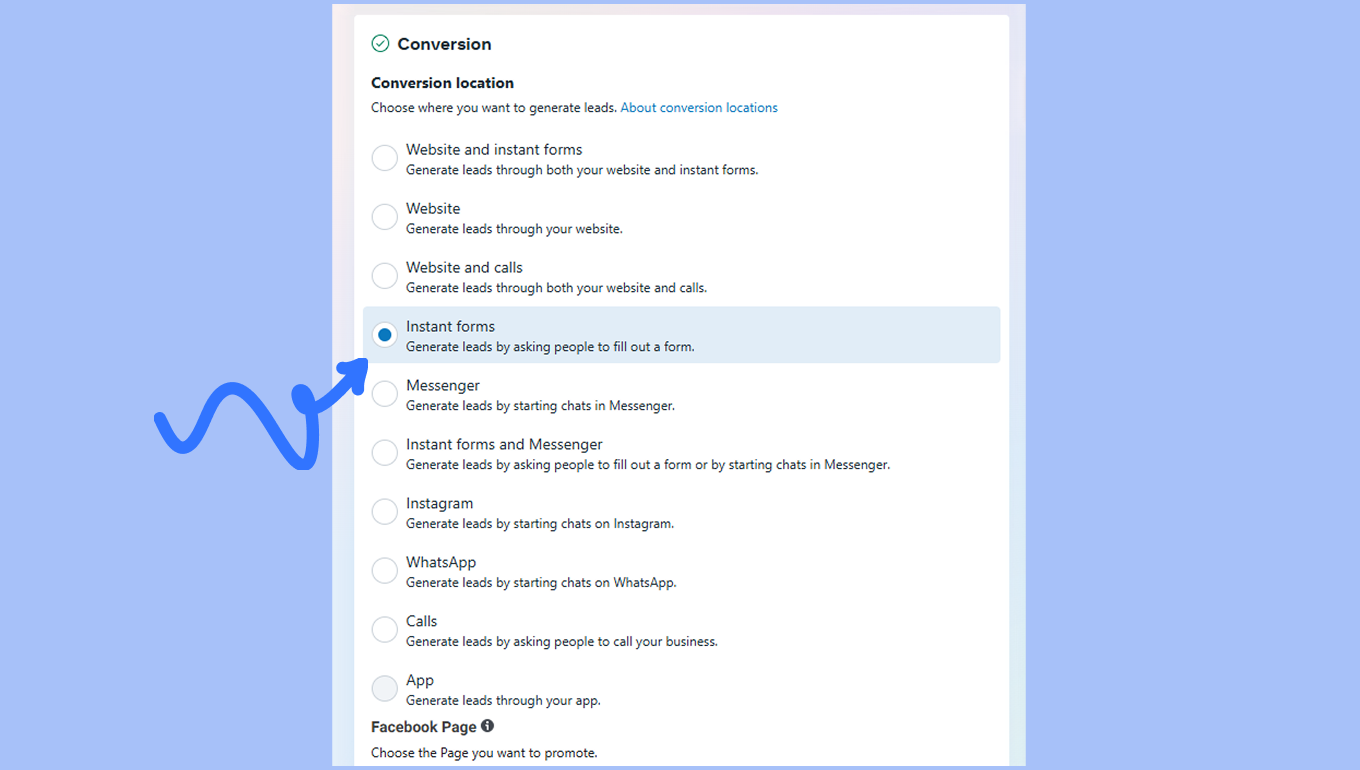
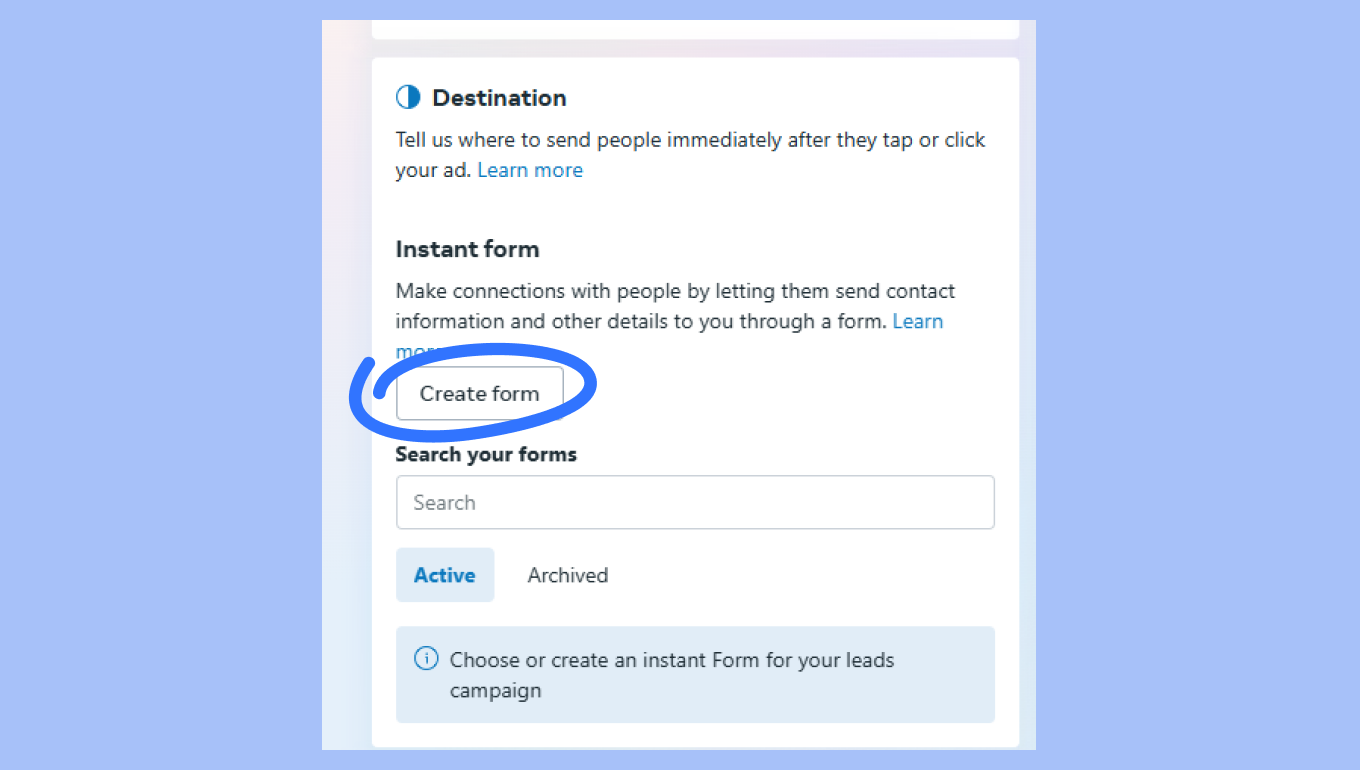
To build a new form, in the Destination section → click Create Form.
Set up your form the way you like it. Let’s run through all of the options here.
Form type - You can choose between More volume, Higher intent or Rich creative.
Sharing settings - Open or restricted.
Flexible form delivery - Optimized or manual.
Intro - Here you can select the headline and other features.
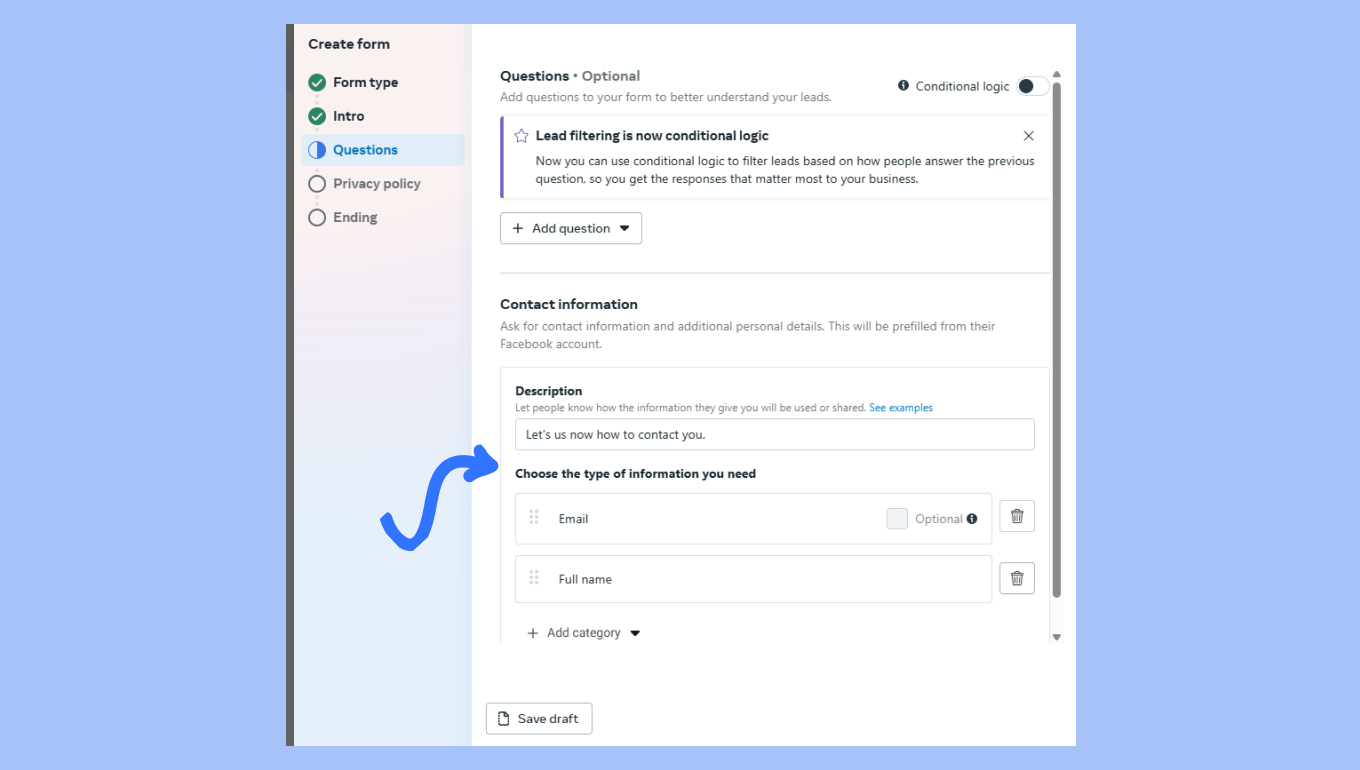
Questions - Set-up the fields users will have to fill out in order to successfully submit your form. These are the information gathered you will have available at Kommo.
Privacy Policy - Paste the link to your Privacy Policy, in order for your client to review it before they submit the form
Ending - The last screen your client will see with the headline, description and a link to your website.
Once you’ve finished, click Publish. Now you have to map your form to Kommo fields.
Connect Facebook Forms Ads to Kommo
To connect Facebook Form Ads to Kommo, see how to connect your Facebook account to Kommo here.
Once Facebook is connected, follow these steps:
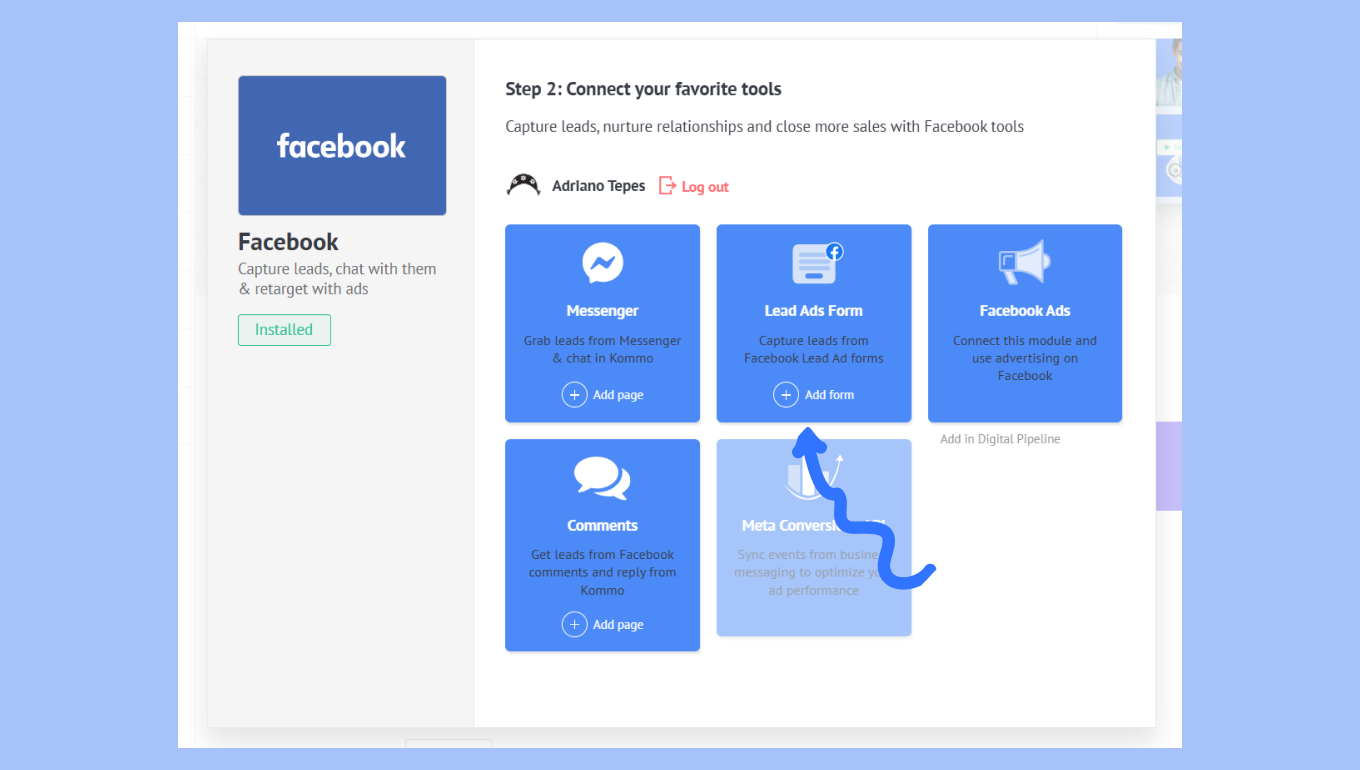
On Leads Add Form, click + Add Form.
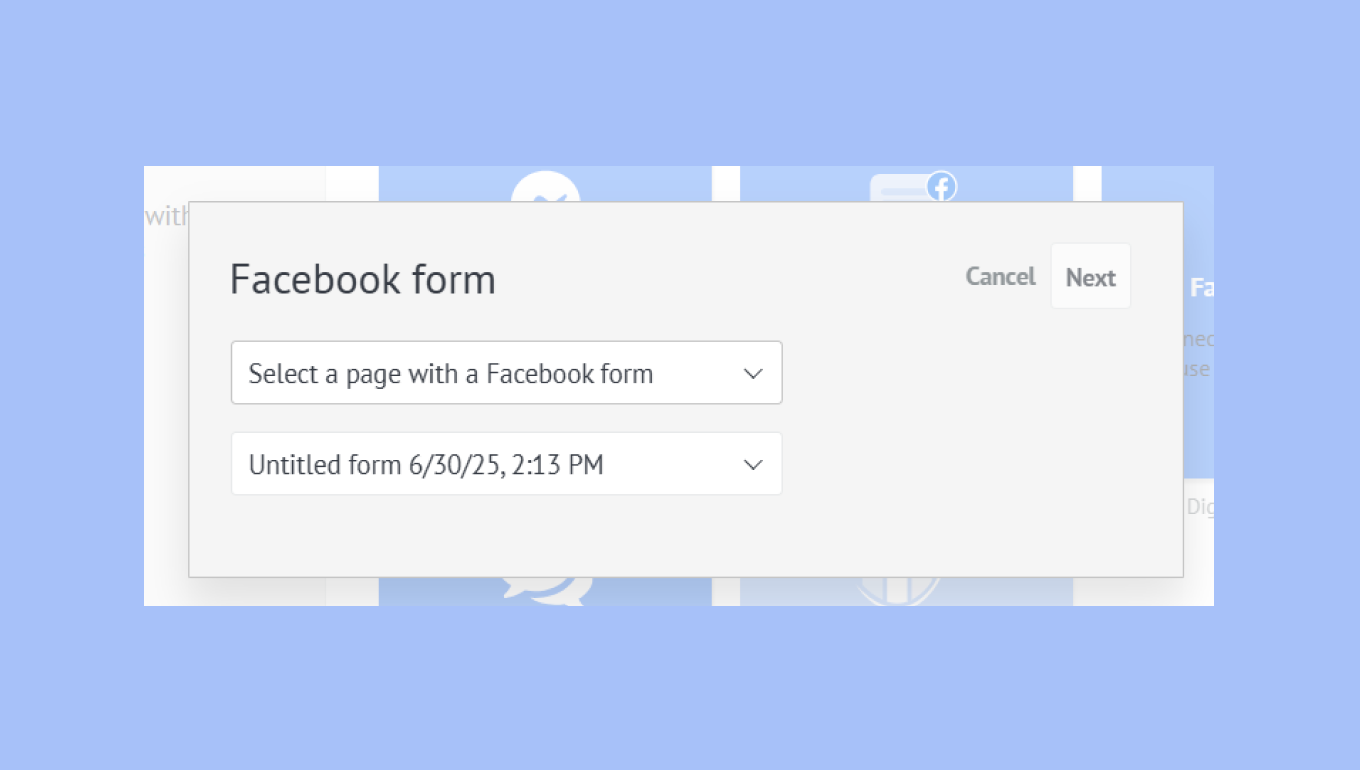
Select the Facebook Business Page with your ad → select the form you want → click Next.
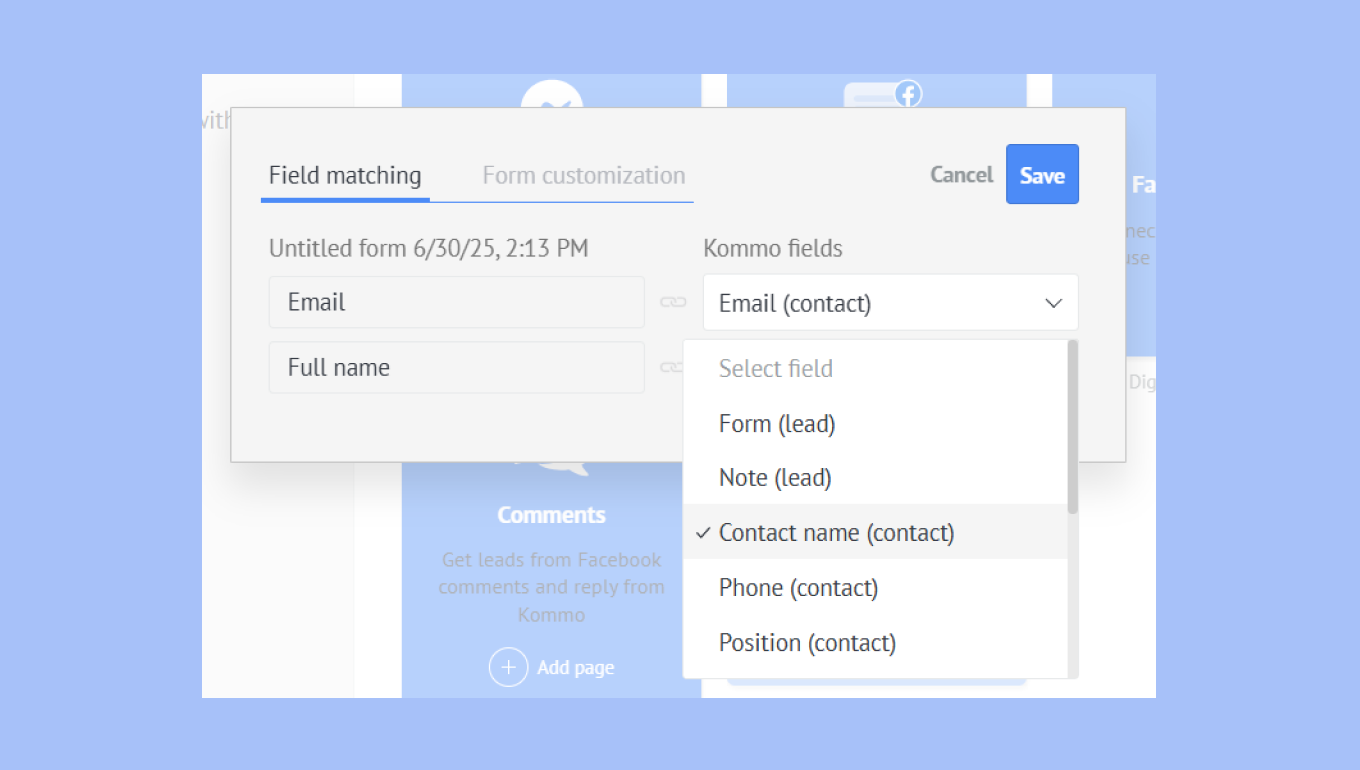
Match the form fields to the matching fields in Kommo, for example: Email → Email (contact).
In the Form customization tab, assign tags to your leads from form ads, and select the Pipeline and stage where they will appear. You can use this to better organize your leads and track which ads and campaigns they are captured from.
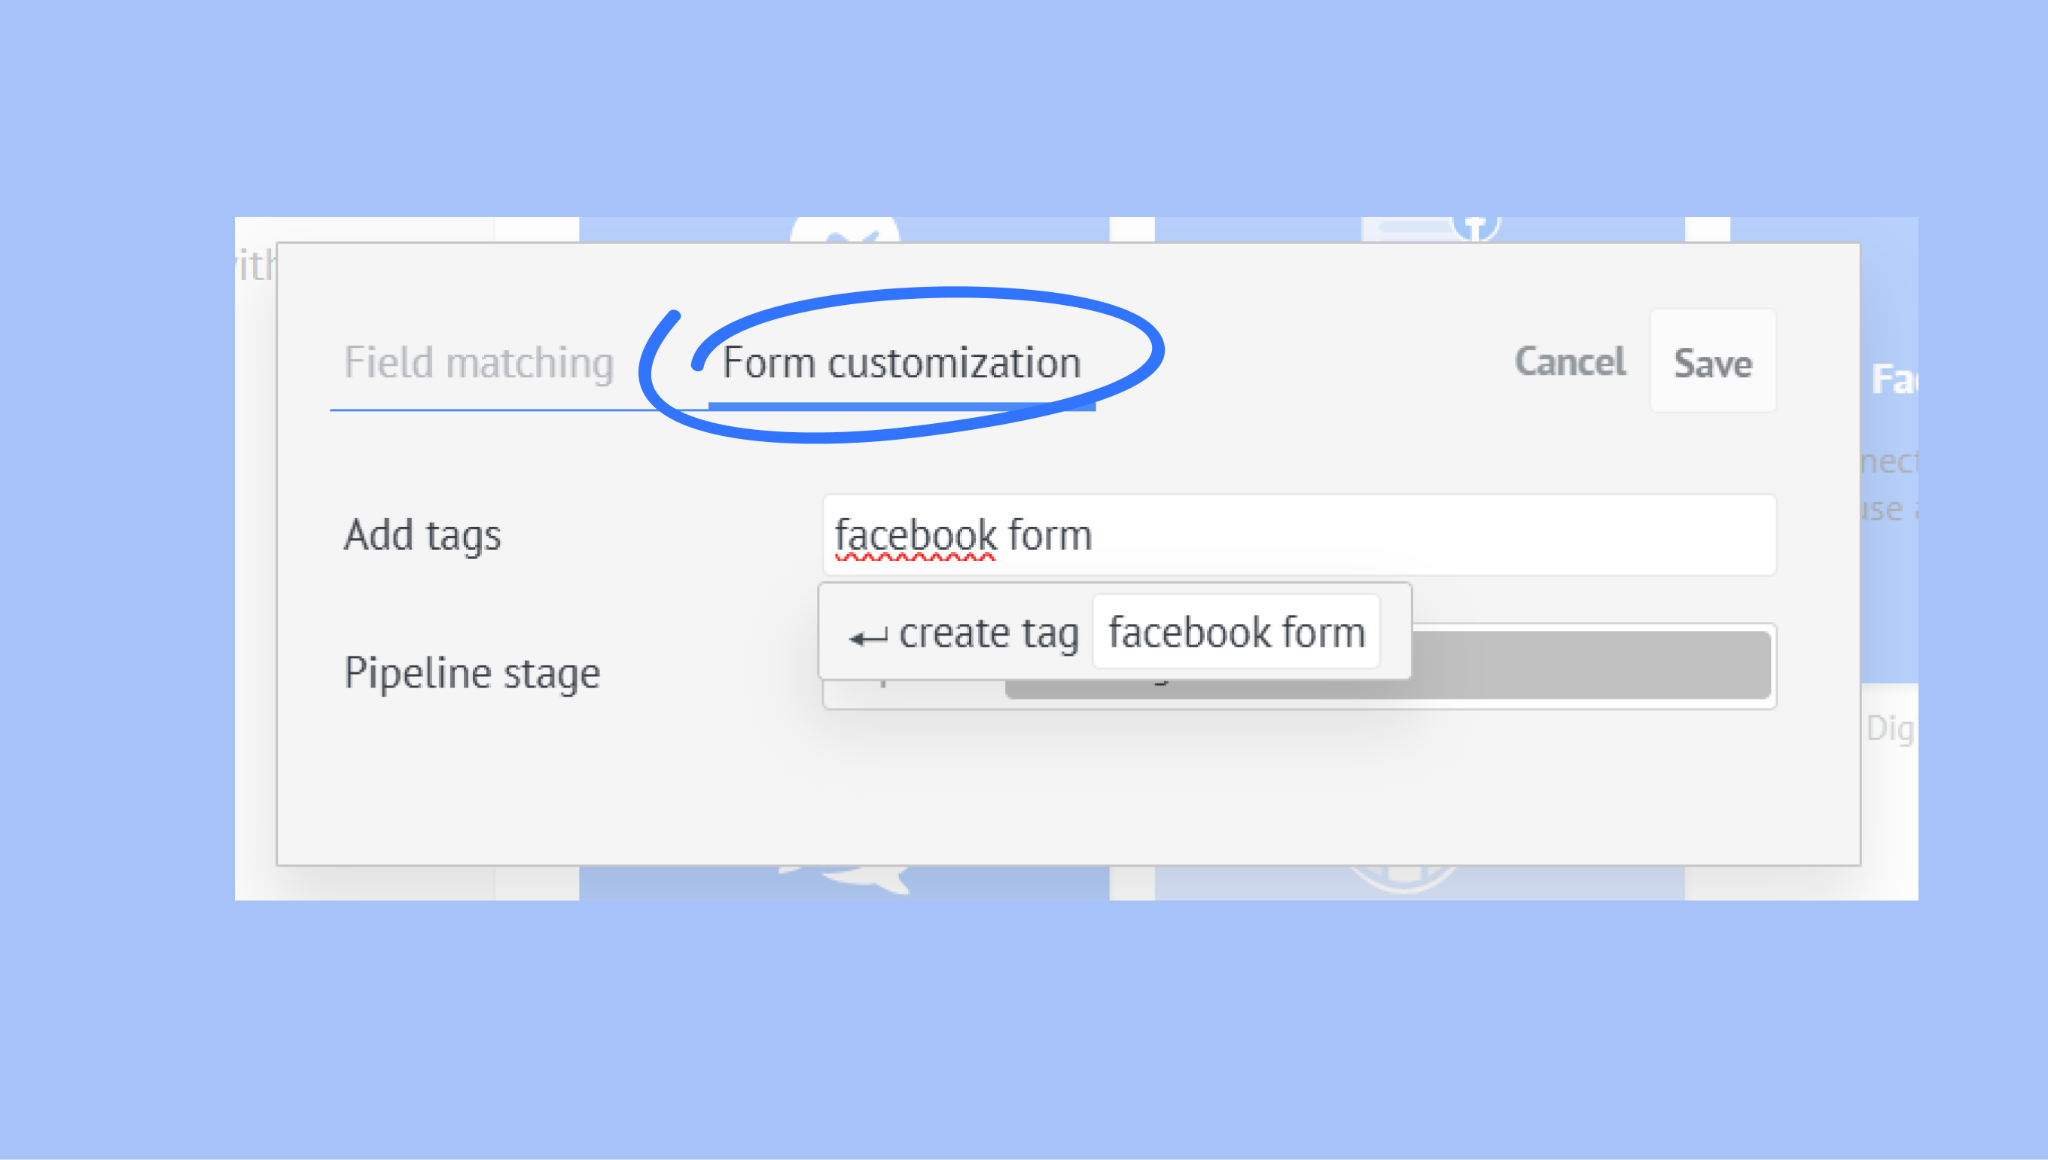
Click Save to finish the forms integration setting. Now, whenever your form ad is answered:
A new lead will appear in the selected pipeline and stage
Their answers will be saved in the matched fields in their lead cards.
For troubleshooting and fixing possible mistakes, check this article.