What you’ll need:
Any Kommo plan (Base, Advanced, Pro, Enterprise, or 14-day trial)
Keep in mind:
Only Admins can connect shared email accounts, create email templates, and add signatures
Kommo syncs only two folders from your email service: Inbox and Sent
Kommo supports IMAP/SMTP email services like Gmail, Outlook, and Yahoo
In Kommo, you can connect your email account or use the built-in smart email addresses to communicate with clients.
Send and receive emails, add new senders to your contacts or turn them into leads, use templates and automations to speed up your communication – and more.
This step-by-step guide shows you how to connect your email account to Kommo and set up your mailbox.
Connect your email account
In Kommo, you can connect one or multiple email accounts and choose whether each one is personal or shared with your whole team.
To connect and email account:
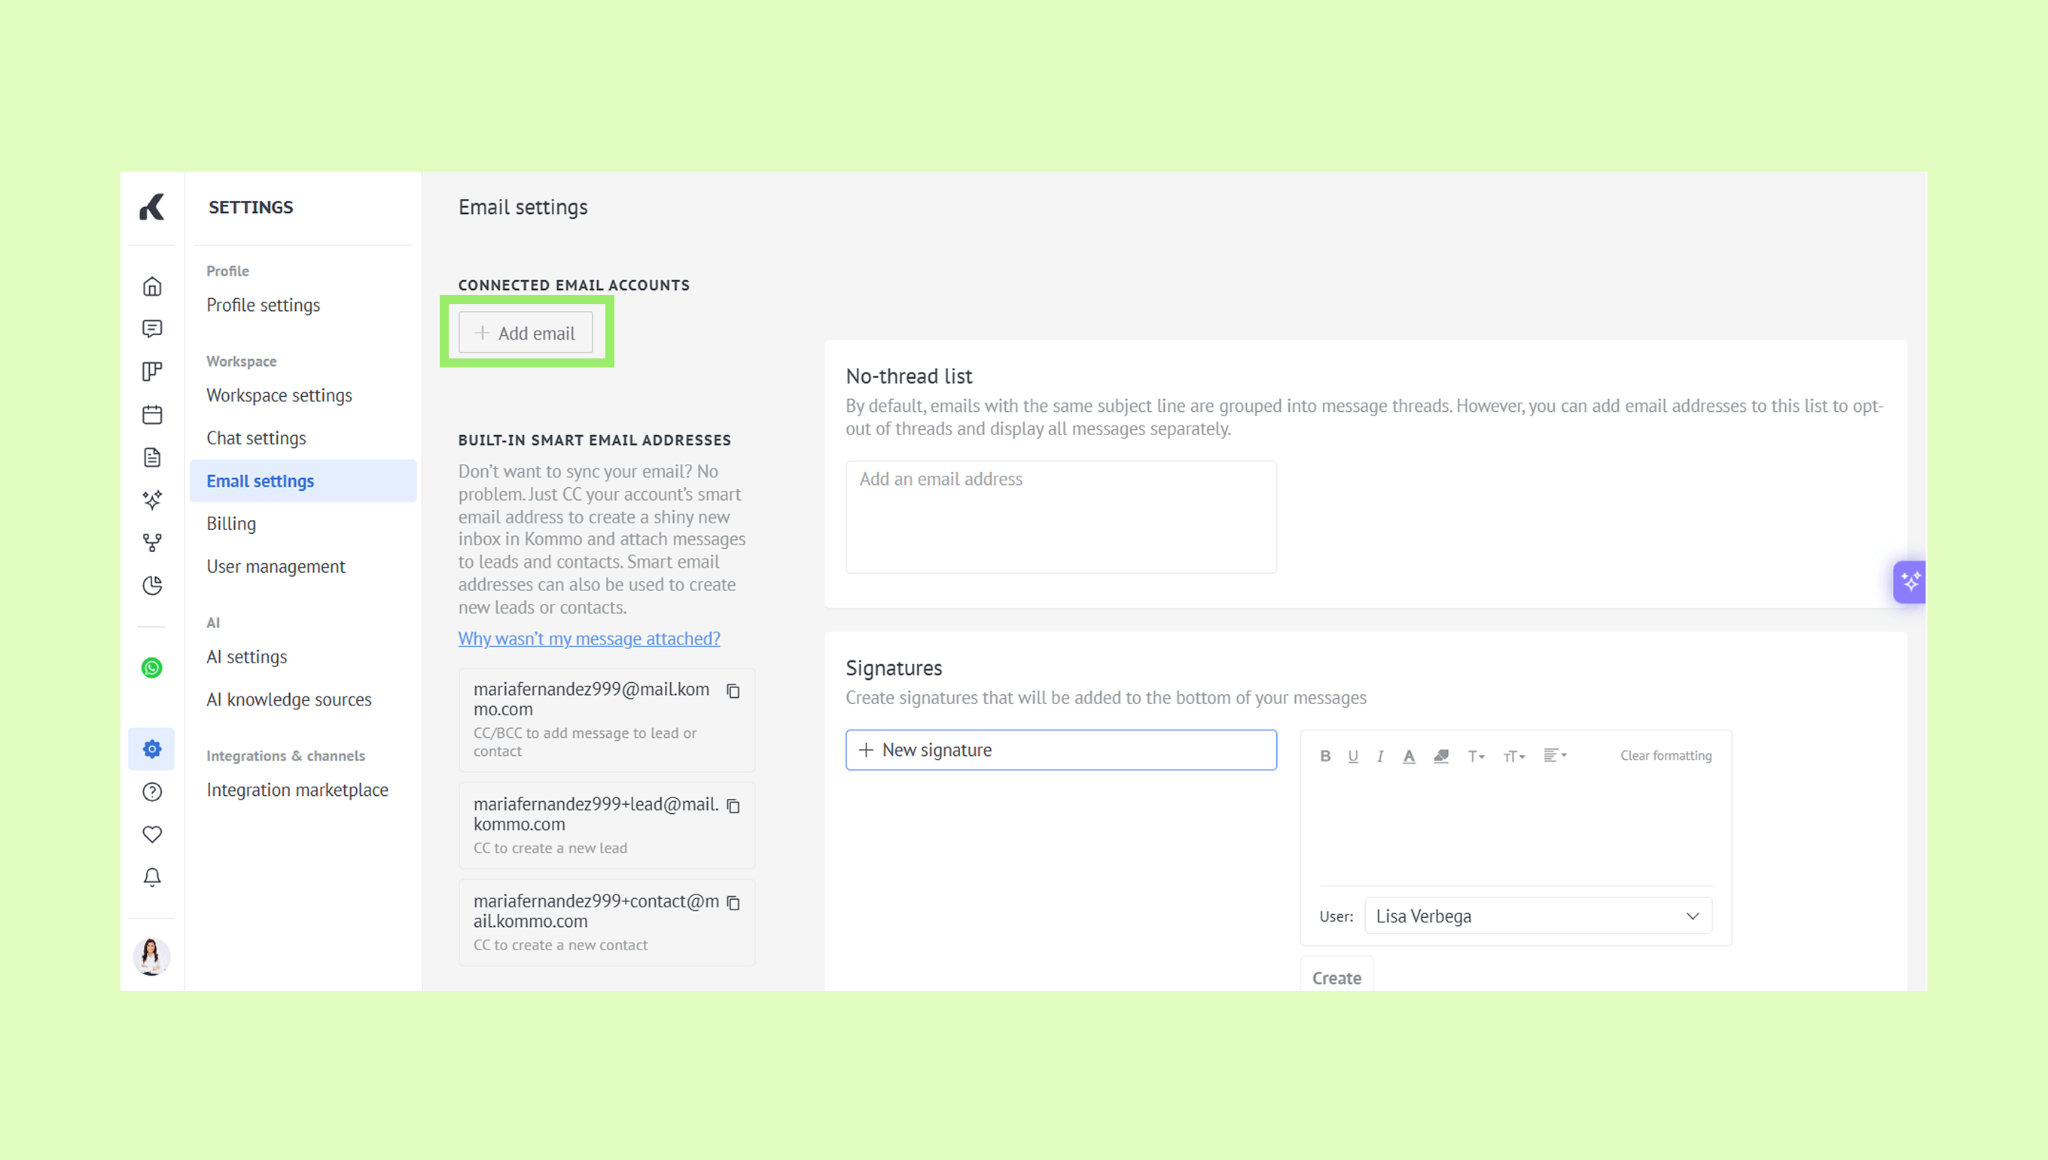
Go to Settings → Email settings and click + Add email.
Enter your email address and click Continue with Google (or Continue for any other provider).
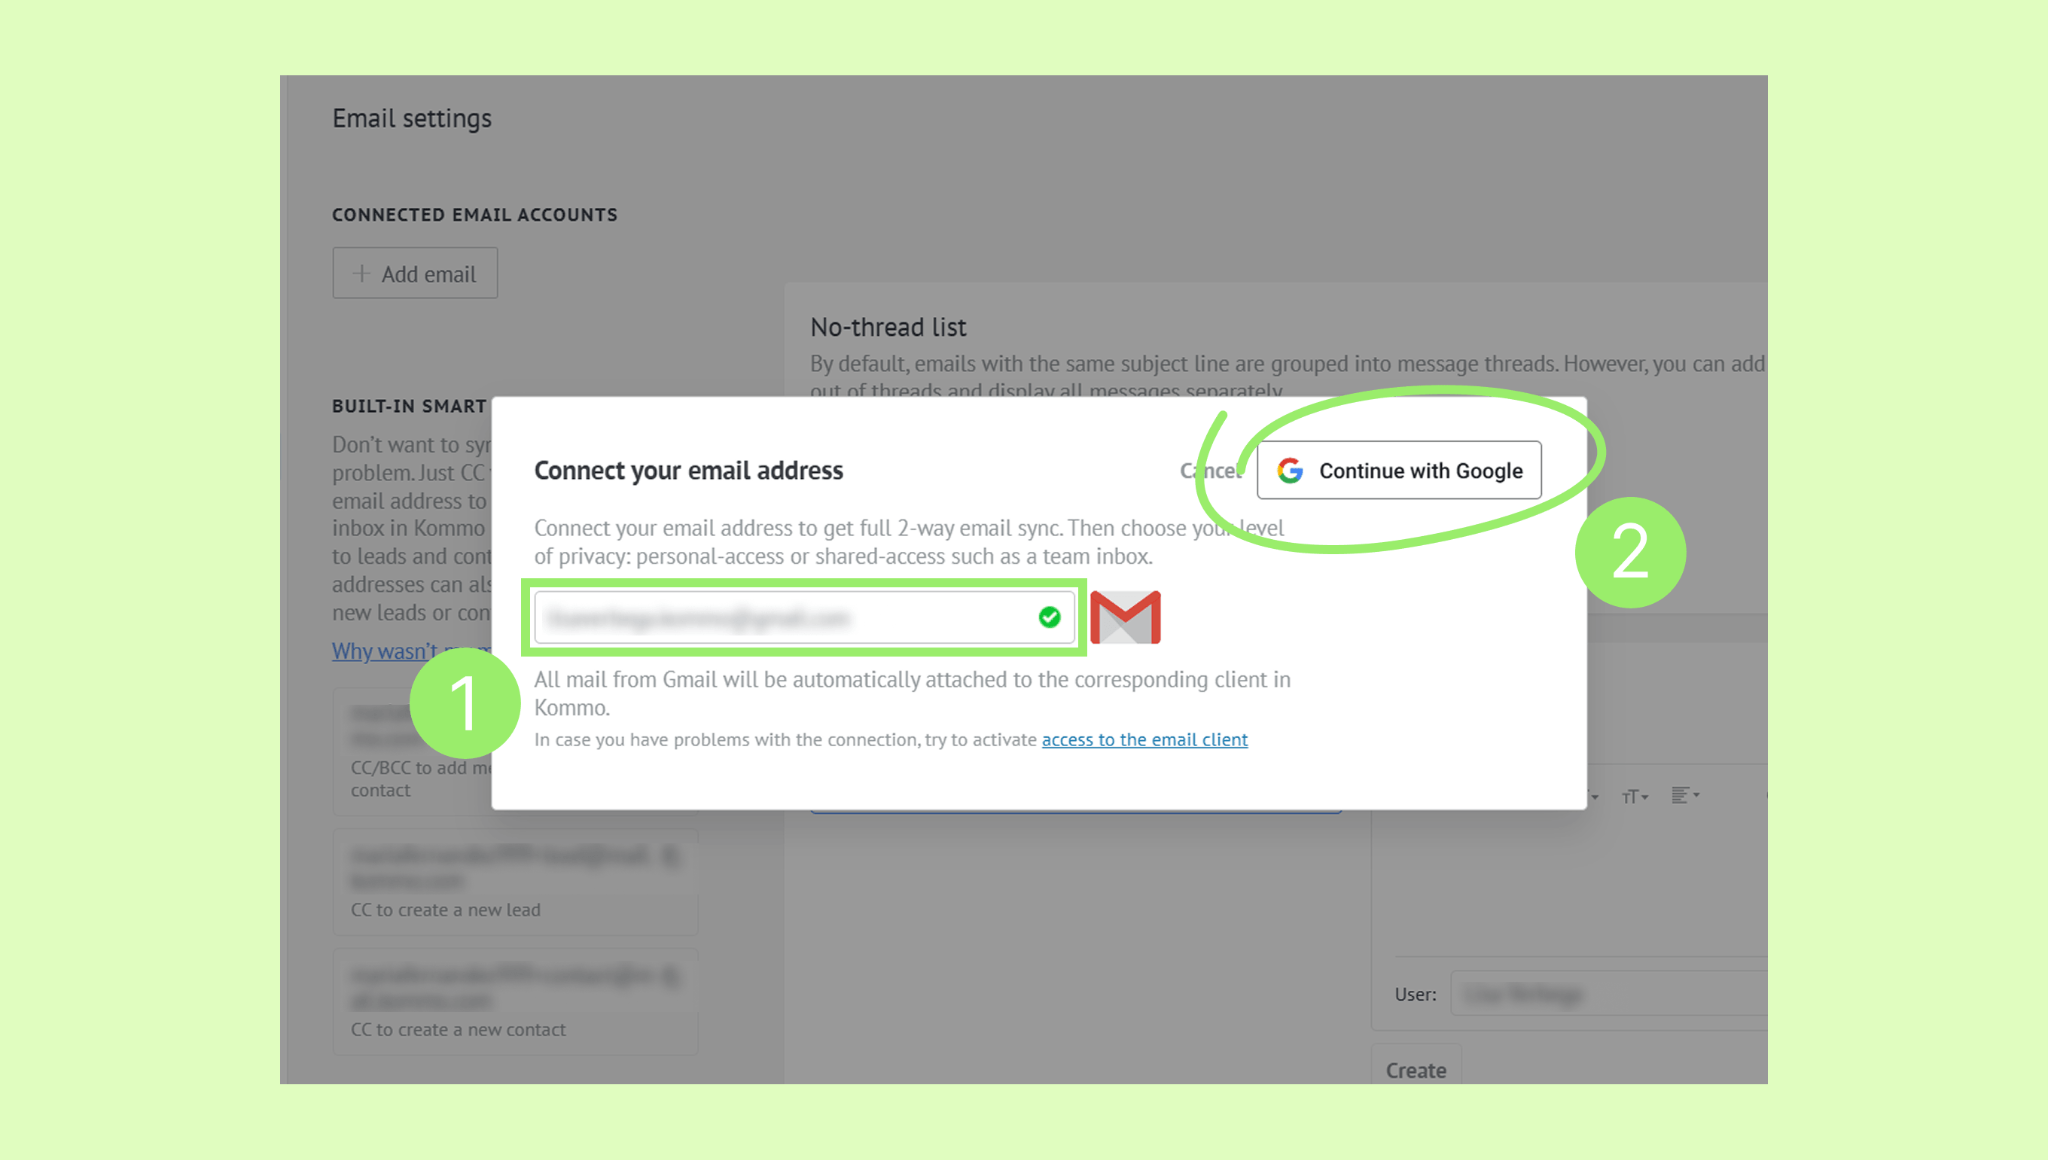
You’ll be redirected to your email provider – grant Kommo access to your account.
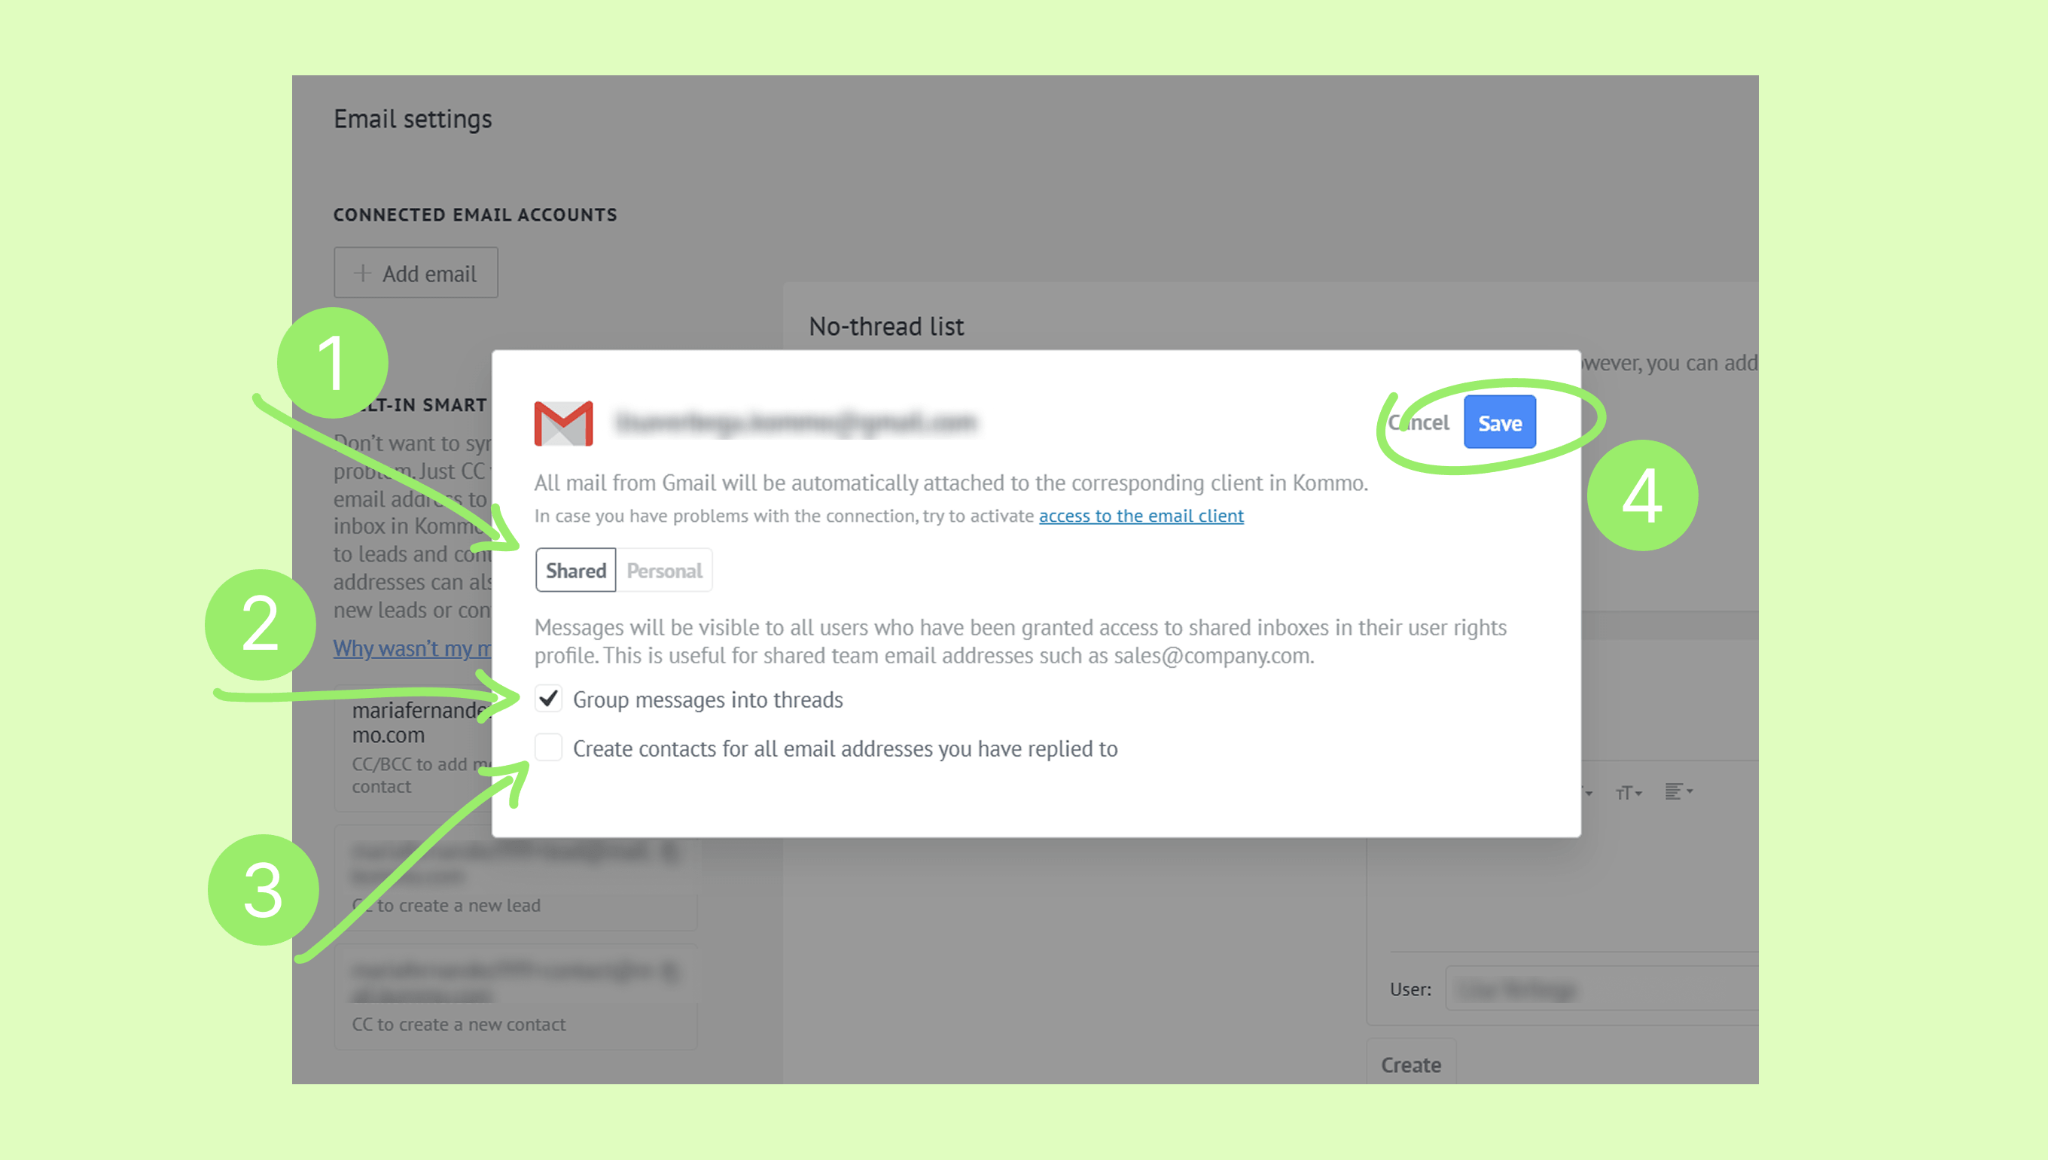
Back in Kommo, configure your settings:
Choose personal or shared inbox
(Optional) Disable threading to receive emails separately
(Optional) Enable “Create contacts for all replied emails” for automatic contact creation
Click Save.
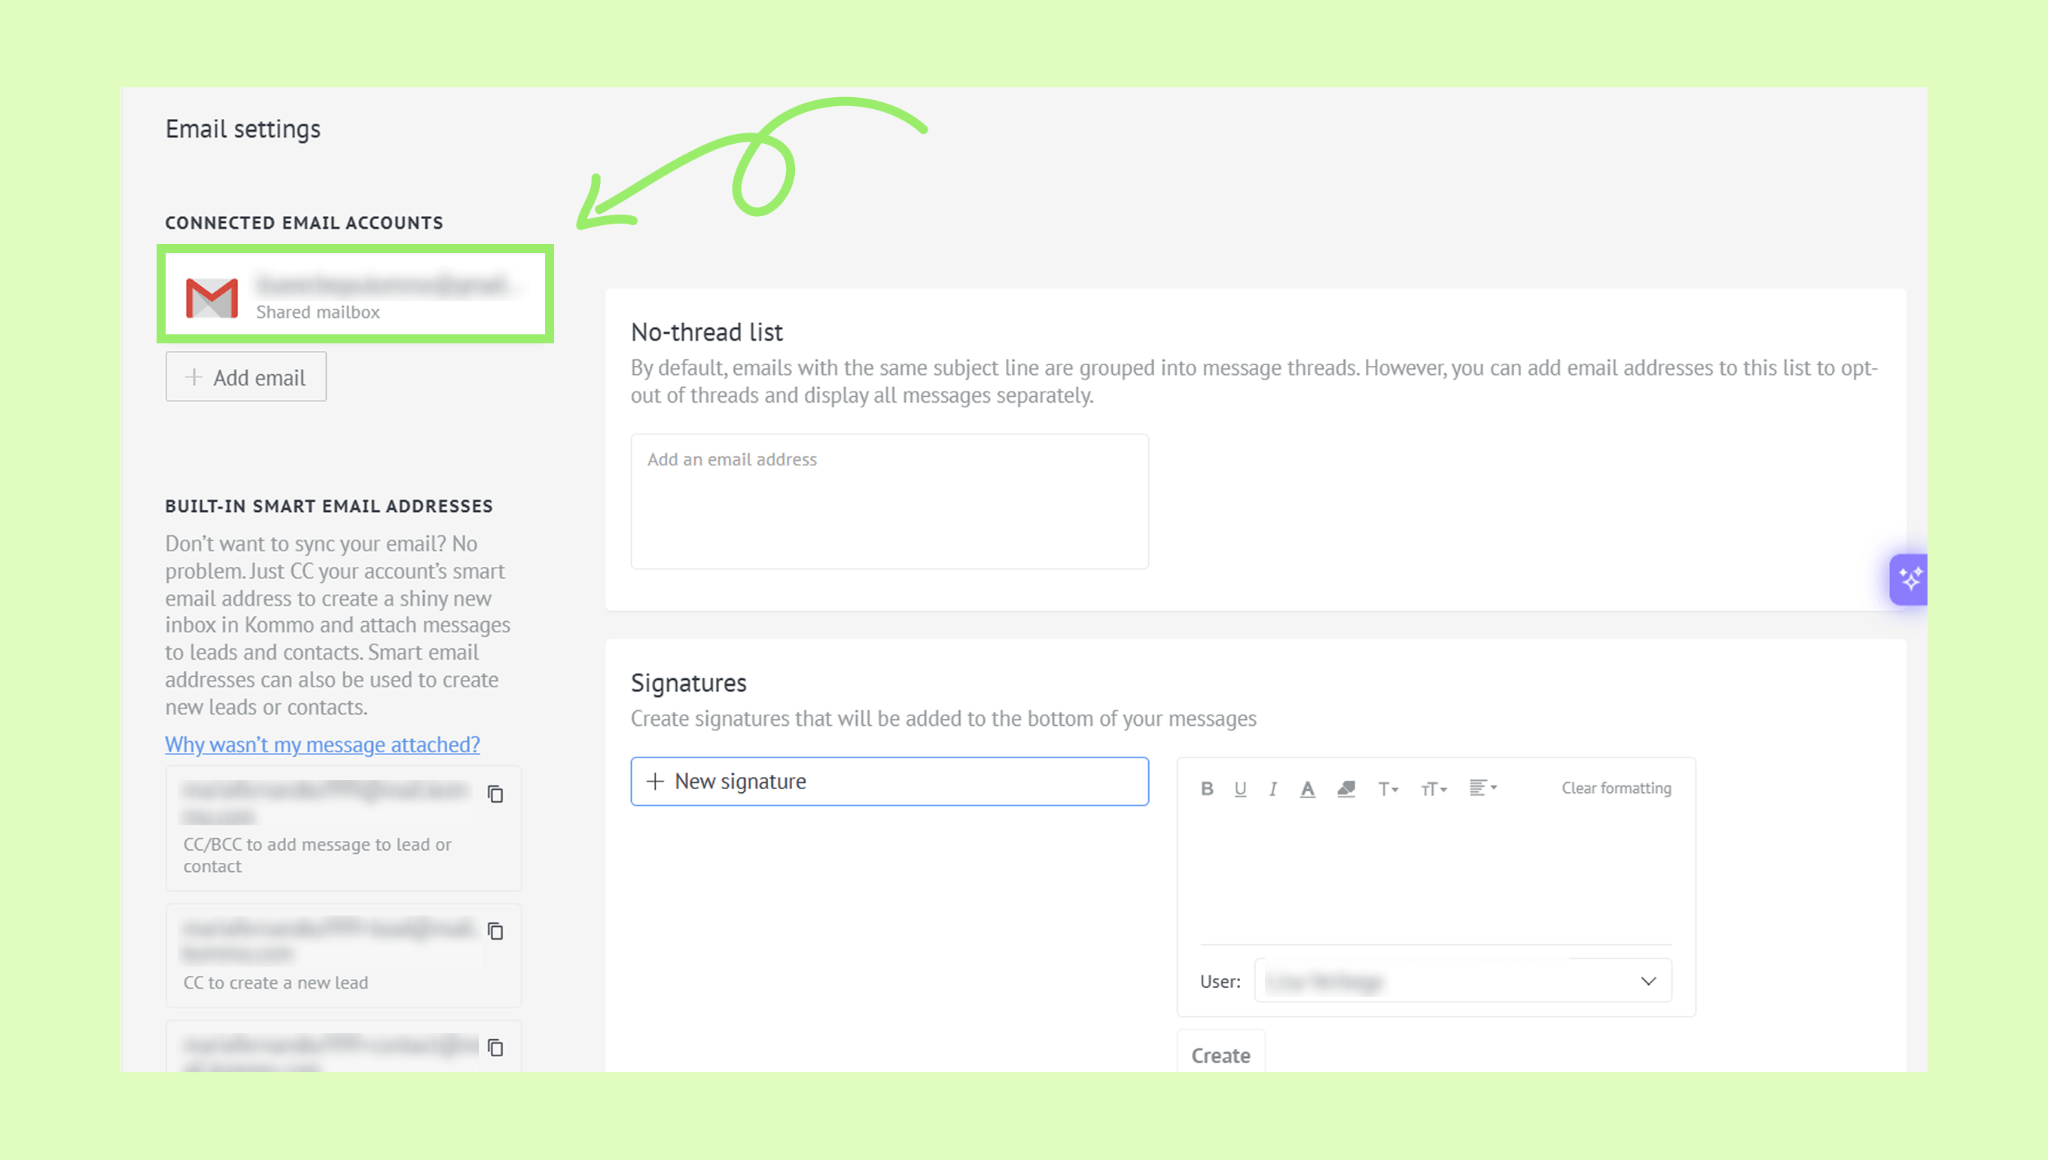
Your connected email account will appear on the page.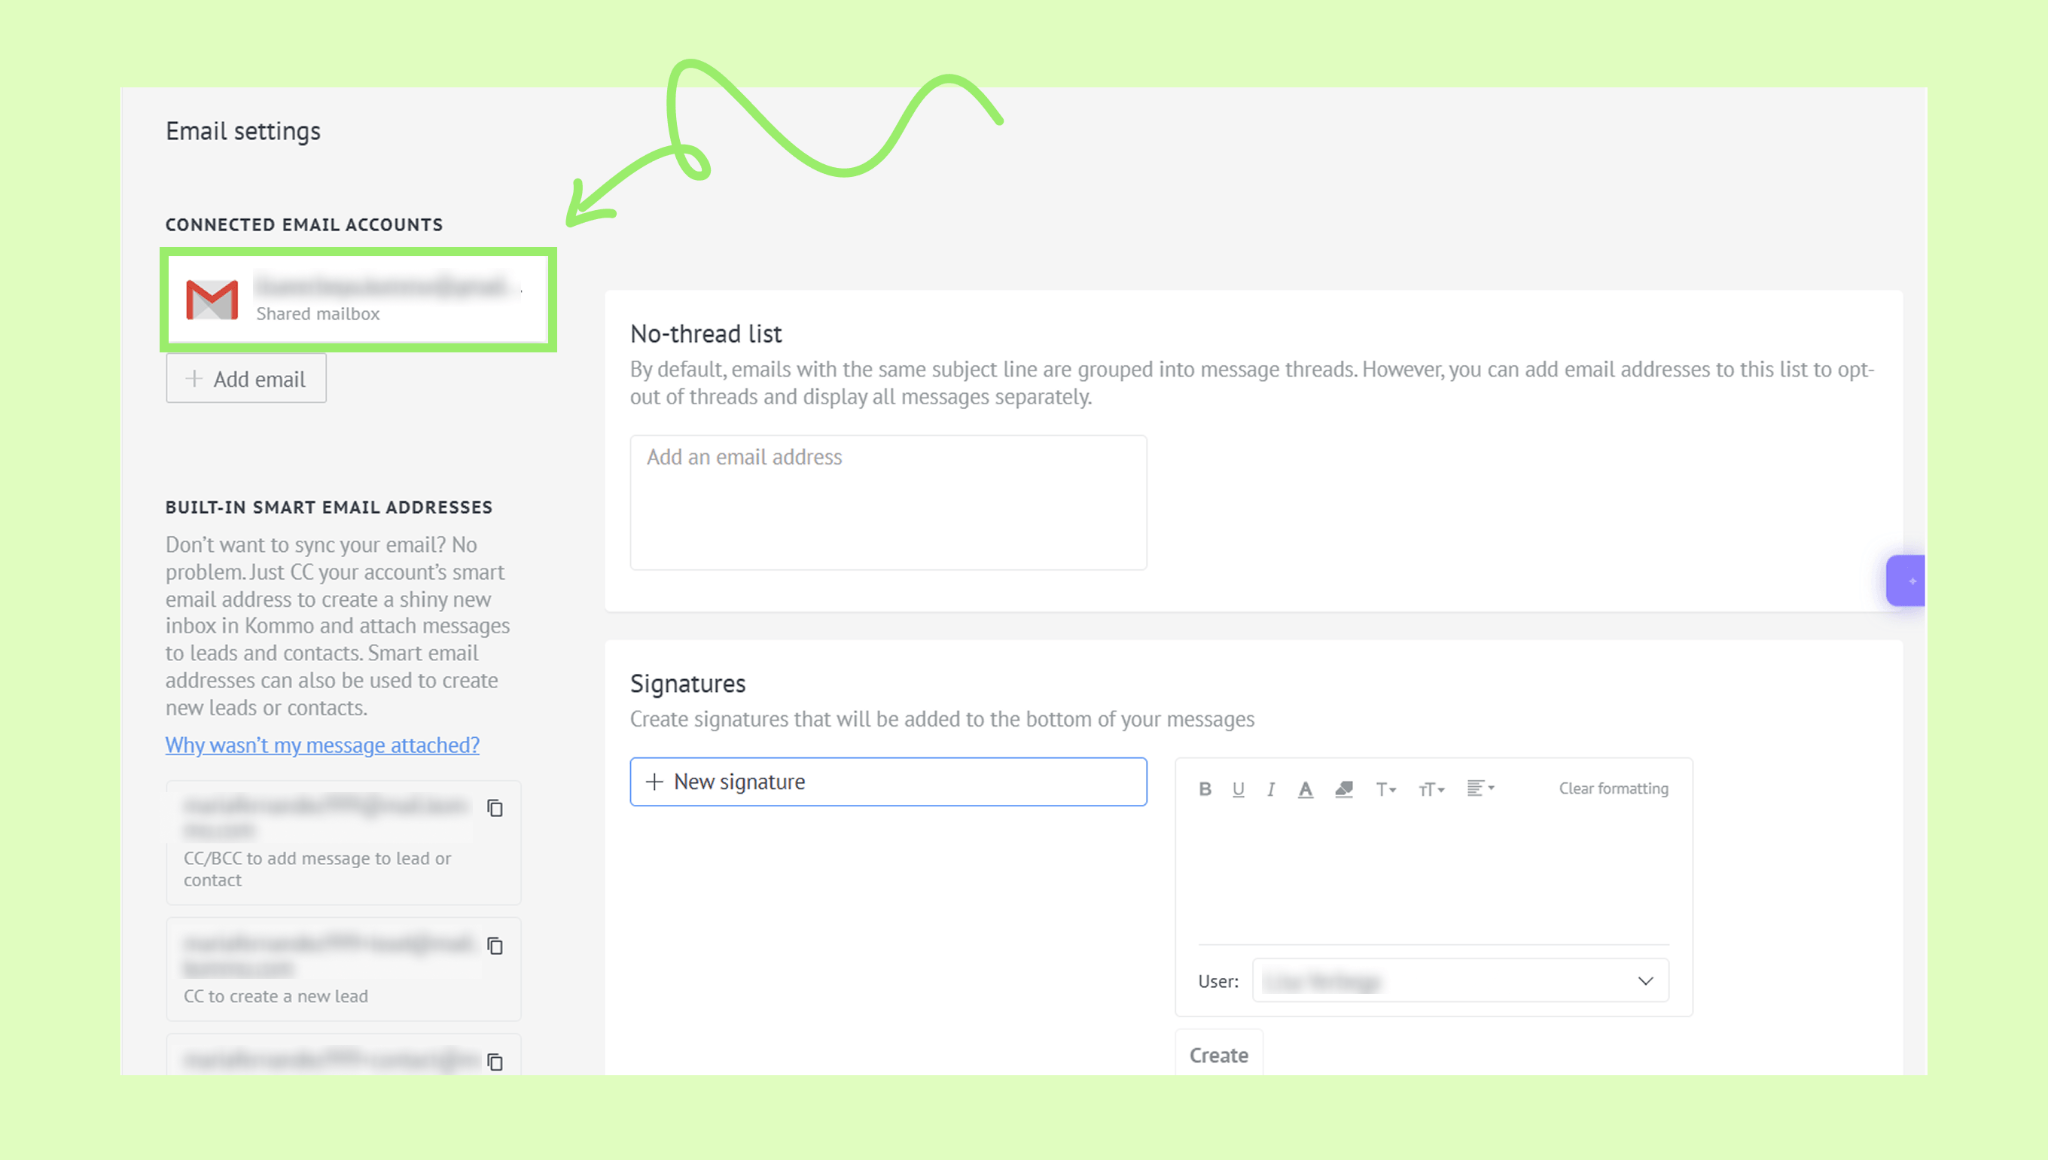
Use built-in smart email addresses
If you don’t want to connect your email account to Kommo, you can still manage emails from your workspace using built-in smart email addresses.
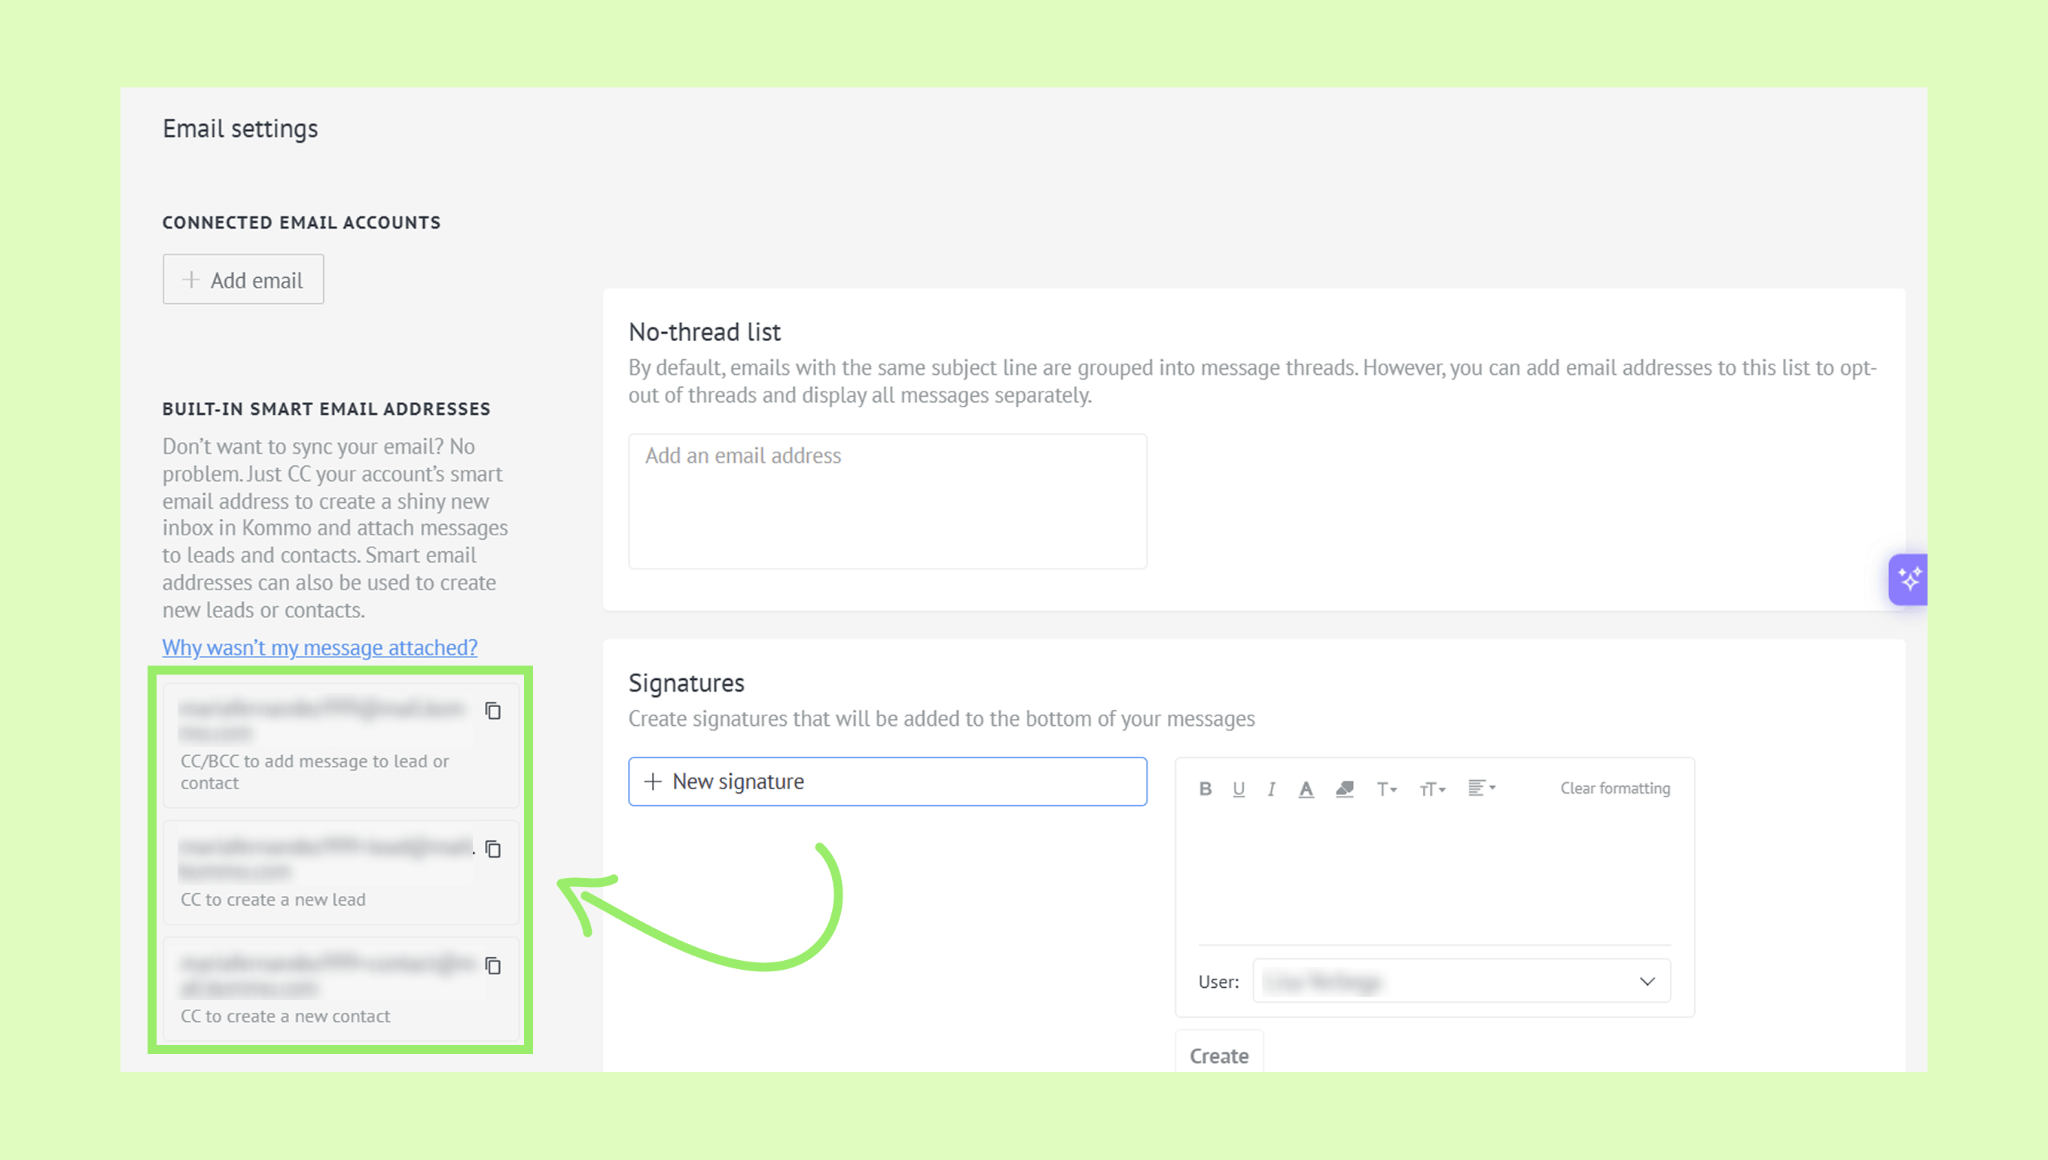
These addresses are automatically created with your Kommo workspace. Just add them as CC or BCC when sending emails from Gmail, Yahoo, or any other email provider. All emails that contain these addresses will be synced to Kommo.
Go to Settings → Email settings and copy one of the smart email addresses.
Open your email service, paste the address into the CC or BCC field, and send your email.
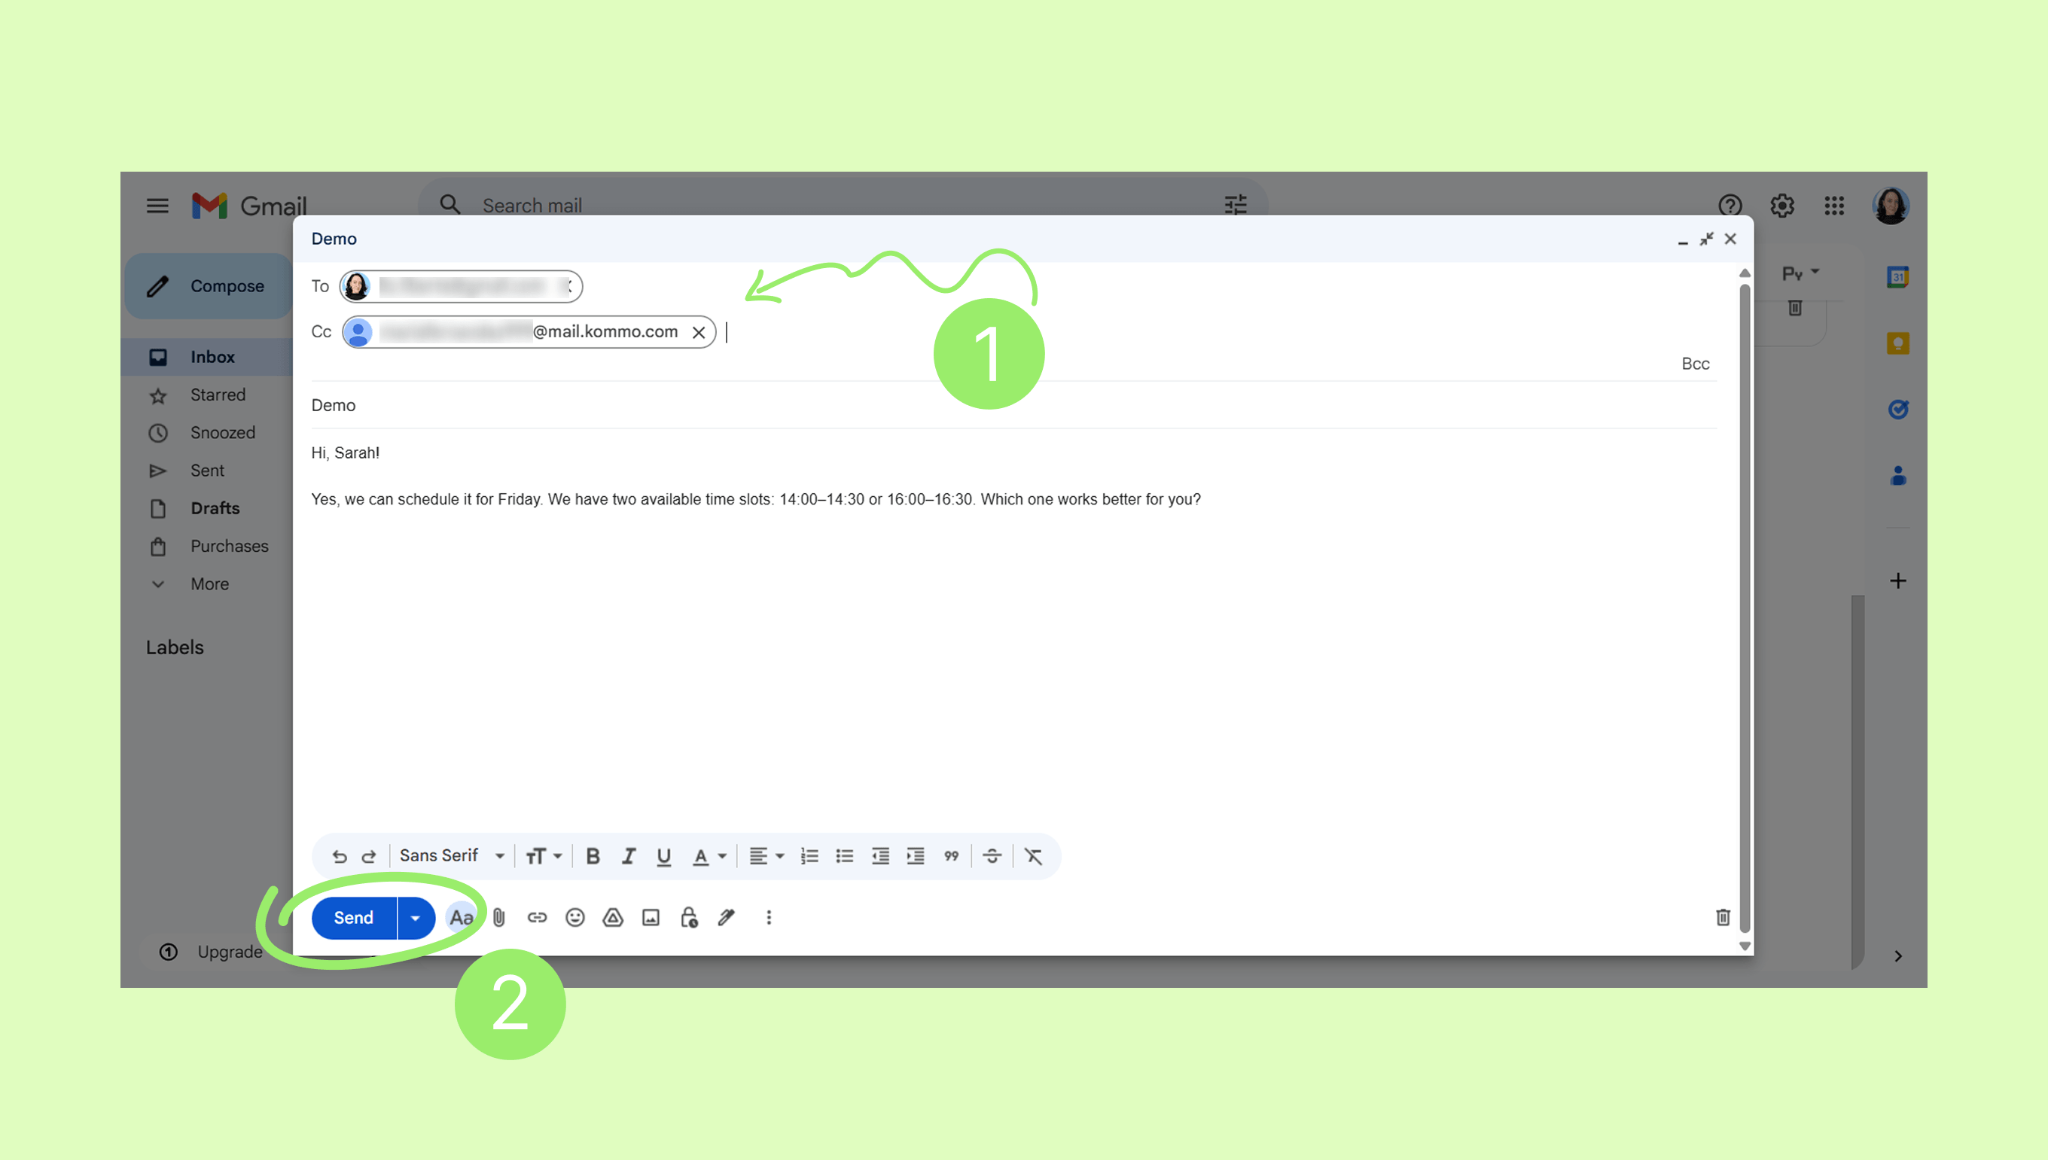
Your sent email will appear in the Communication → Email inbox. When your client replies, their response will also appear there.
Note: Email syncing may take up to 15 minutes.
Change email account settings
You can switch between personal and shared inbox, turn email threading on or off, or route emails through the Kommo server.
To change email account settings:
Go to Settings → Email settings and click your connected email account.
Make your changes and click Save.
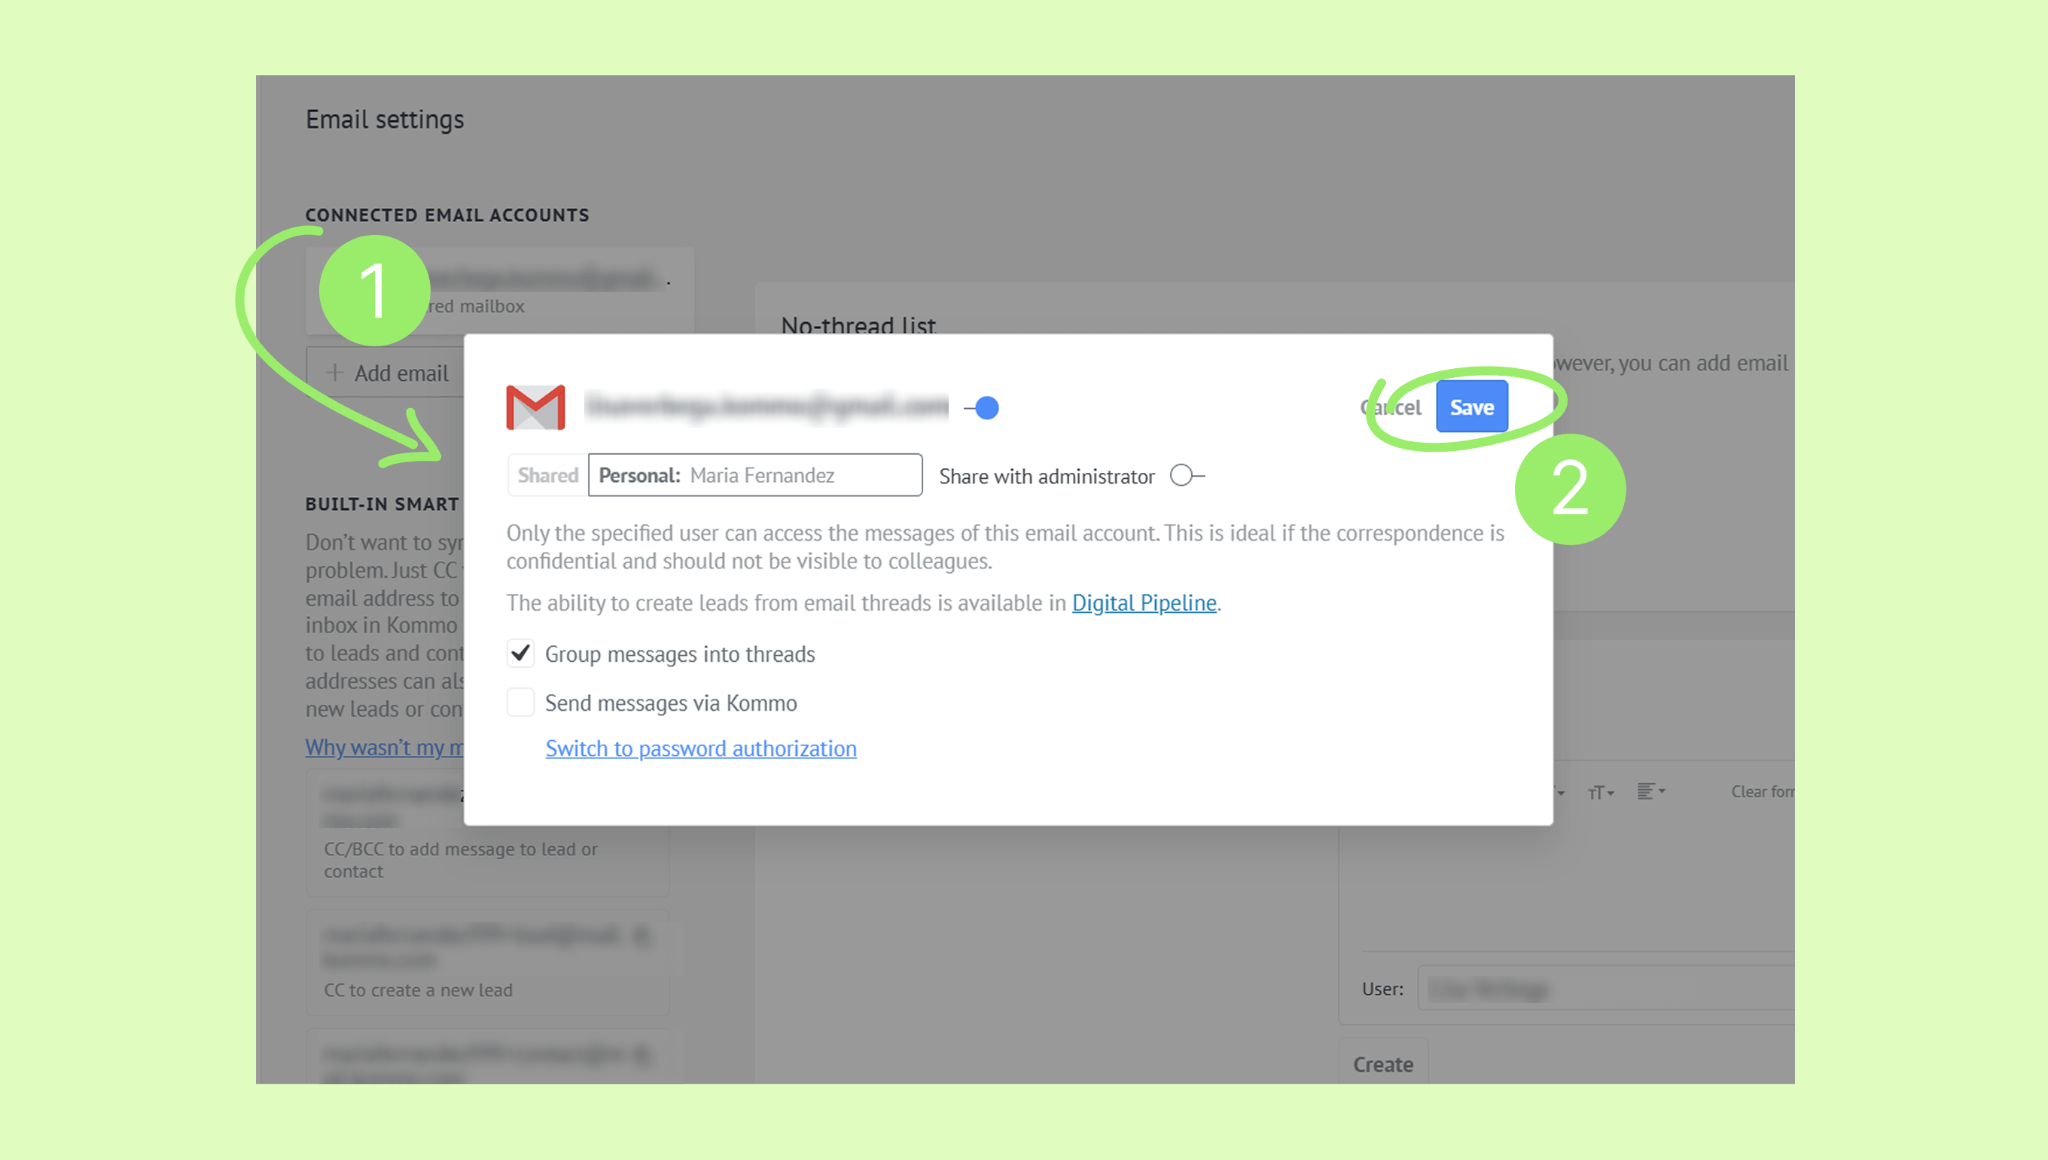
Tip: You can keep your email personal while allowing Admin access. To do this, enable the “Share with administrator” toggle in the settings.
Add email signatures
You can create email signatures for your users. When a user replies to an email, their signature will be added automatically.
Go to Settings → Email settings and choose a user.
Add your signature text and use the toolbar to format it if needed.
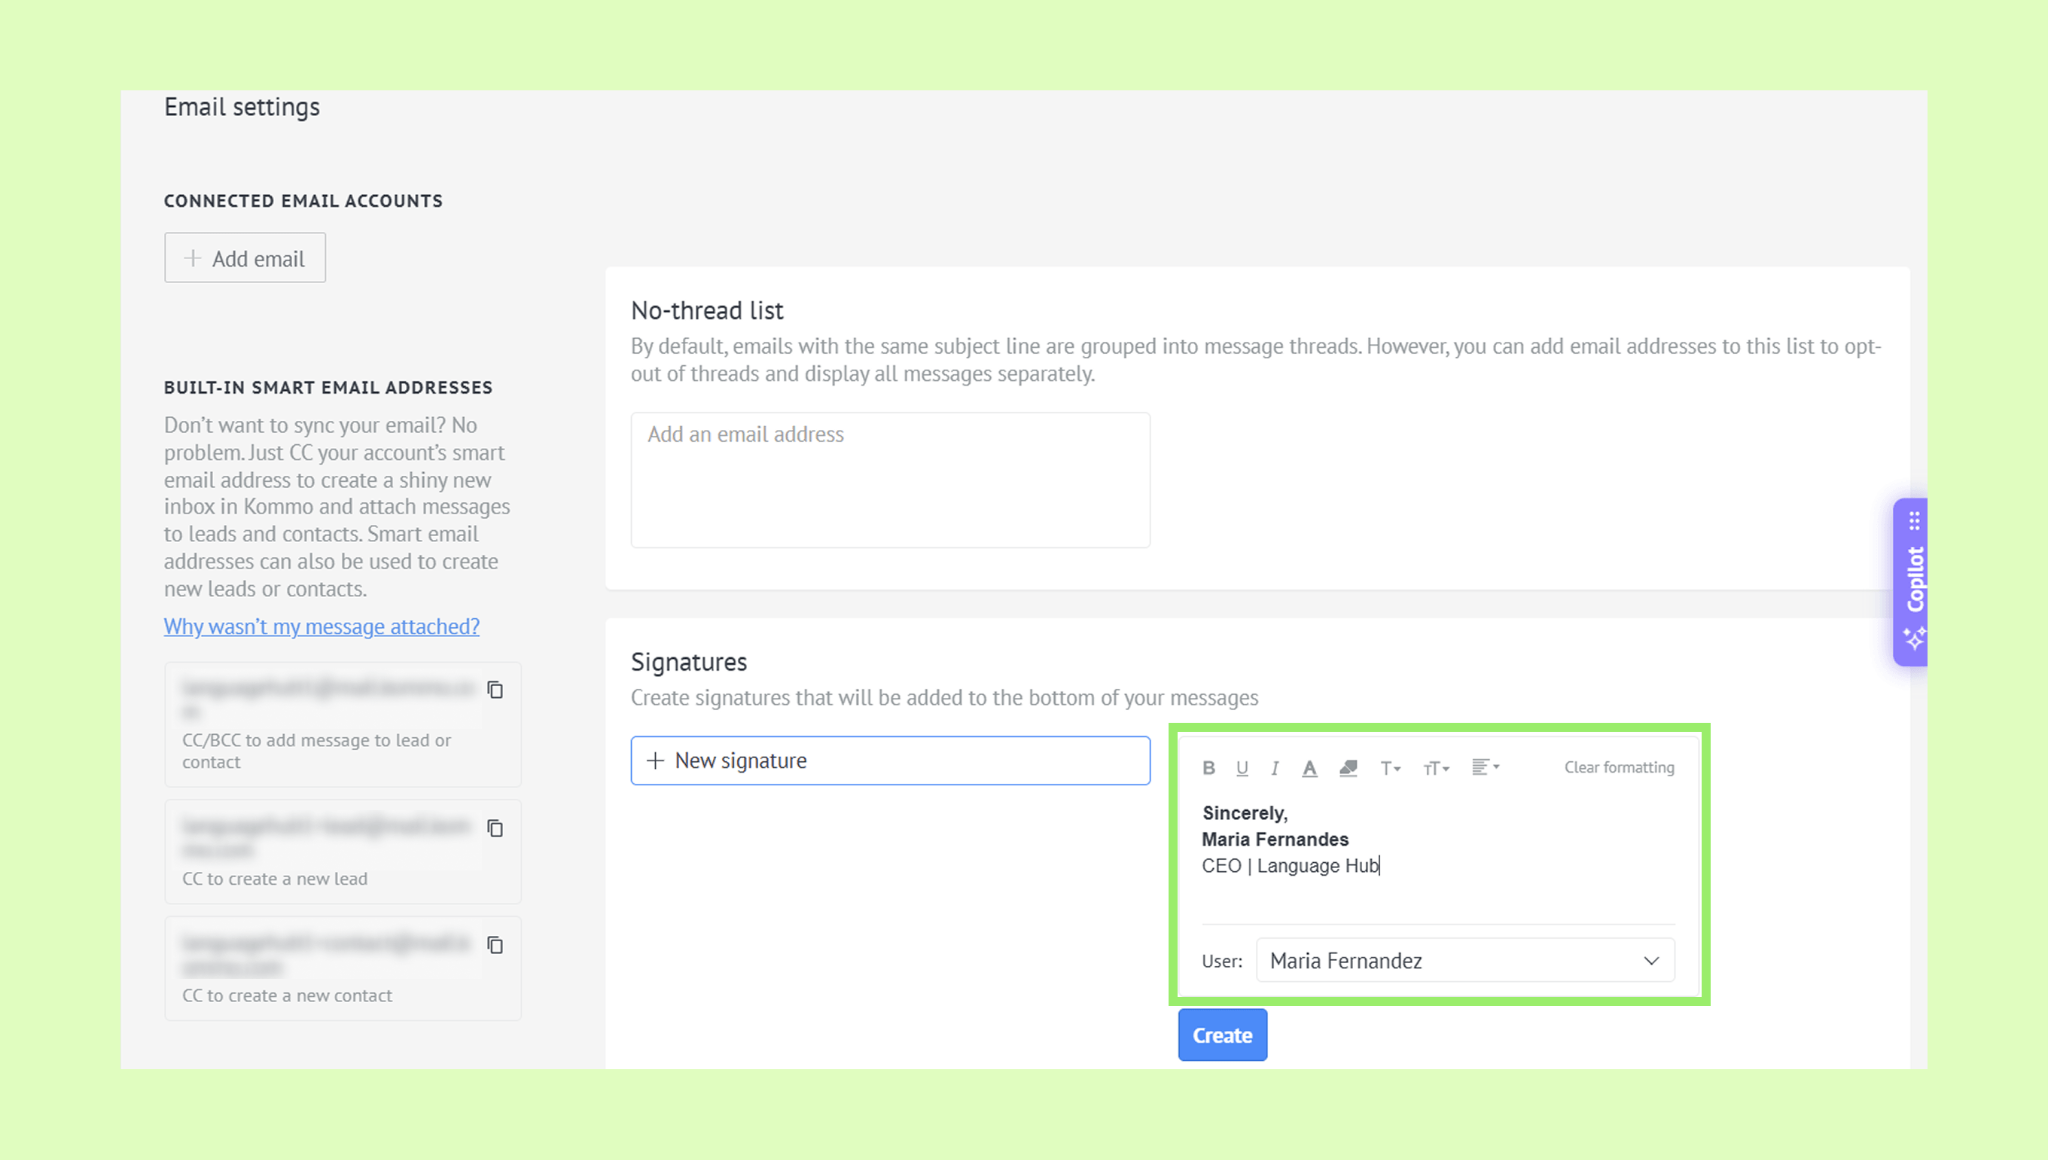
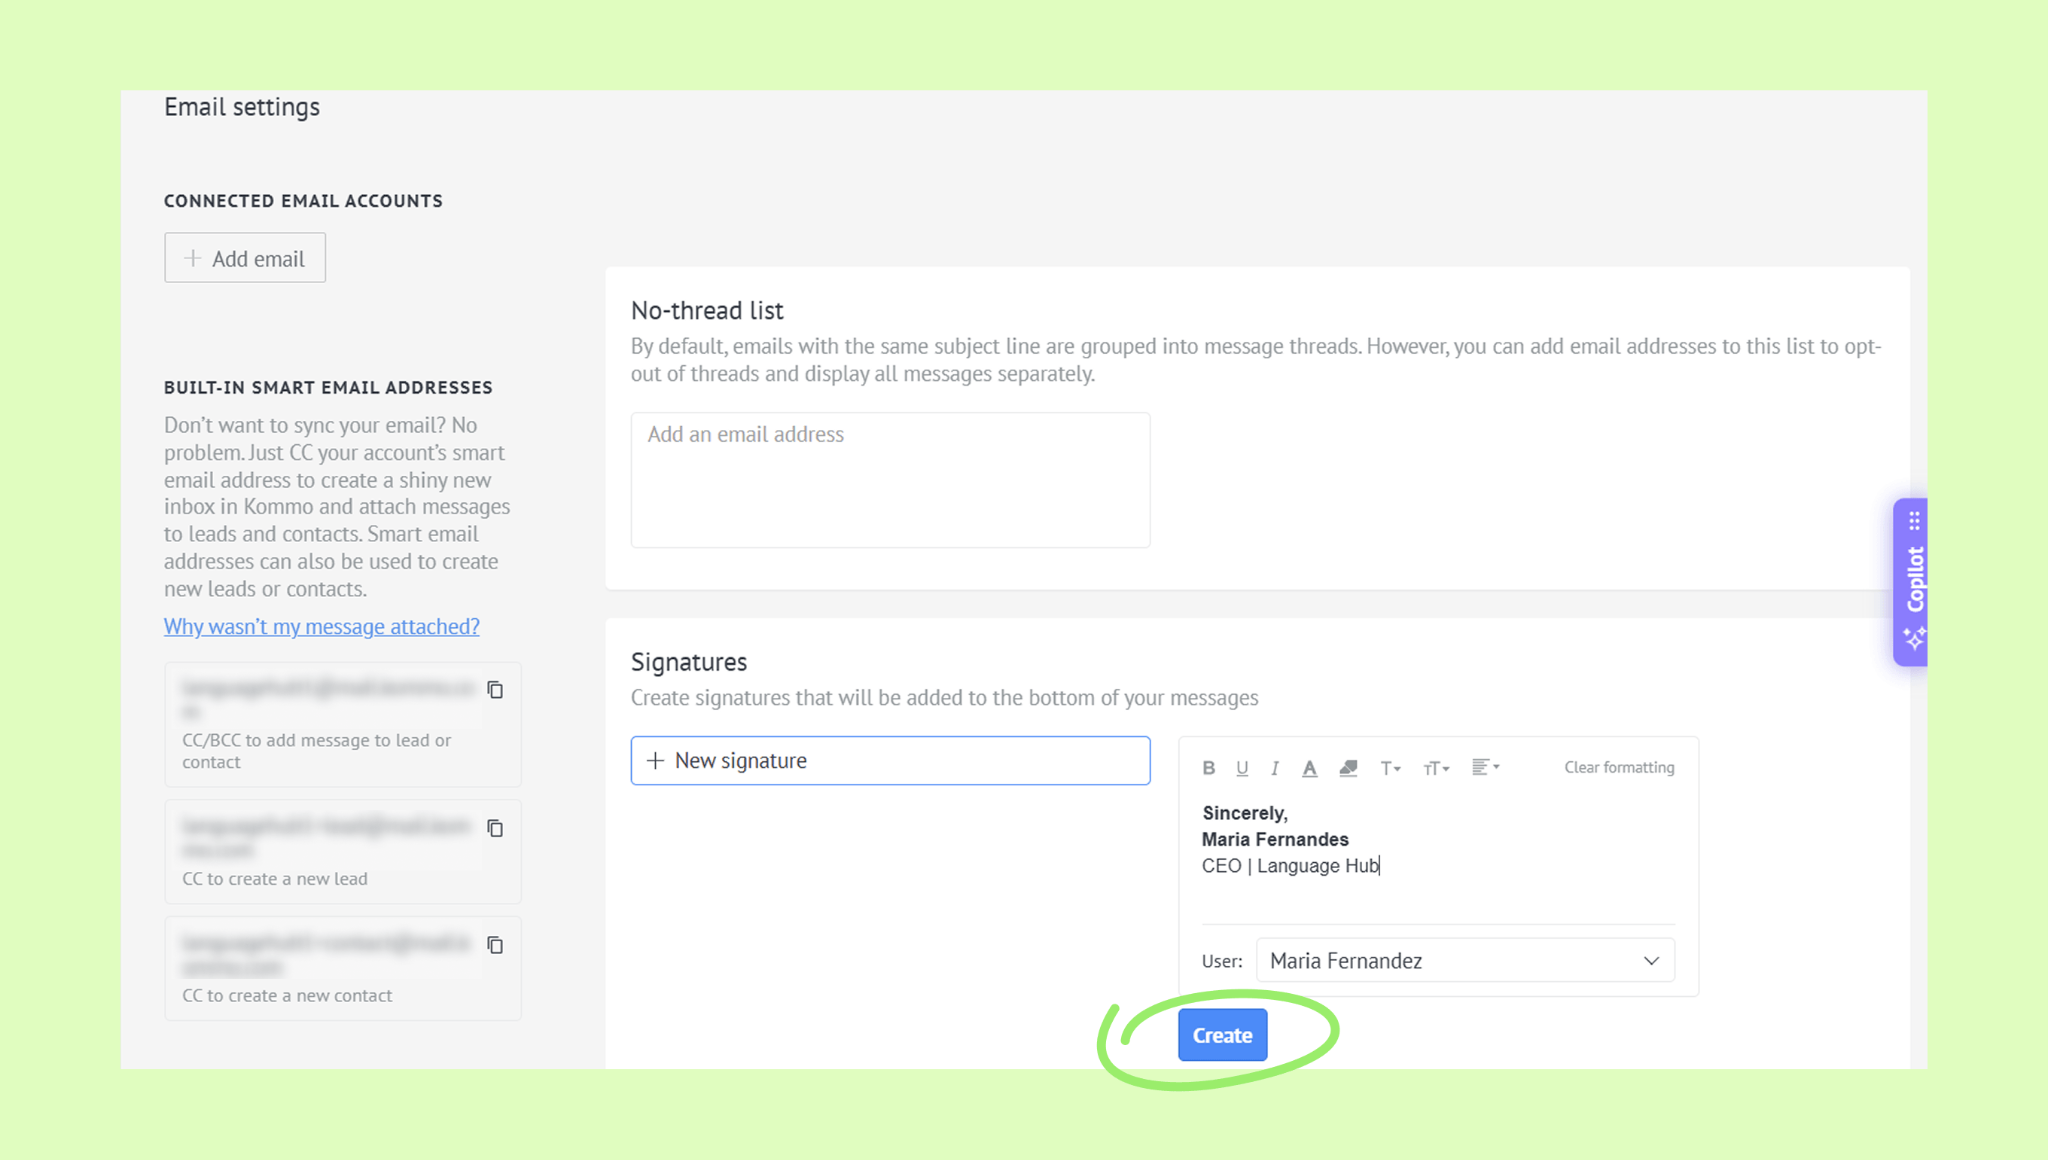
Click Create.
Disconnect your email account from Kommo
Go to Settings → Email settings and click your connected email account.
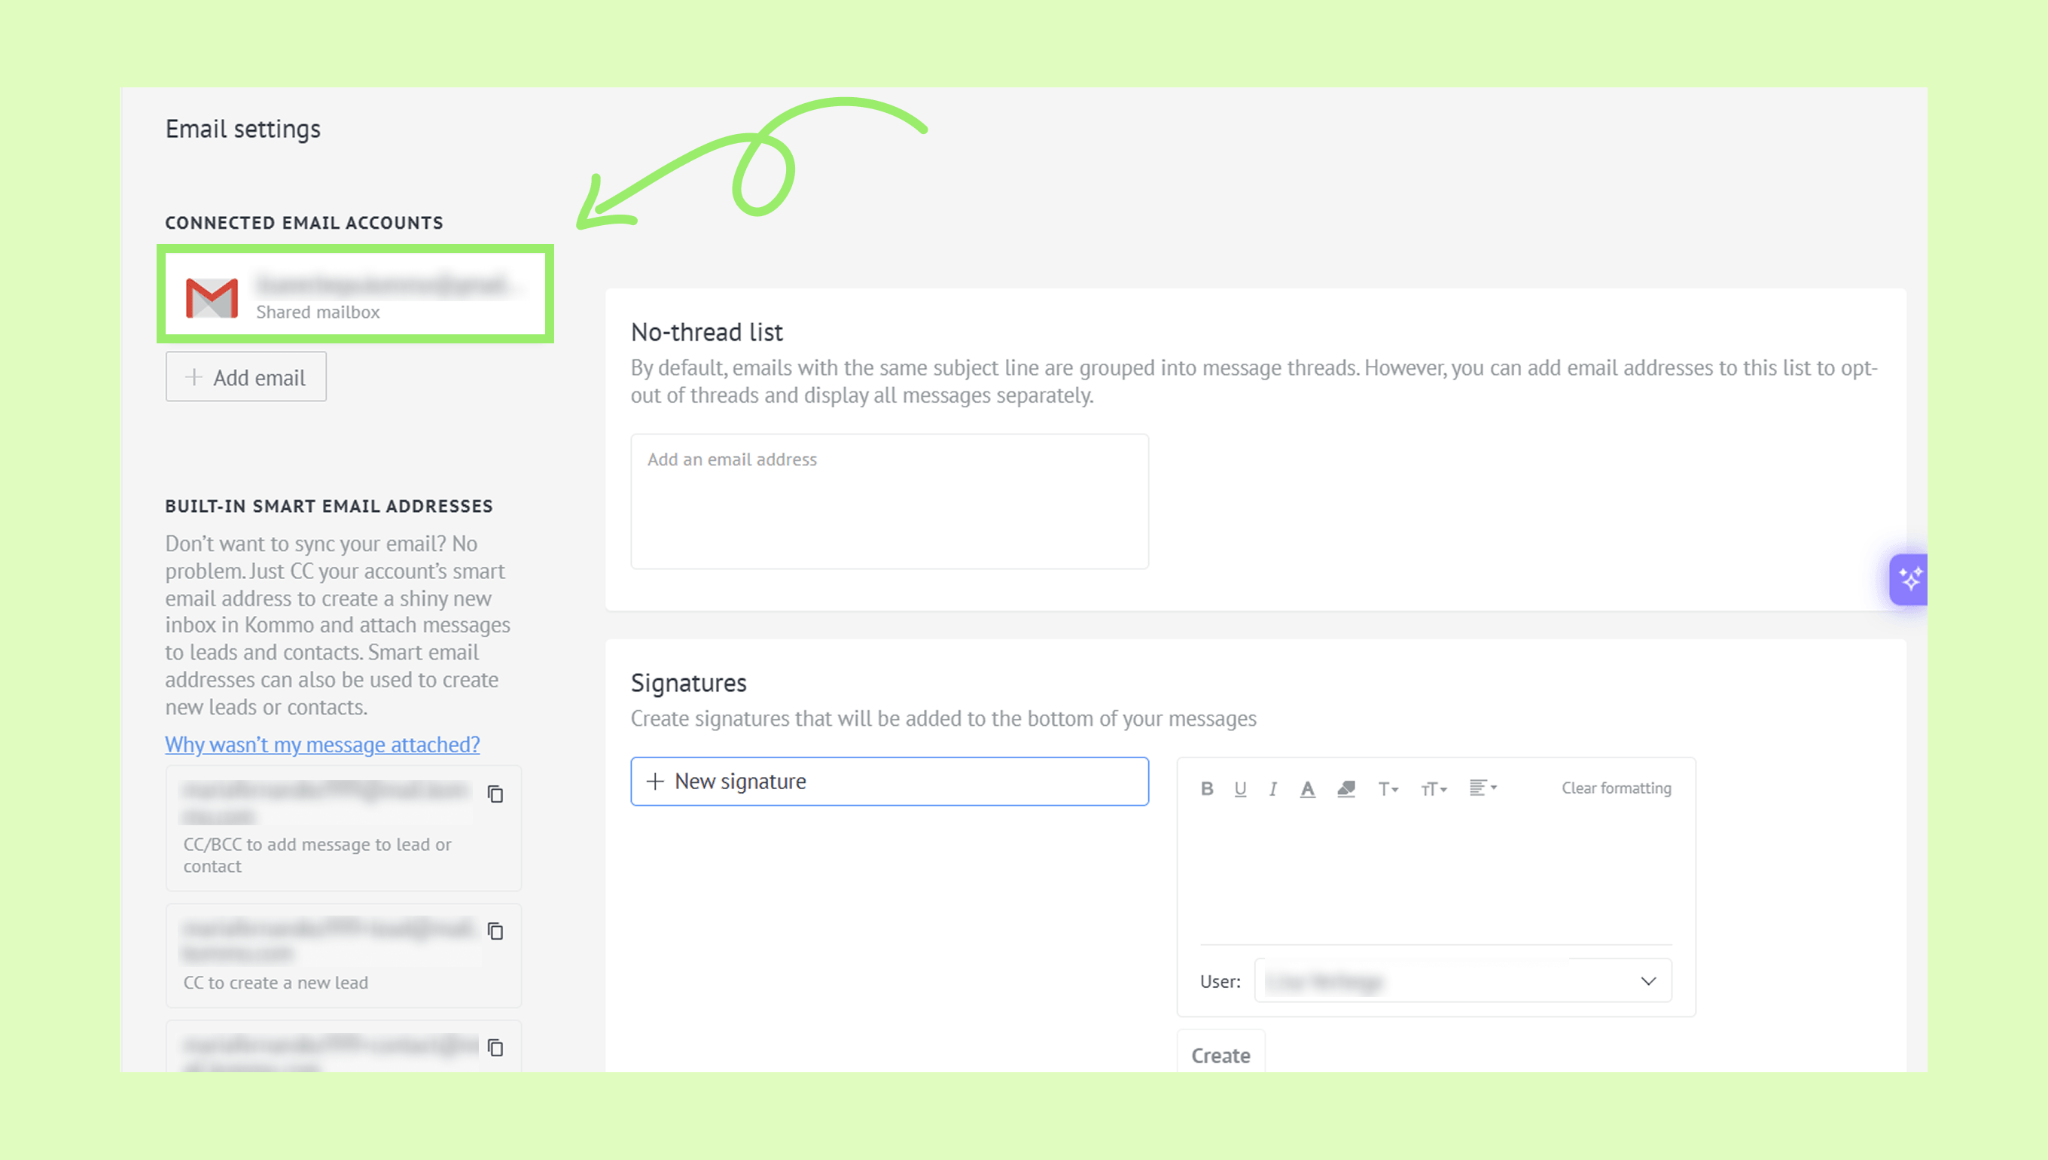
Turn off the connection toggle and click Save.
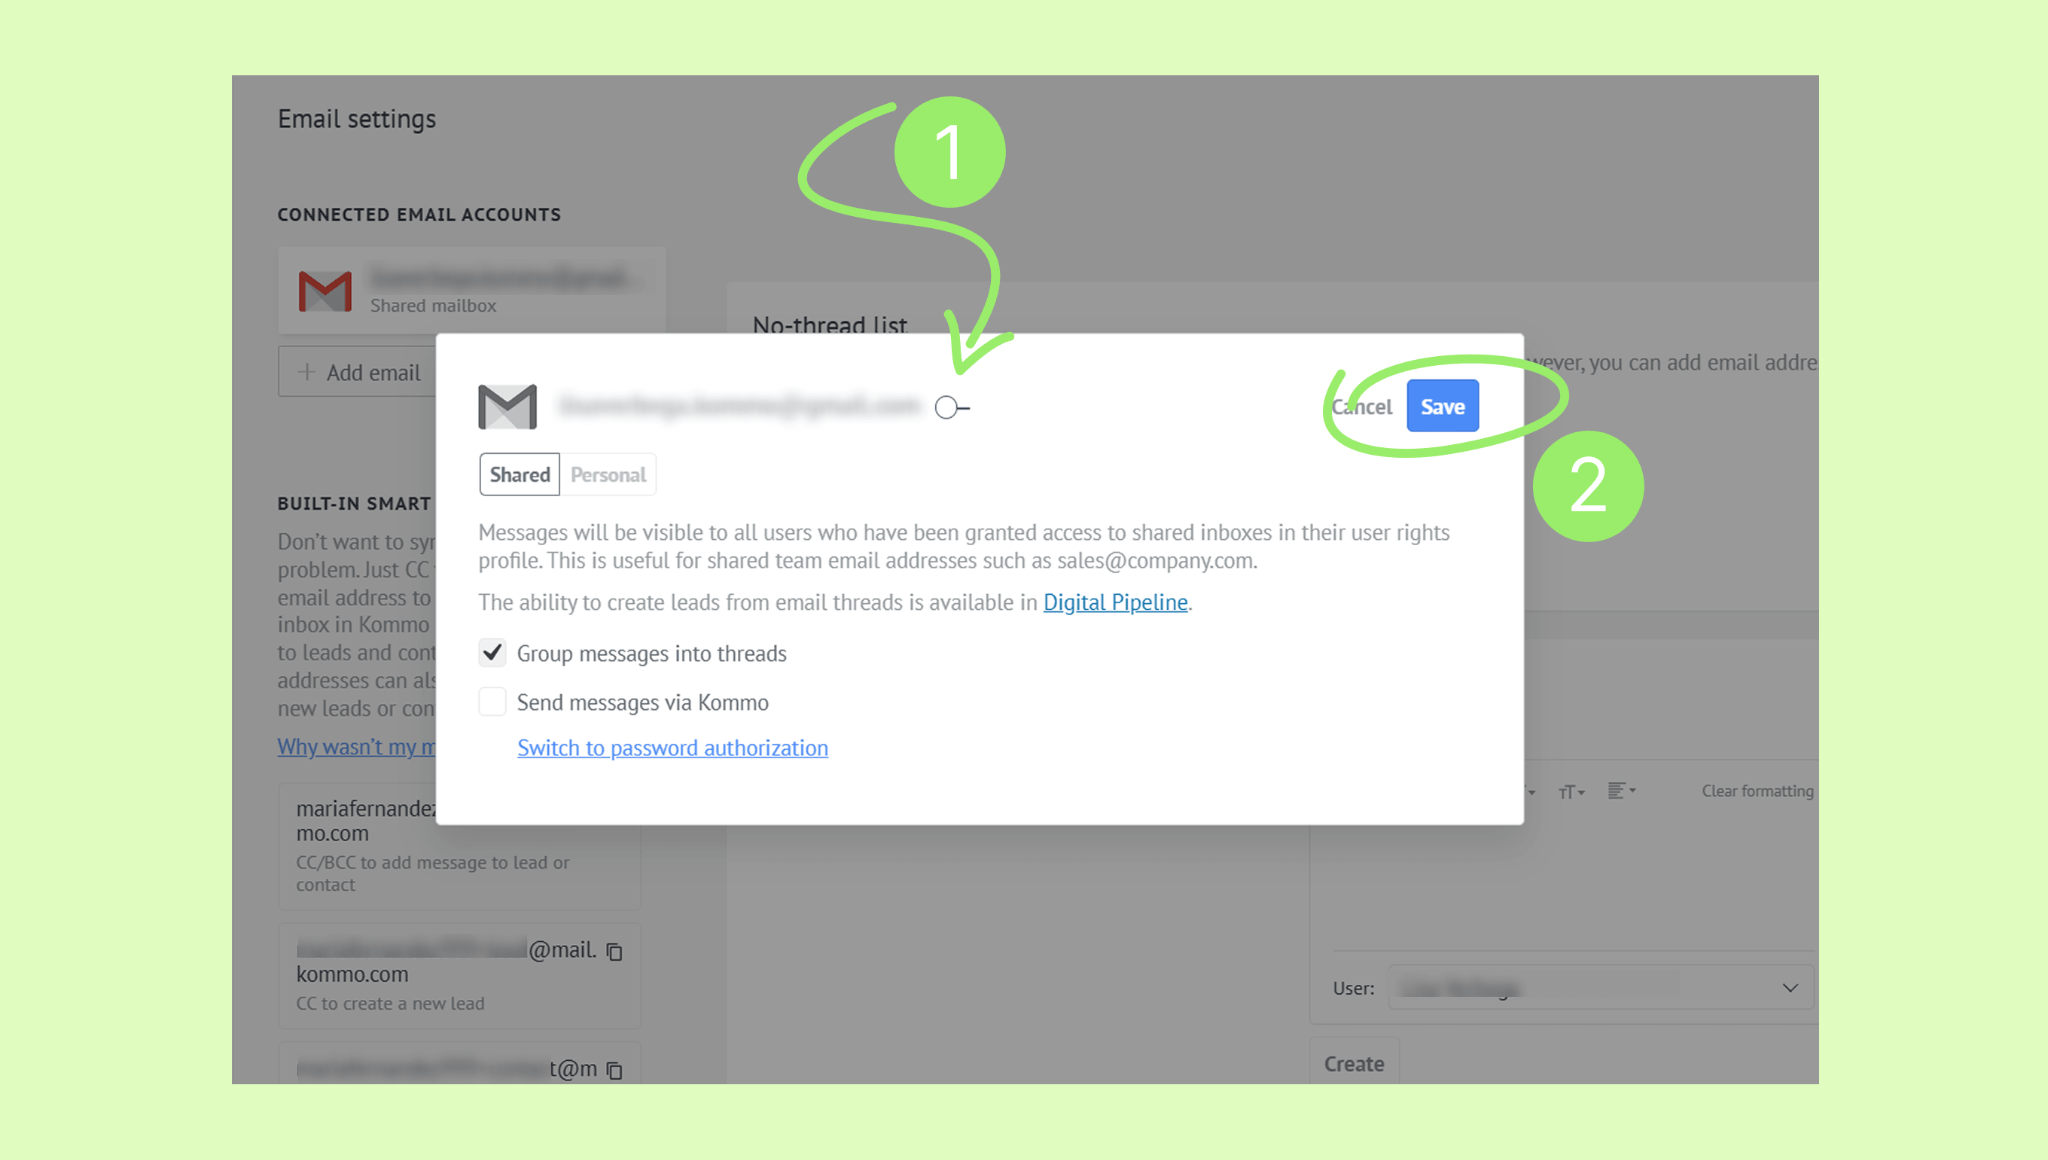
In the pop-up modal, choose whether to delete the emails.
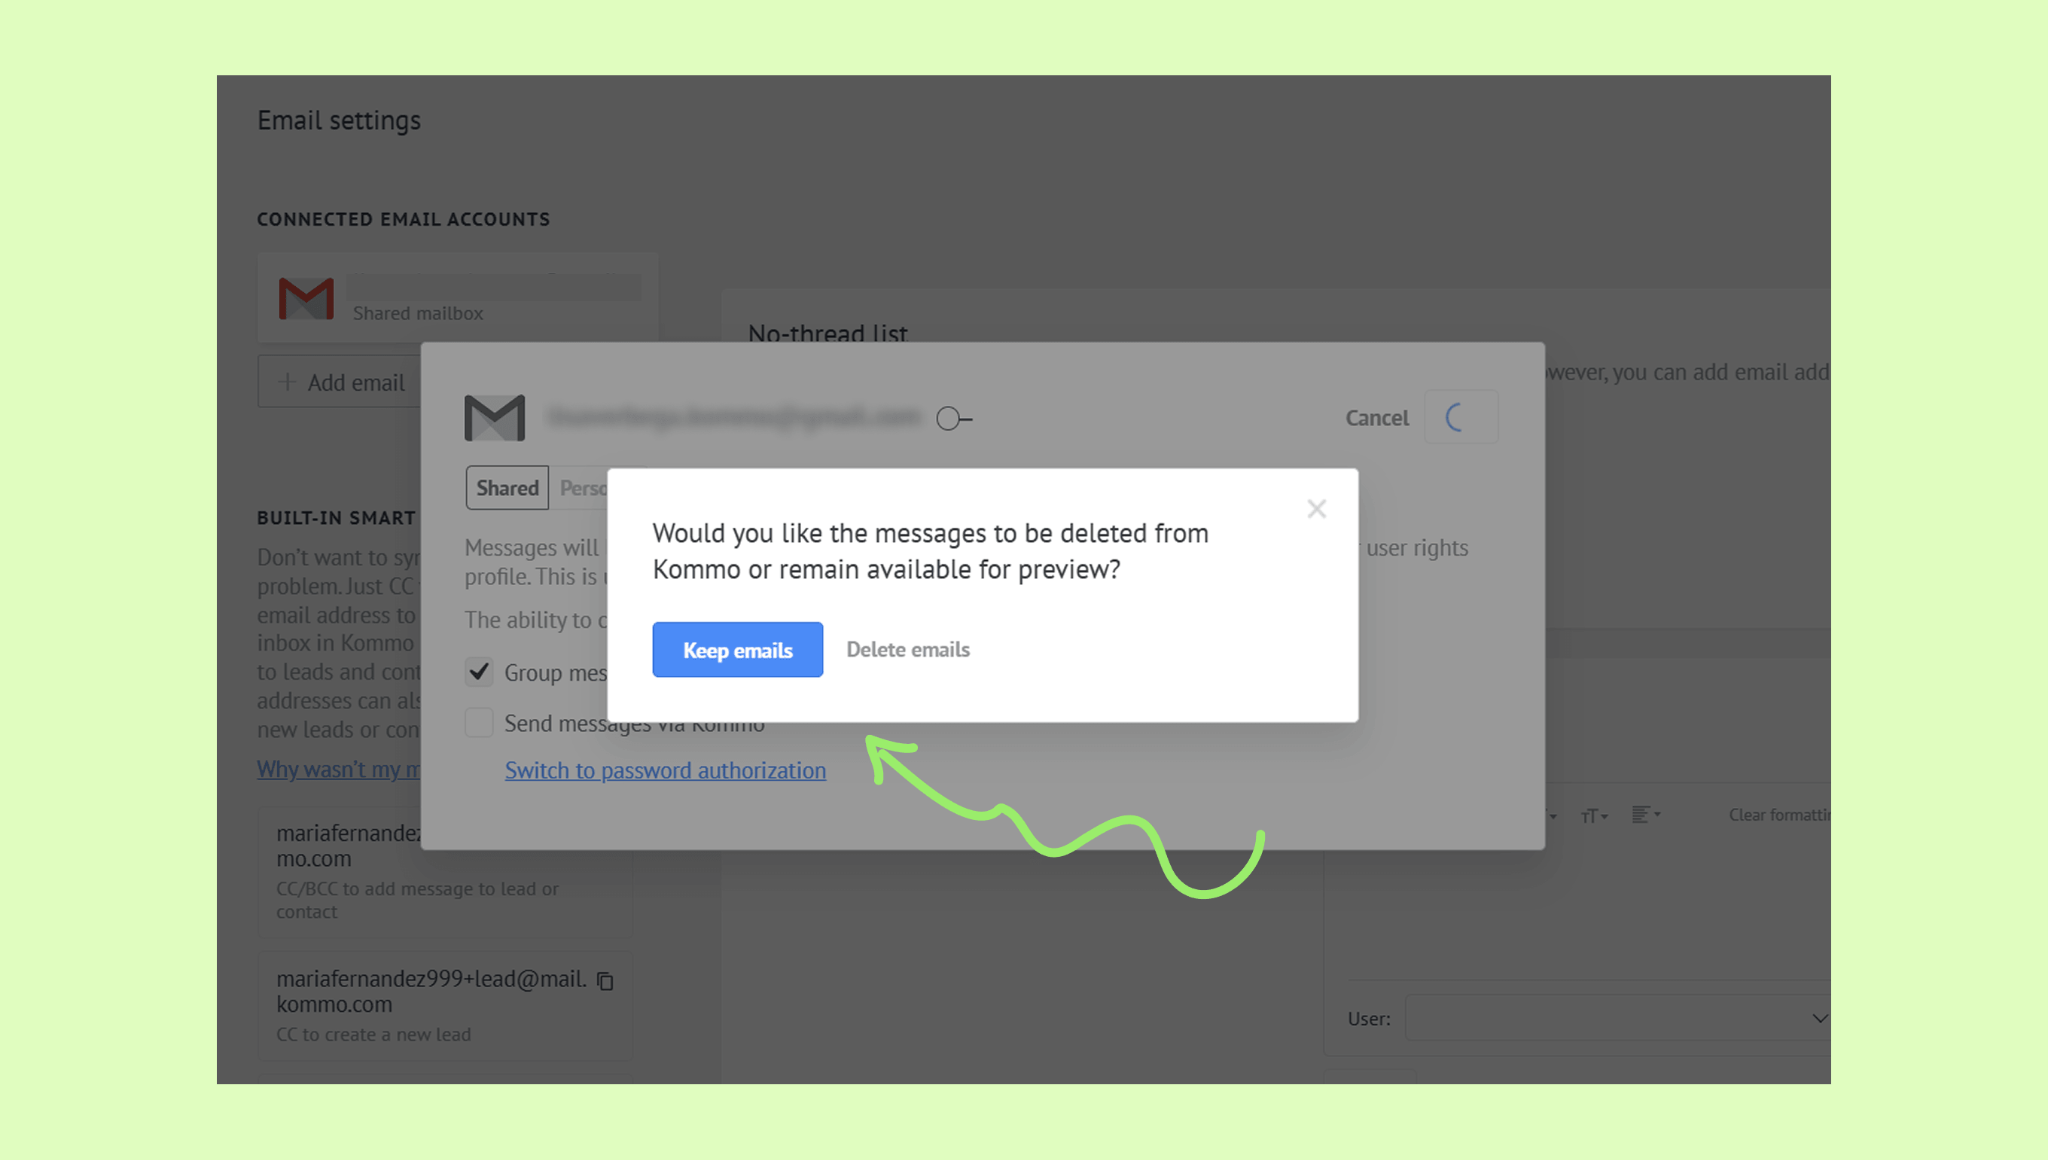
Confirm to disconnect the account.
Learn how to manage emails from Kommo workspace in this article.