What you’ll need:
The Advanced plan or above, or an active 14-day trial.
Admin role in Kommo.
WhatsApp Business integration installed and connected to your number. Learn how to set it up in this guide.
Keep in mind:
List messages are WhatsApp interactive messages, not WhatsApp templates. You do not need to submit them to Meta for approval.
You can send List messages only while the 24-hour customer service window is open.
List messages can be sent only through Salesbot.
A List message can include up to 10 options across all sections.
Clients can select only one option from each List message
List messages let you present clients with a menu of options directly in WhatsApp. Instead of typing a response, clients can tap a button, open the list, and select the option they need.
You can group related options into sections and add short descriptions to make each choice easier to understand.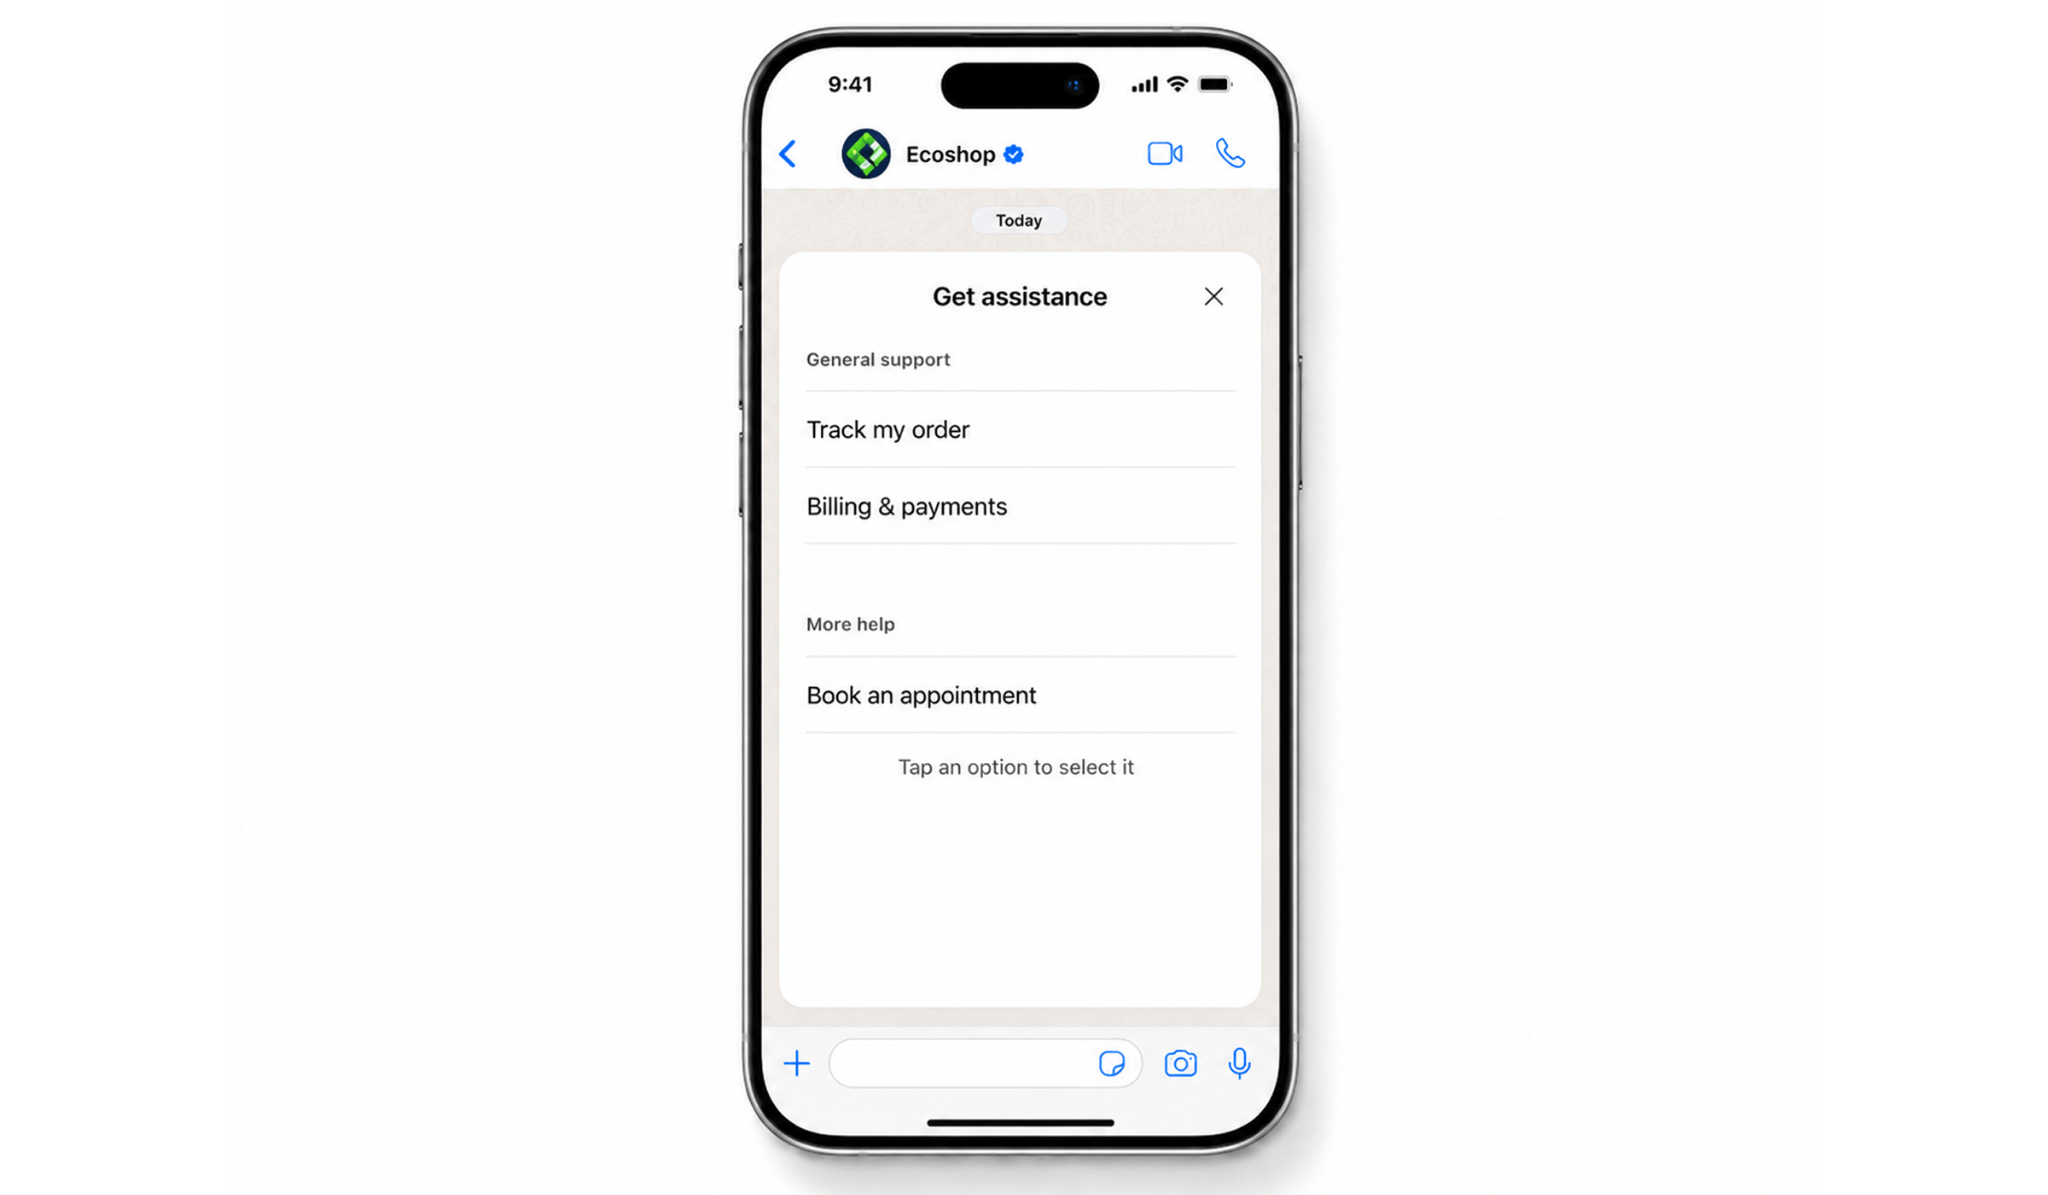
Use cases
Route clients to the right team — Let clients choose Sales, Support, Billing, or another department.
Present products or services — Organize available options into categories.
Share appointment options — Let clients select a service, location, or available time slot.
Qualify leads — Ask clients to select their budget, location, preferred service, or another relevant option.
How clients interact with List messages
When a client receives a List message:
They see the message and a button in the WhatsApp chat.
They tap the button to open the list.
They review the available sections and options.
They select one option.
Their selection is sent as a reply in WhatsApp and appears as an incoming message in the lead chat in Kommo.
Clients can select only one option from each List message.
List message content
A List message contains two parts:
Message — The text and button clients see in the WhatsApp chat.
List — The sections and options that appear after the client taps the button.
Message fields
Field | Required | Maximum length |
|---|---|---|
Message title | No | 24 characters |
Message | Yes | — |
Footer | No | 24 characters |
Button label | Yes | 20 characters |
Use the fields as follows:
Message title — Add a short heading above the main message.
Message — Explain what the list contains or what the client should do.
Footer — Add optional supporting information below the message.
Button label — Describe what will open when the client taps the button.
Use clear button labels, such as:
View services
Choose a location
Select an option
Support topics
Sections and options
Sections help you organize related choices into groups.
Field | Required | Maximum length |
|---|---|---|
Section title | Yes | 24 characters |
Option title | Yes | 24 characters |
Description | No | 72 characters |
Each section must contain at least one option.
You can add multiple sections, but the List message can contain no more than 10 options in total across all sections. For example, if you create 10 sections, each section can contain only one option.
A service business could organize its list like this:
Section: Services
Consultation
Speak with a specialist about your needs.Product demo
See how the product works.
Section: Support
Technical help
Get help with an existing setup.Billing question
Ask about invoices or payments.
Create a List message in Kommo
List messages are added as steps inside the Salesbot visual builder.
To create one:
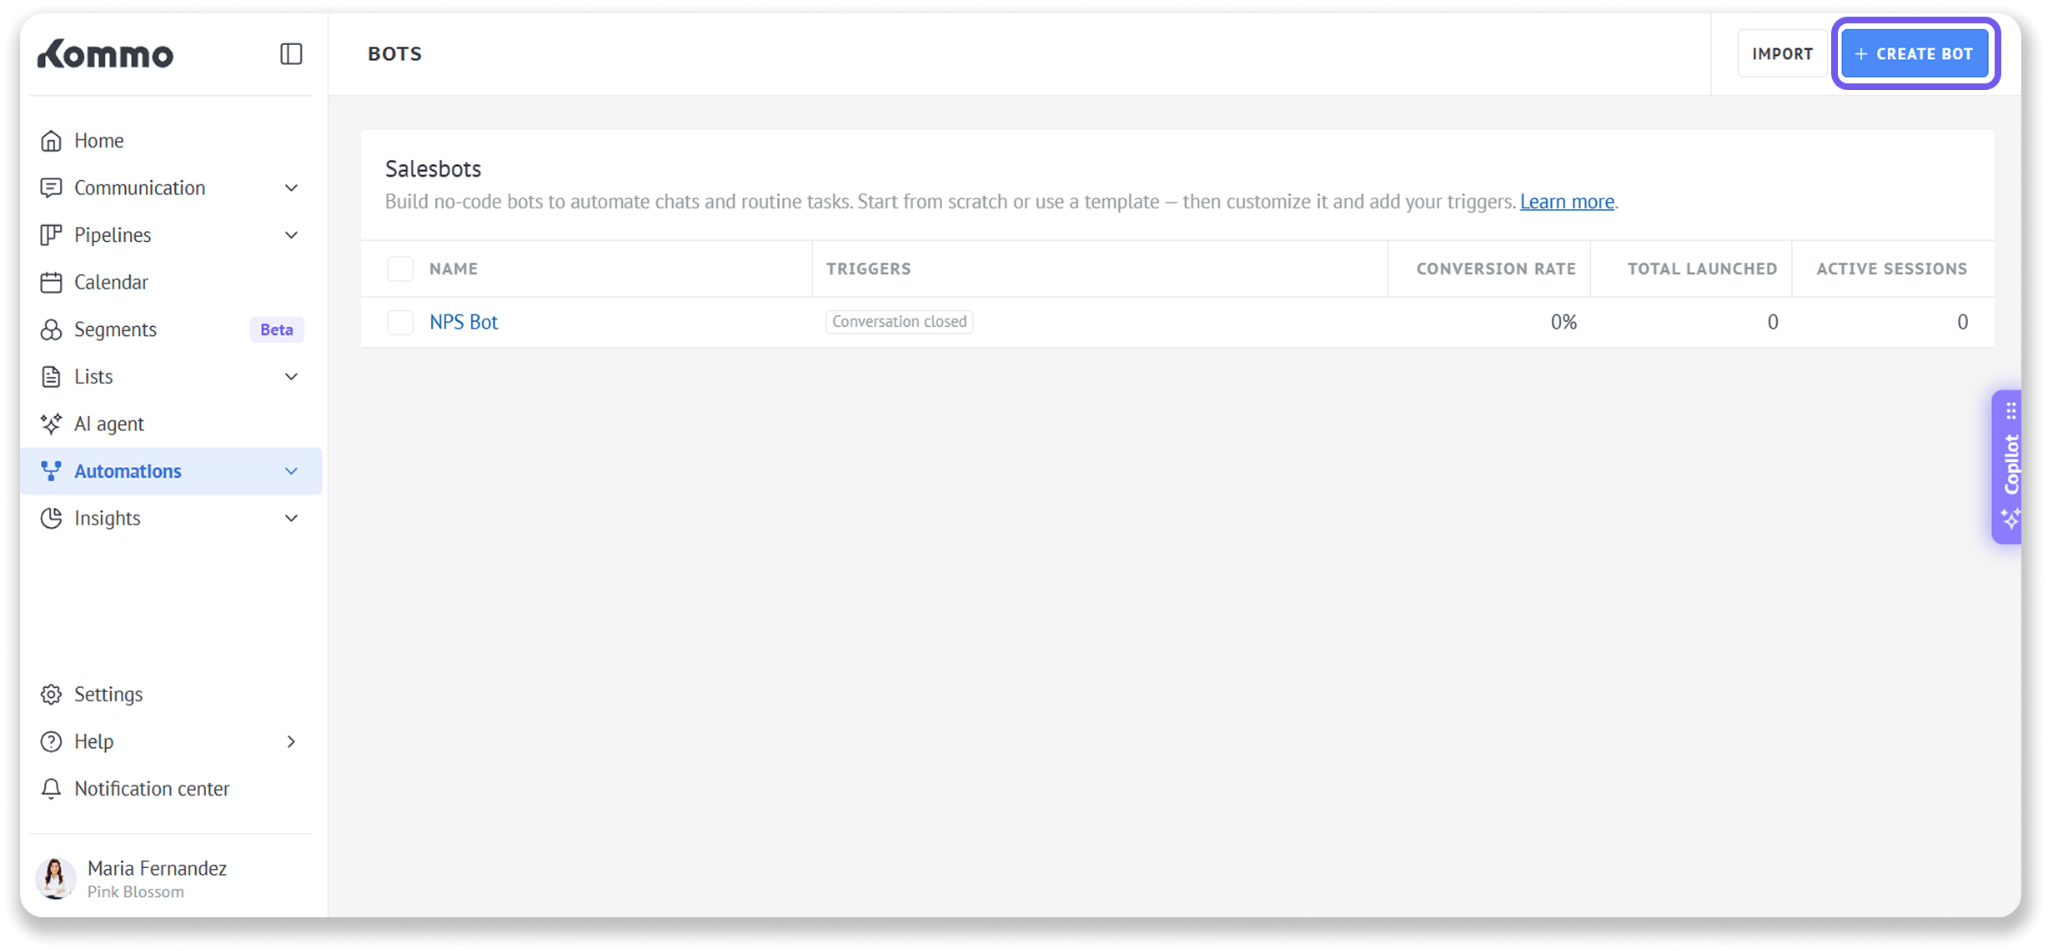
Go to Automations → Bots.
Click + Create bot.
Select Start from scratch.
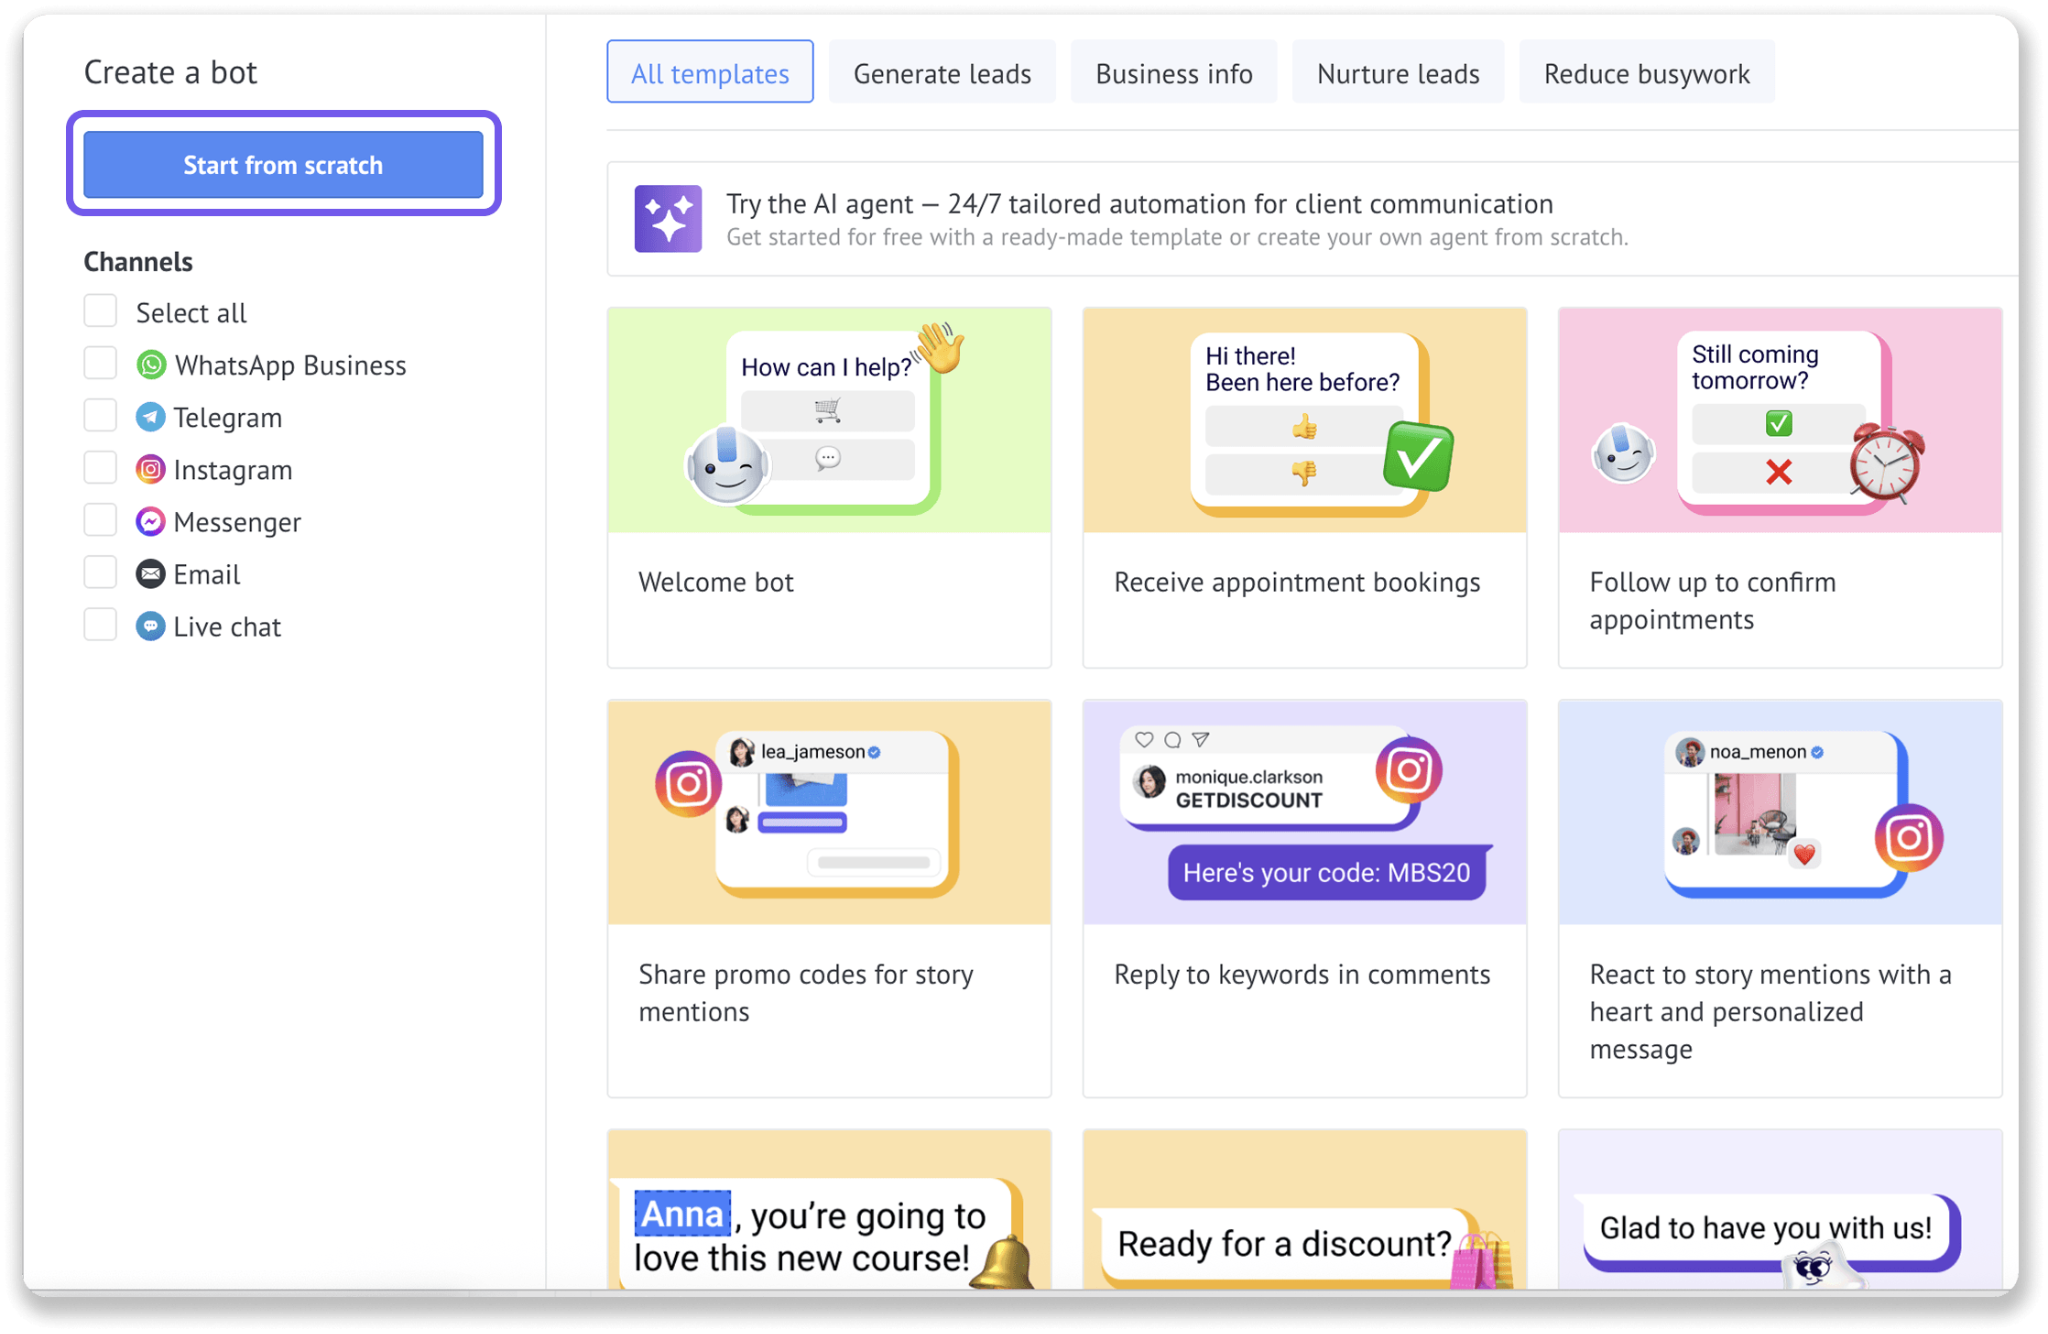
You can also open an existing Salesbot and add a List message to its current flow.In the visual builder, click Add next step and select List Message (WhatsApp).
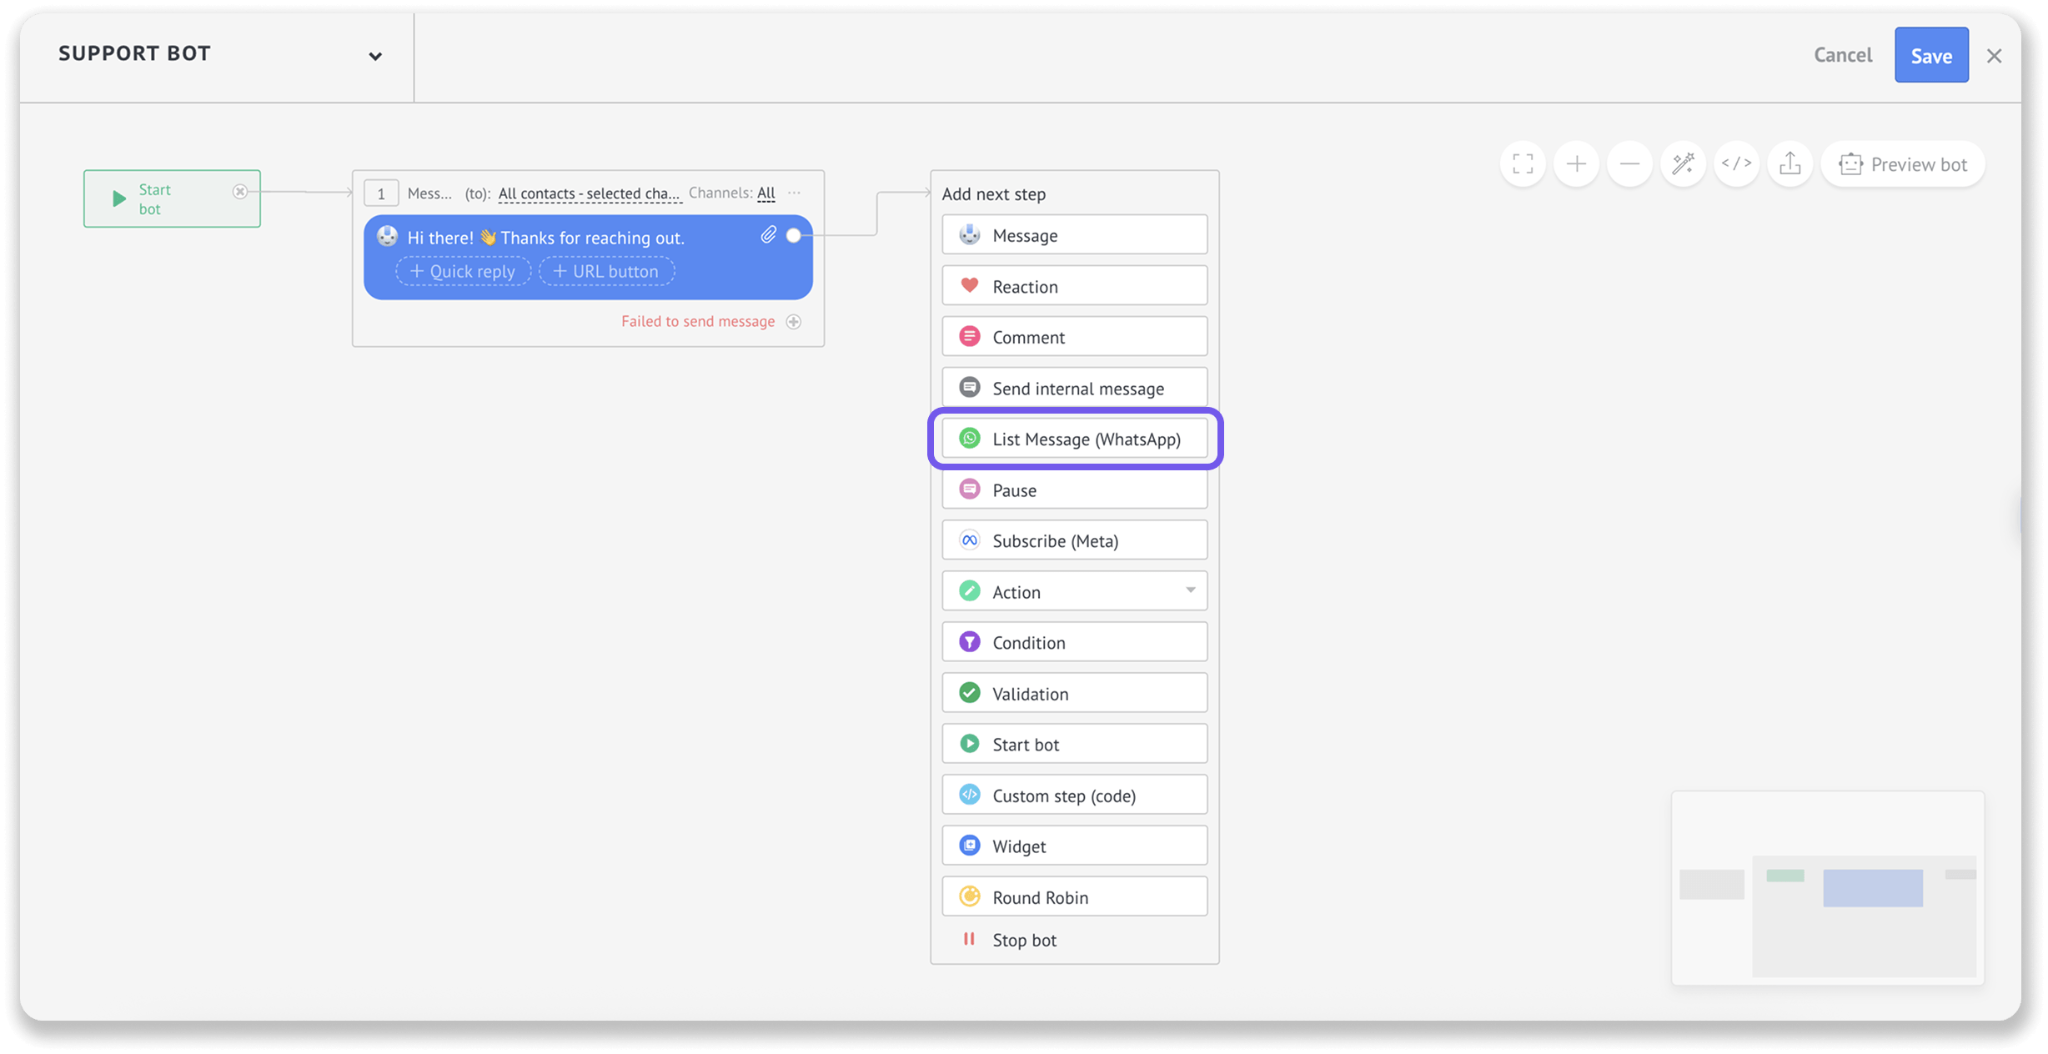
Set up the message:
Enter a Message title, if needed.
Enter the main Message.
Add a Footer, if needed.
In the Button name field, enter the label clients will tap to open the list.
Set up the first section:
Enter the Section title.
Enter the Option title.
Add a Description, if needed.
Click Add option to add another choice to the same section.
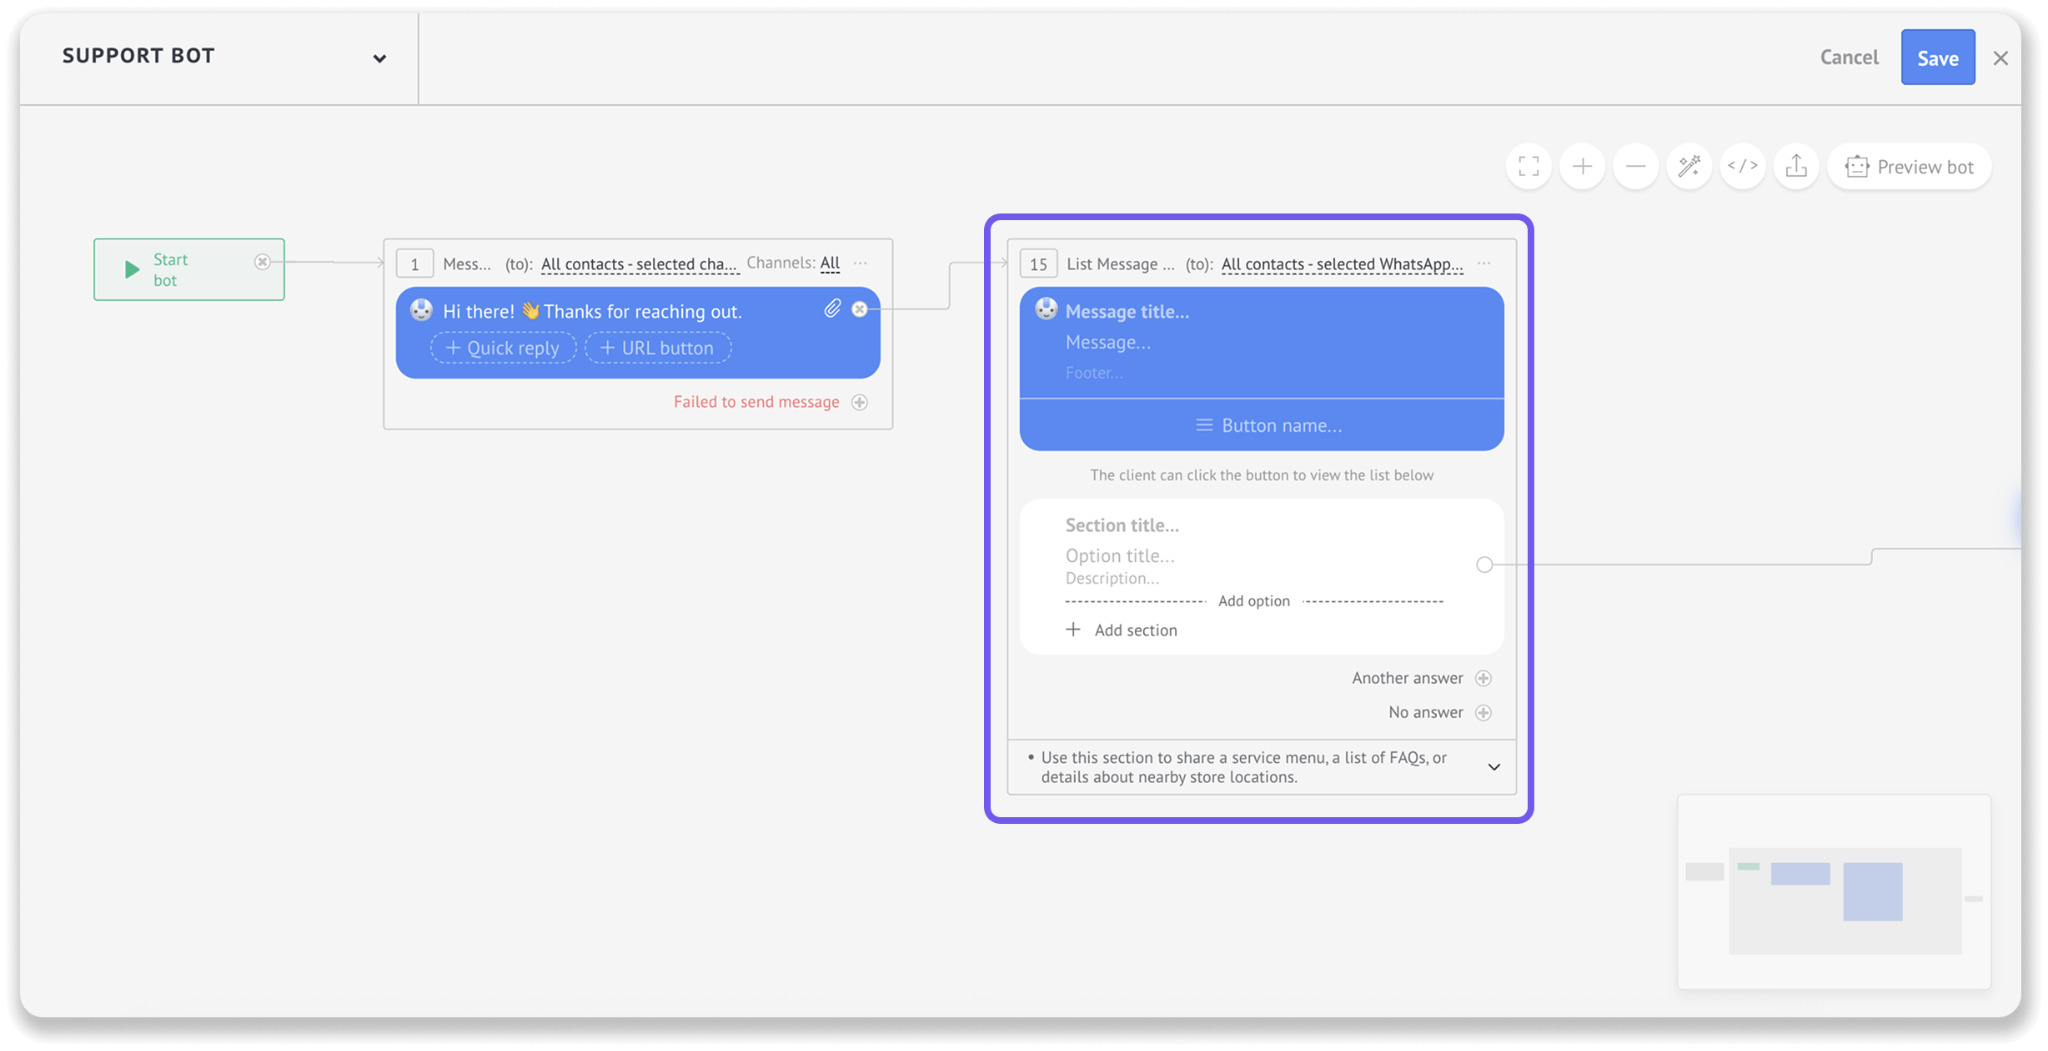
Click + Add section to create another group of options.
Continue adding sections and options. You can add up to 10 options in total.
Click Preview bot to check how the message and list will appear to clients.
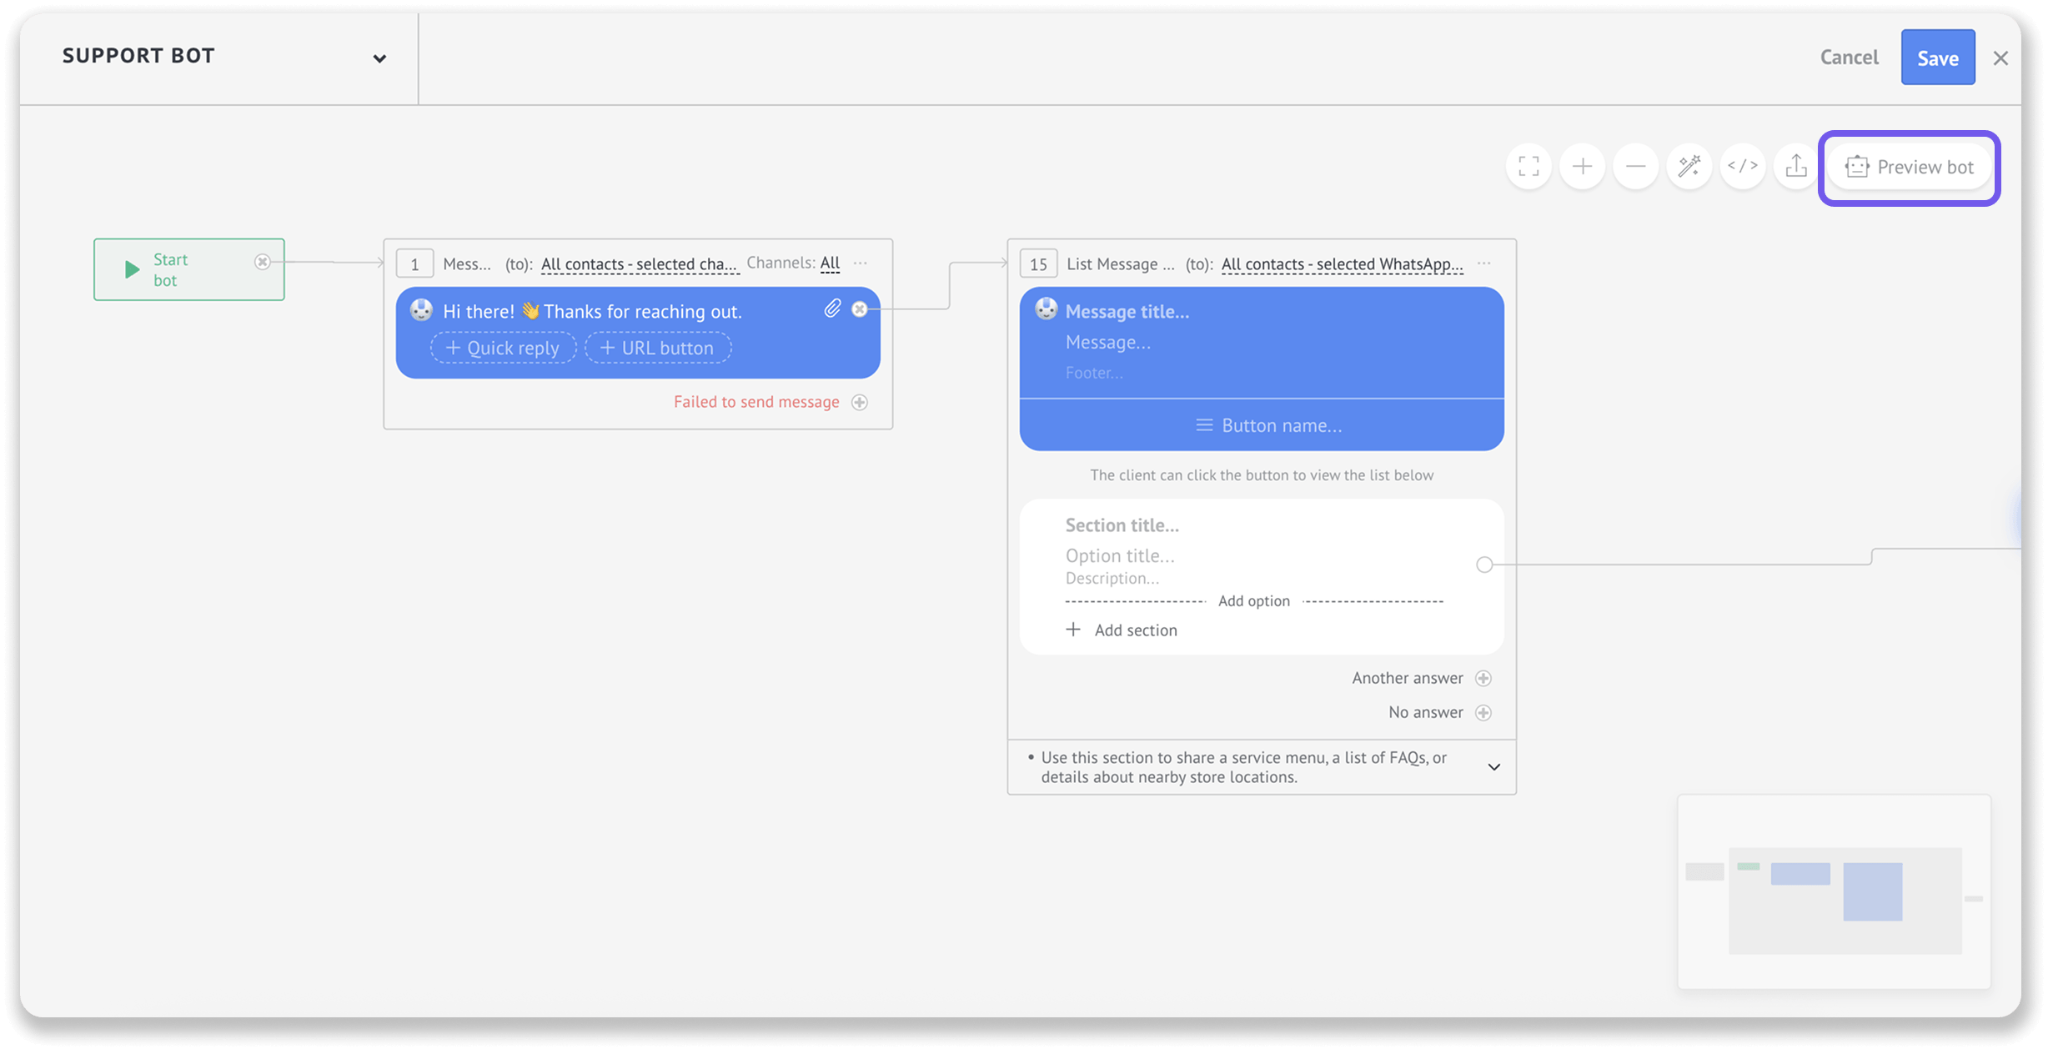
To close the preview, click the cross icon.
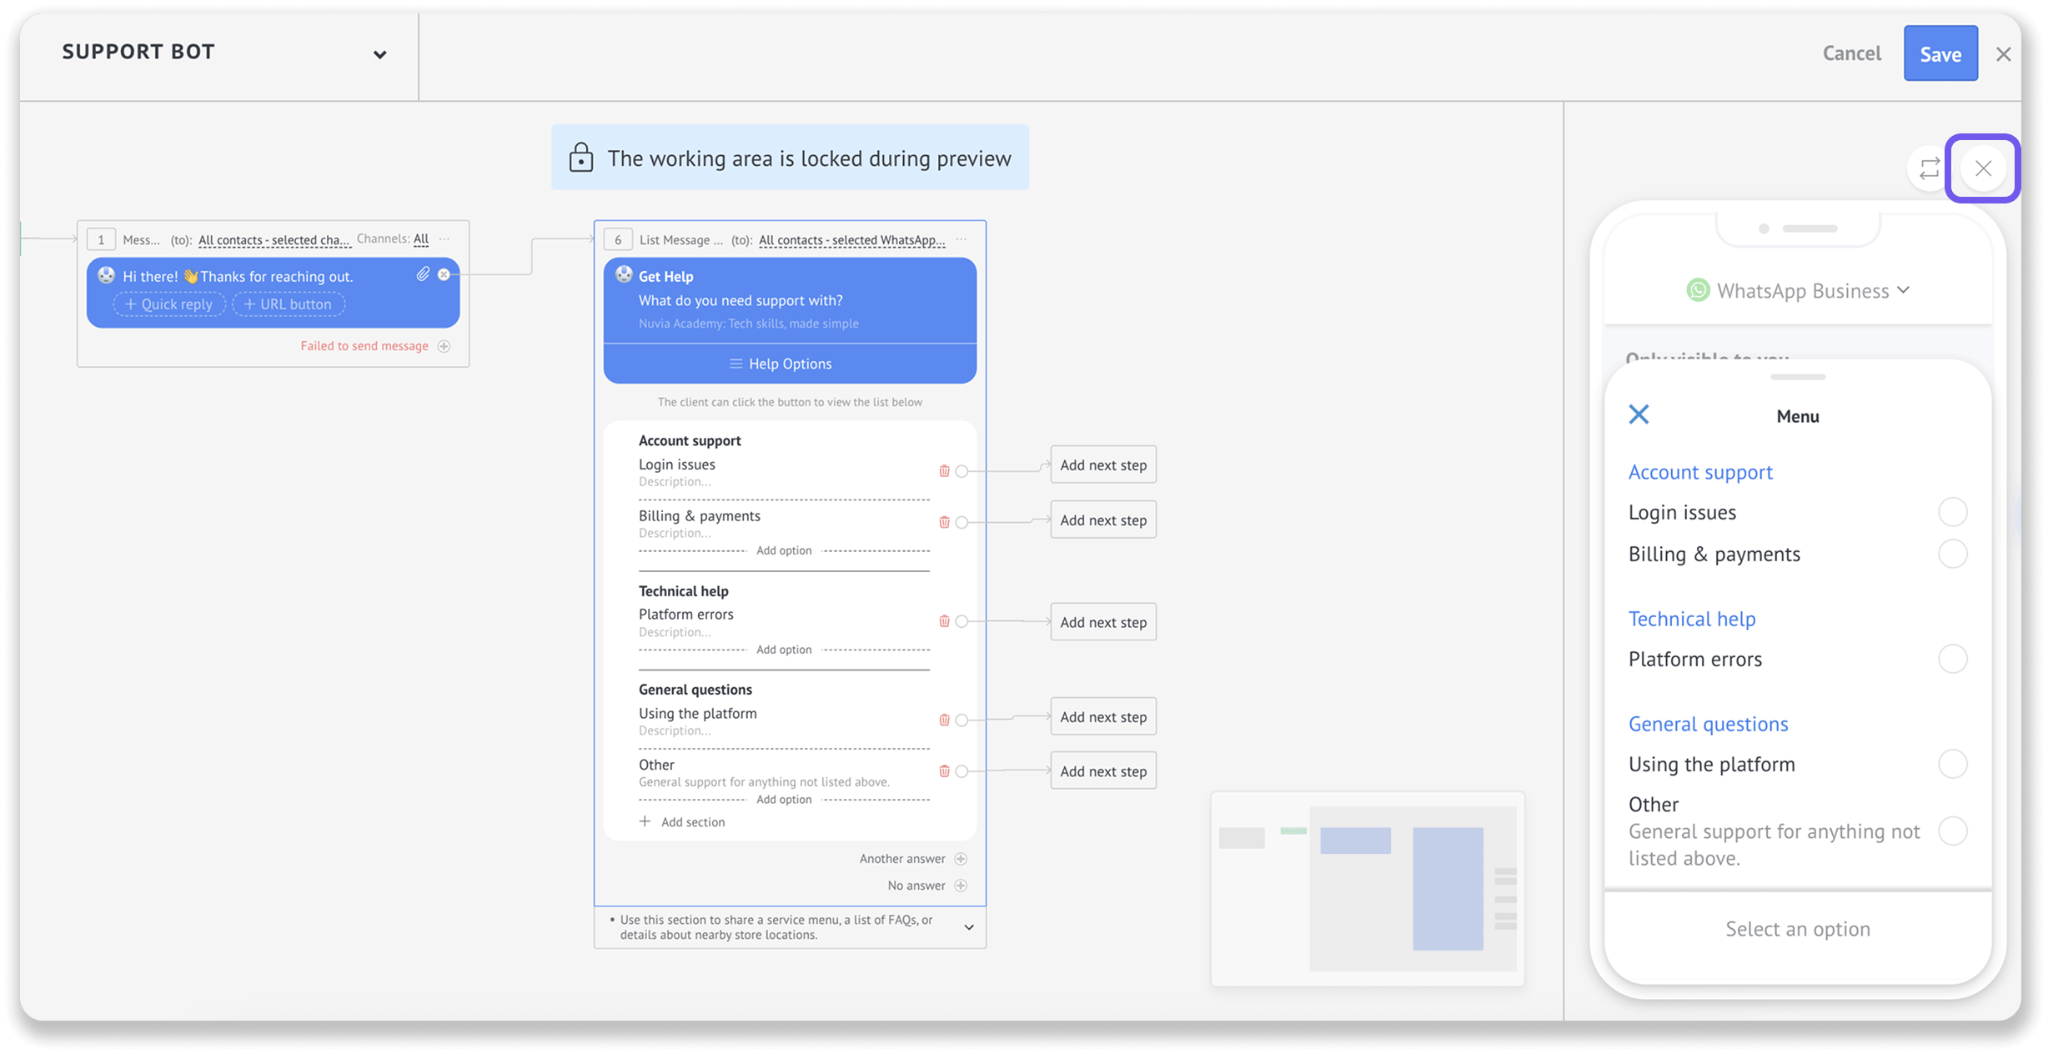
Click Save to add the List message step to the Salesbot flow.
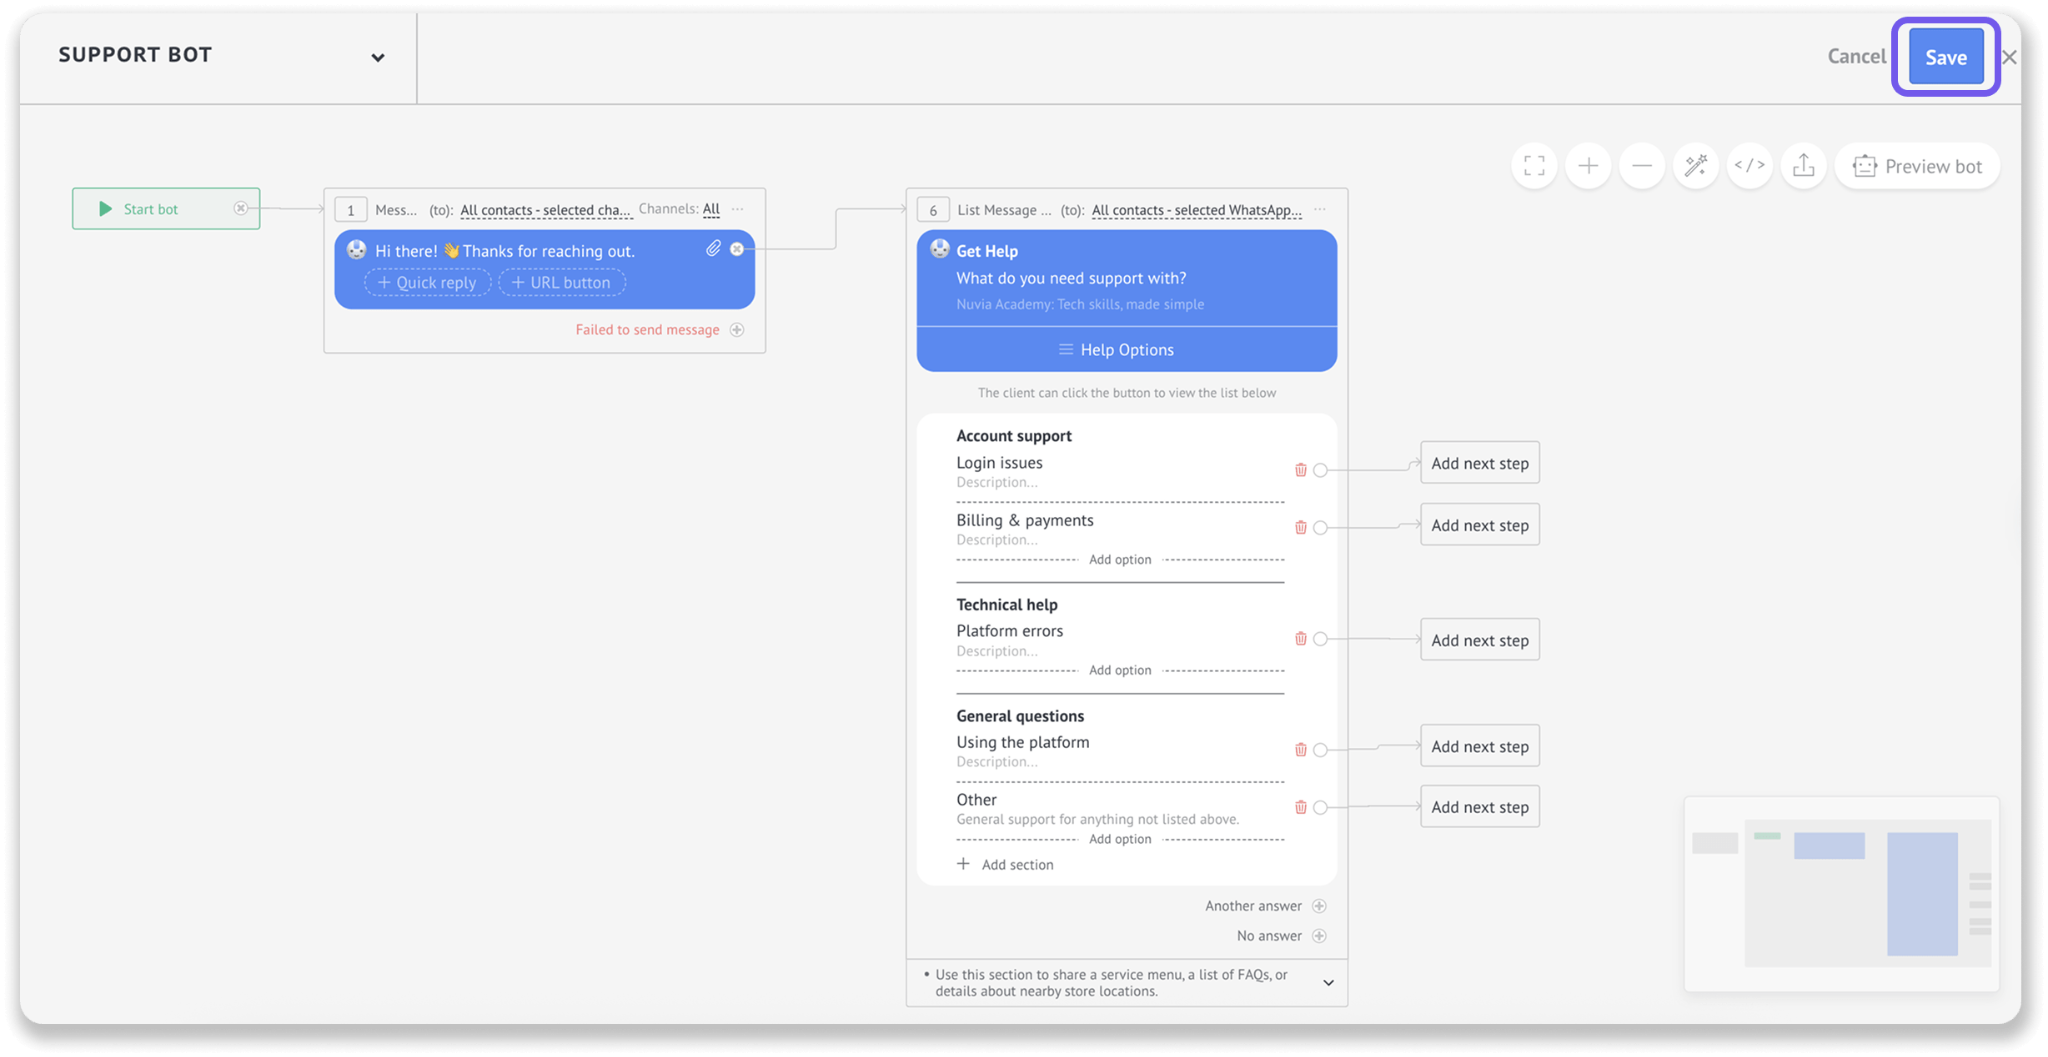
Before saving, make sure:
The message clearly explains what clients should do.
The button label describes what will open.
Related options are grouped into clear sections.
Each option is easy to understand.
Descriptions are short and useful.
The List message contains no more than 10 options.
You can add more Salesbot steps before or after the List message step.
To learn more about creating bots, see the Create a Salesbot in Kommo article.
Continue the Salesbot flow based on the client’s selection
When a client selects an option, its option title is sent to the WhatsApp chat as their response.
You can add a Condition step after the List message to make Salesbot continue through a different path based on the selected option.
To set it up:
After the List message, click Add next step.
Select Condition.
Set the condition to check whether the client’s message equals the relevant option title.
Enter the option title exactly as it appears in the List message.
Add the action Salesbot should perform when the condition is met.
Add additional conditions and paths for the other options, if needed.
For example:
If the client selects Sales, assign the lead to the sales team.
If the client selects Support, send troubleshooting options.
If the client selects Book an appointment, send available locations or booking information.
If the client selects Billing, notify the user responsible for billing.
Make sure the text used in each condition matches the corresponding option title exactly.
Send List messages
List messages can be sent only as part of a Salesbot flow.
Salesbot can start:
Automatically when a set condition is met, for example, when a client sends a message or a lead moves to another stage. Learn more in this article.
Manually from a chat with a client.
When Salesbot reaches the List Message (WhatsApp) step, the message is sent through WhatsApp Business.
The 24-hour customer service window must still be open when Salesbot reaches this step. If the window has closed, the List message will not be delivered.
If more than 24 hours have passed since the client’s last message:
Send an approved WhatsApp template.
Wait for the client to respond.
After their response opens a new 24-hour customer service window, Salesbot can send the List message.
Learn more about messaging windows and WhatsApp templates in the WhatsApp templates overview article.