What you’ll need:
Any Kommo plan (Base, Advanced, Pro, Enterprise, or 14-day trial).
Keep in mind:
Dynamic comparison statistics (green/red numbers) are unavailable on newly created widgets until the next day.
Dynamic comparison statistics do not display if the Apply dashboard settings for all users is enabled.
Reverting the dashboard to its original layout is not supported.
Dashboard widgets only store and display dynamic performance statistics for a maximum of 65 days.
This guide explains how to:
Set up dashboard widgets
Step 1: Change a widget name or view
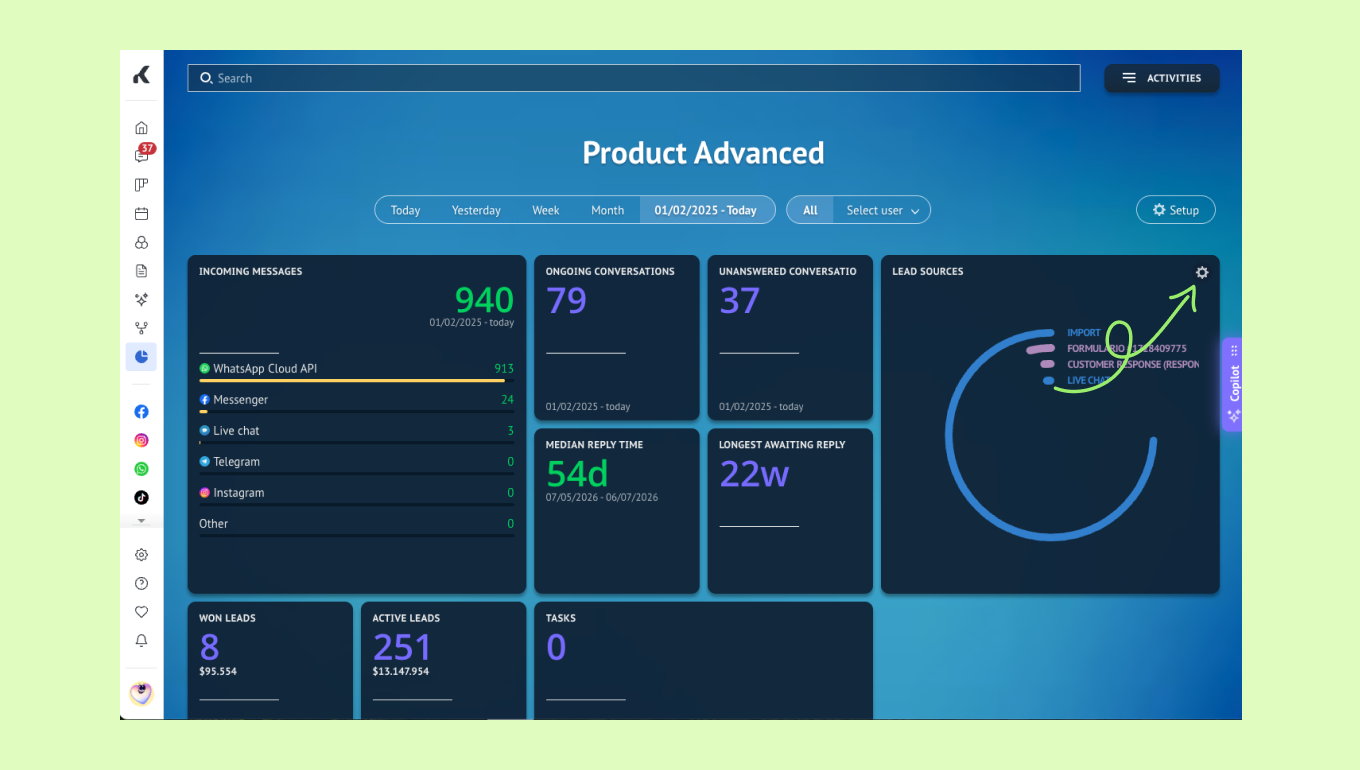
Go to the upper-right corner of the widget.
Click the gear icon.
Enter a new name in the field at the top of the window.
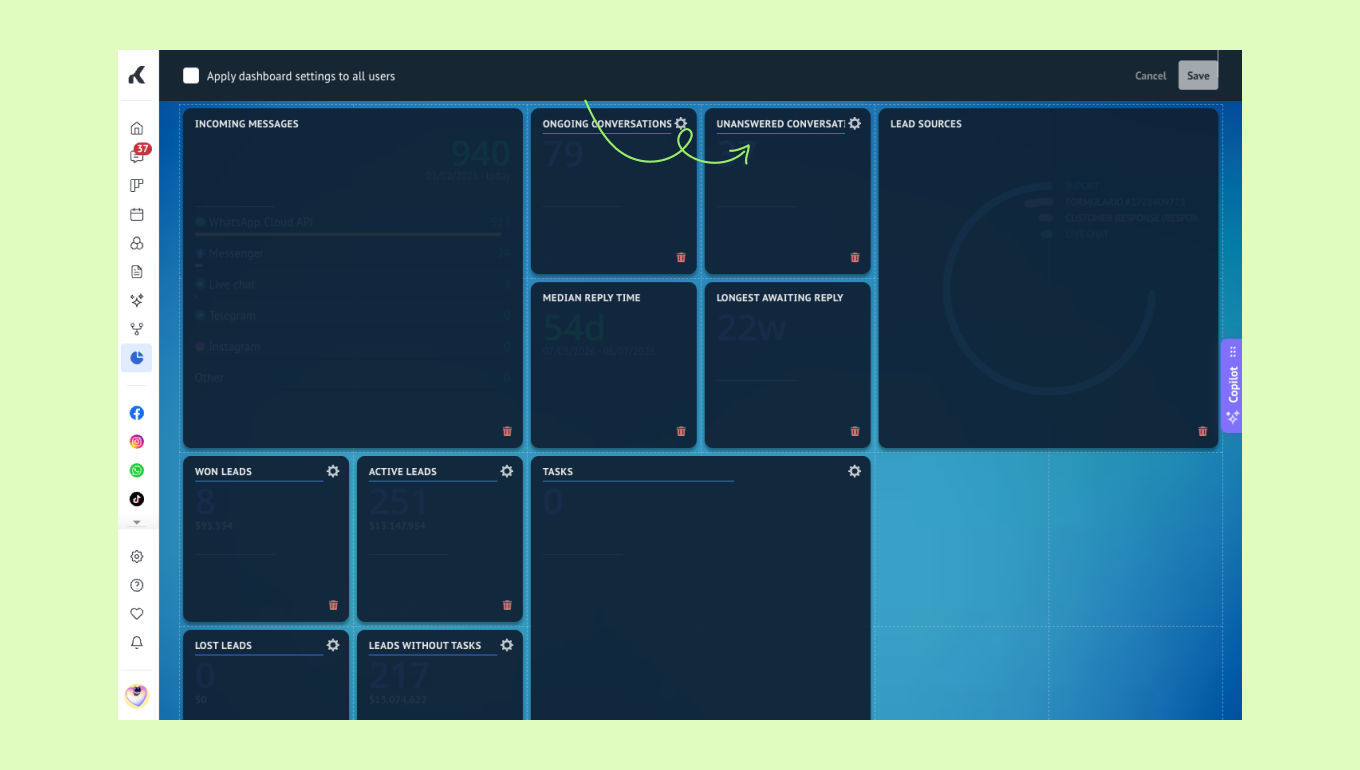
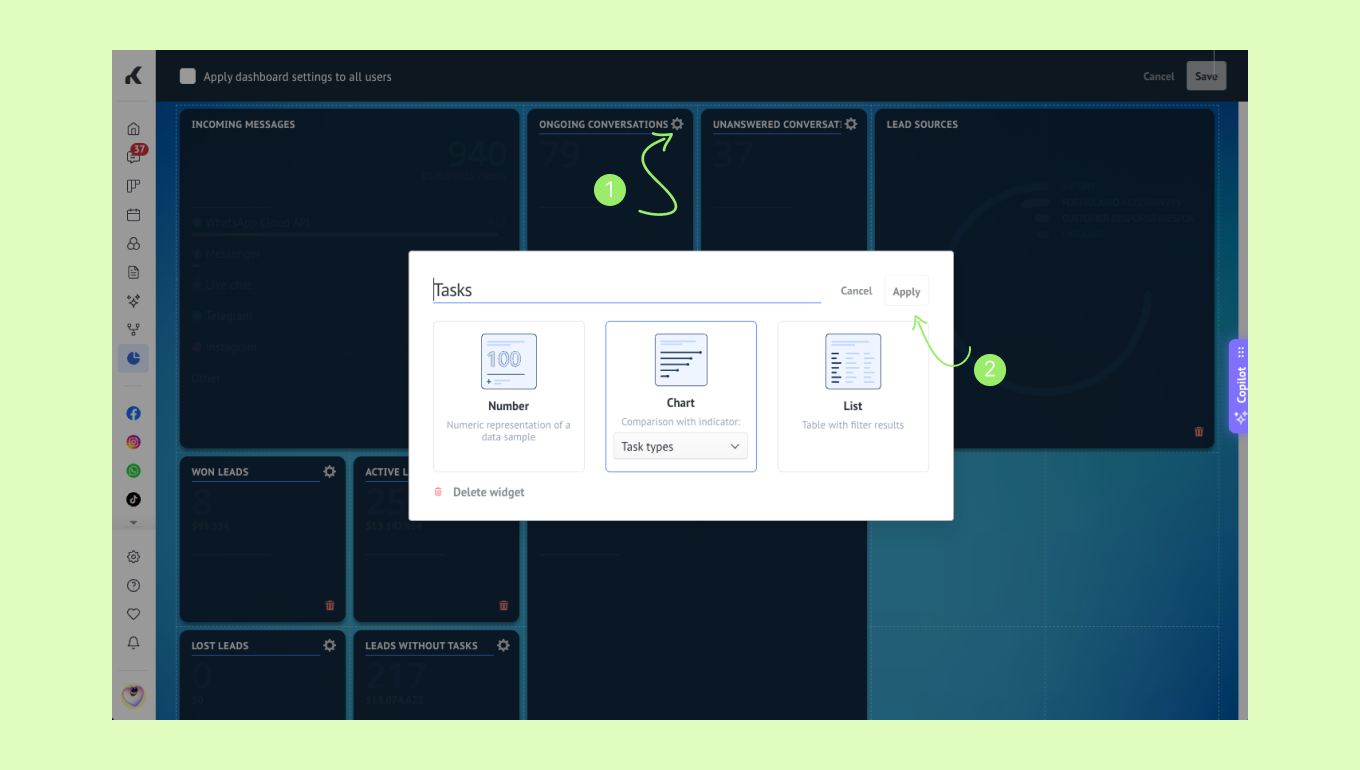
Choose the data presentation type by clicking the gear icon while in editing mode, then click Apply.
Tip: You can delete or rename your widget in the same window.
Fill the corresponding checkbox if you want your widget's view to be shown for all Kommo users.
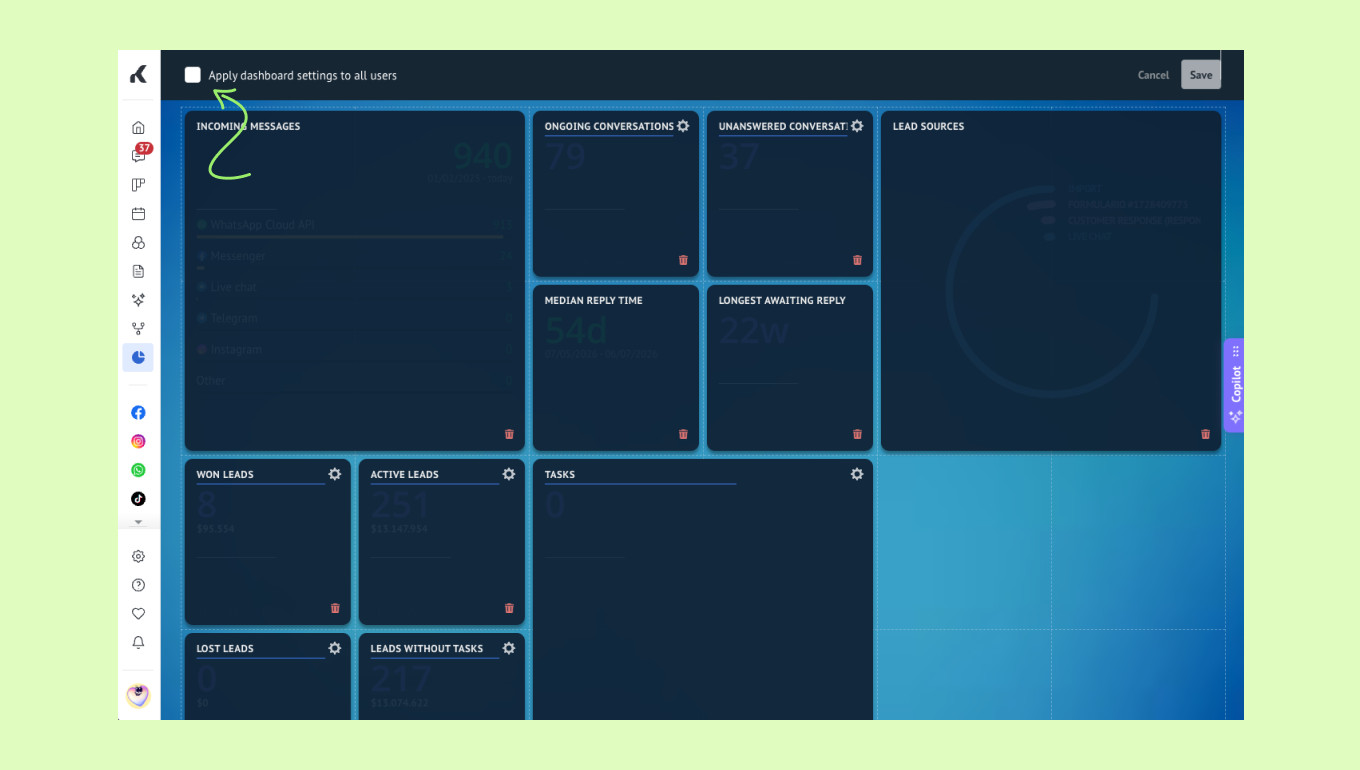
Click Save.
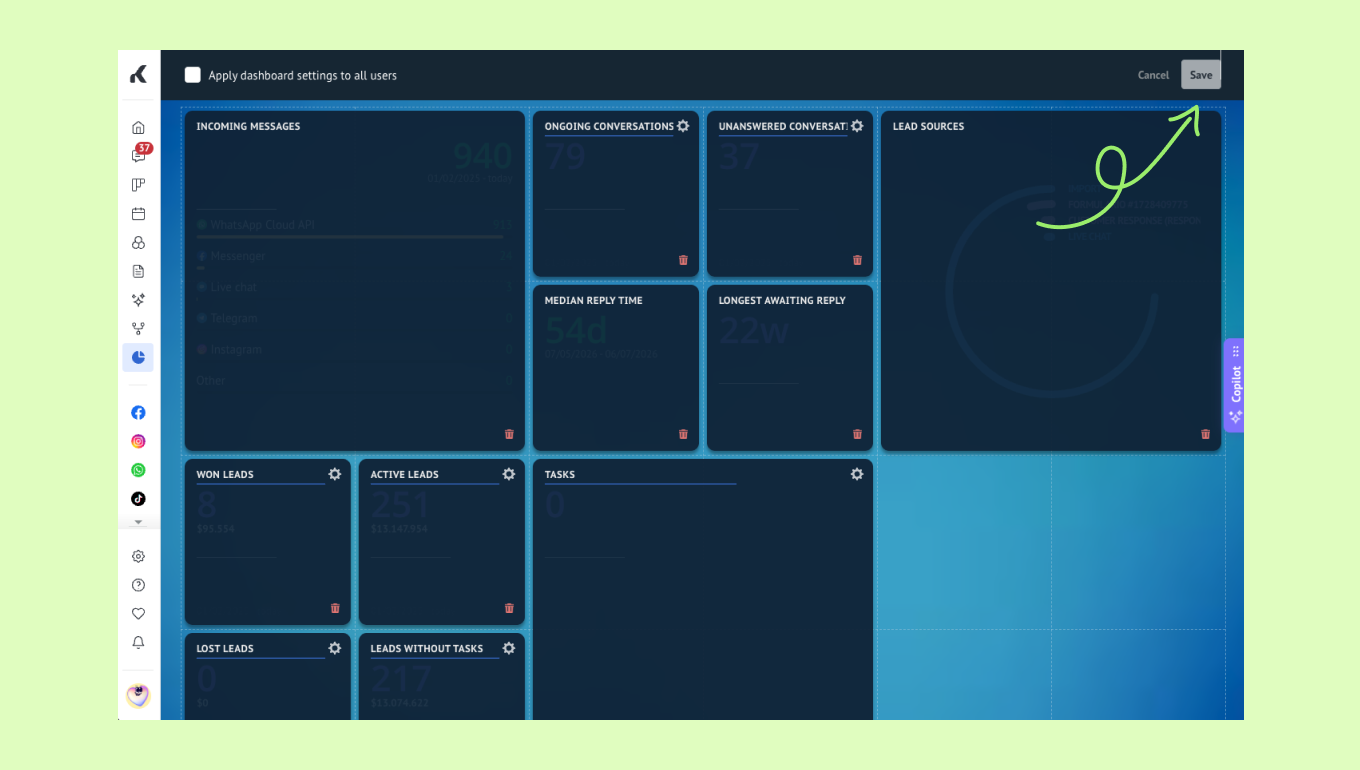
Note: For some widgets you won’t be able to change the name or view.
Step 2: Add more widgets
Kommo allows you to flexibly customize the reports you see on the main dashboards – in case the information on the default widgets is not enough, you can use advanced widgets, add widgets from filters, or even create your own.
A. Add an advanced widget
Hover over an empty tile on the dashboard.
Click the + icon.
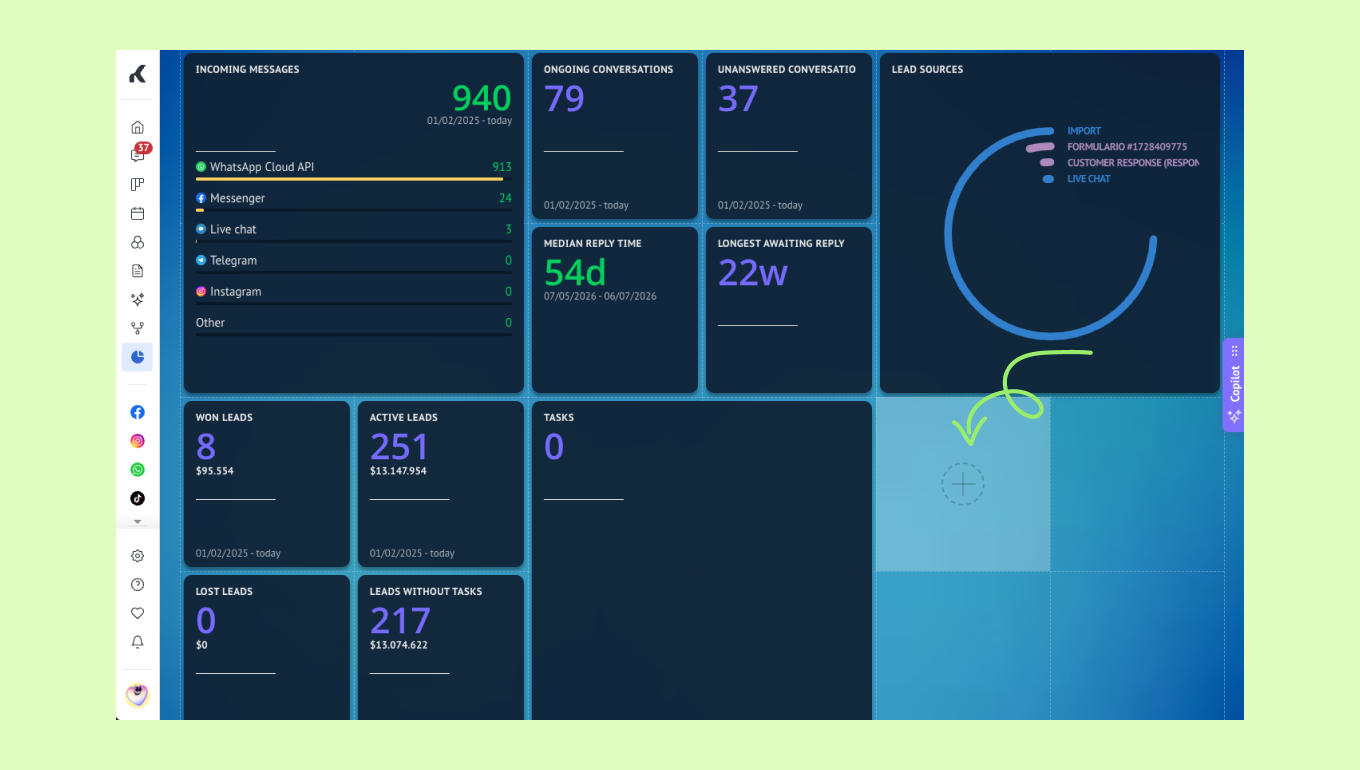
Choose the widget type you want to add.
B. Add a custom widget
If no widget fits your needs, you can also create your own widgets on your server and add them to your Dashboard.
Note: A custom widget configured with the List display type is unsupported in the Kommo mobile app.
Create the widget on your server.
Upload it to your host, which should have an SSL certificate installed.
Tip: To get started, you can use the widget that we have made for you.
Hover over an empty tile on the dashboard.
Click the + icon.
Select Add new widget.
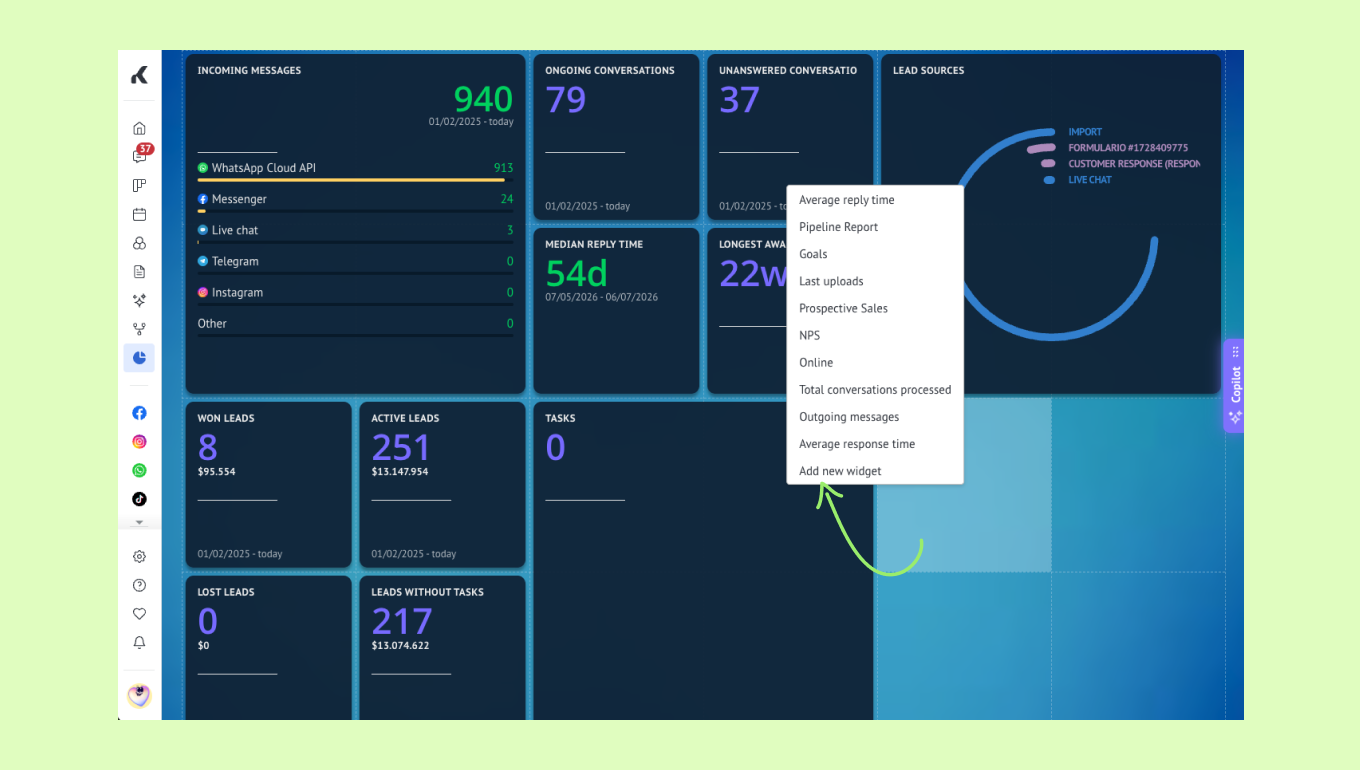
Paste the link to your custom widget.
Set the width and height.
Click Save.
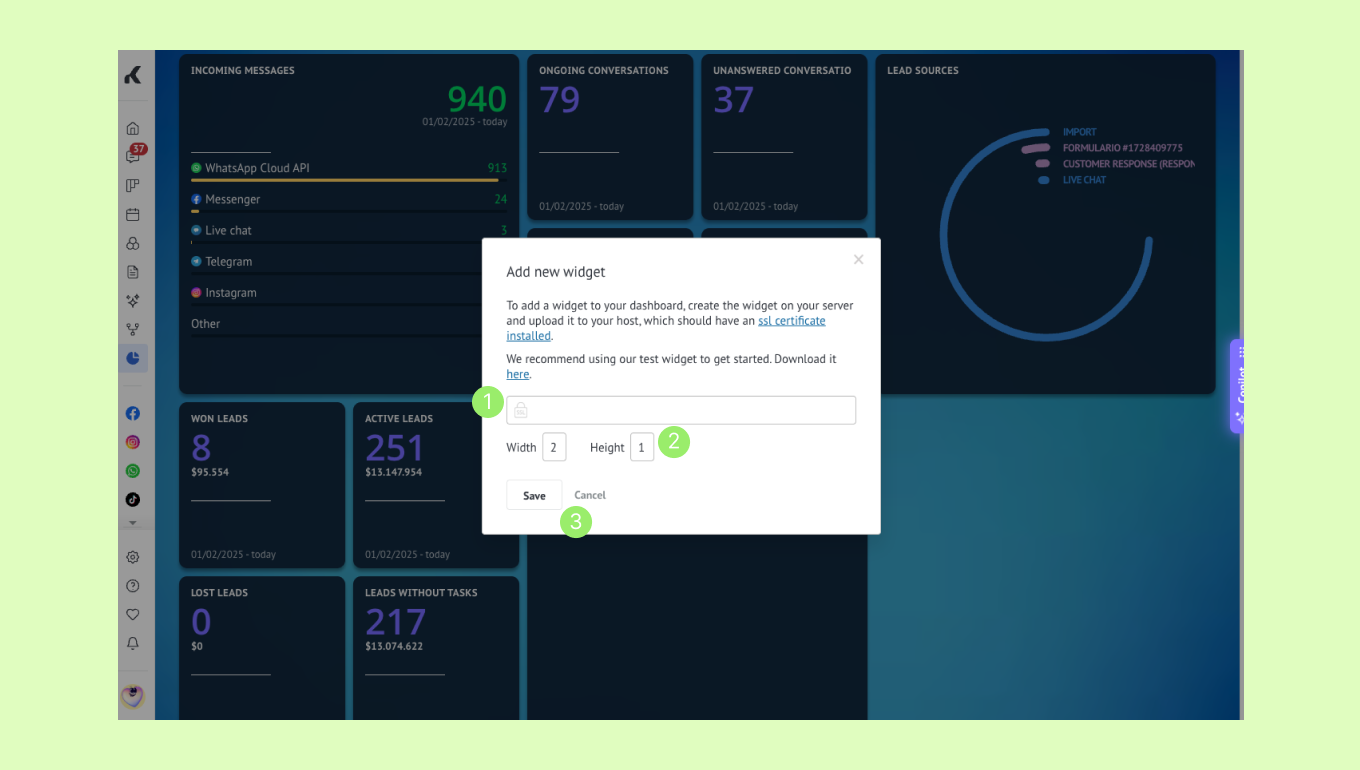
Important: Once a custom dashboard widget is deleted, it cannot be restored.
C. Add a widget from a filter
You can create custom widgets by applying filters to different data types in Kommo. For example, in the Lists → Contacts section:
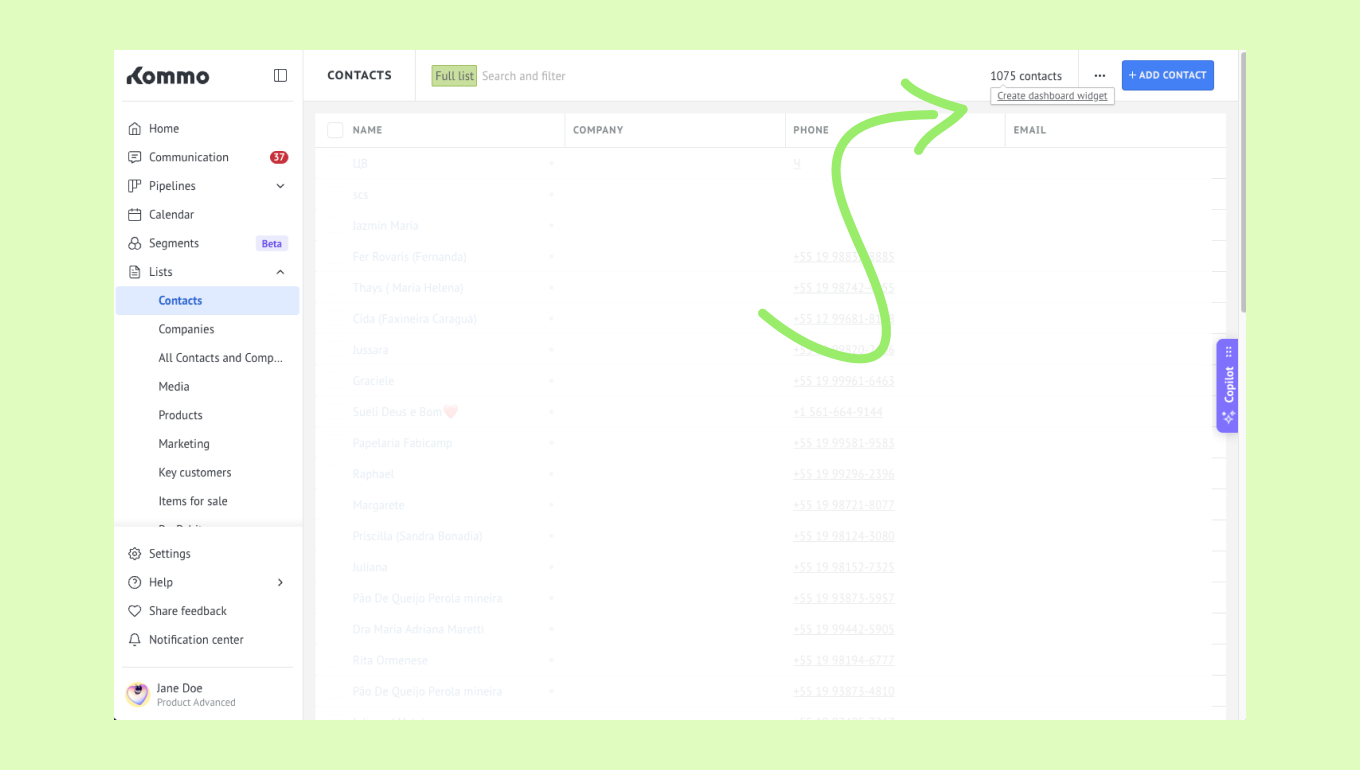
Hover over the total number of contacts on the right side of the filter field.
Select Create dashboard widget.
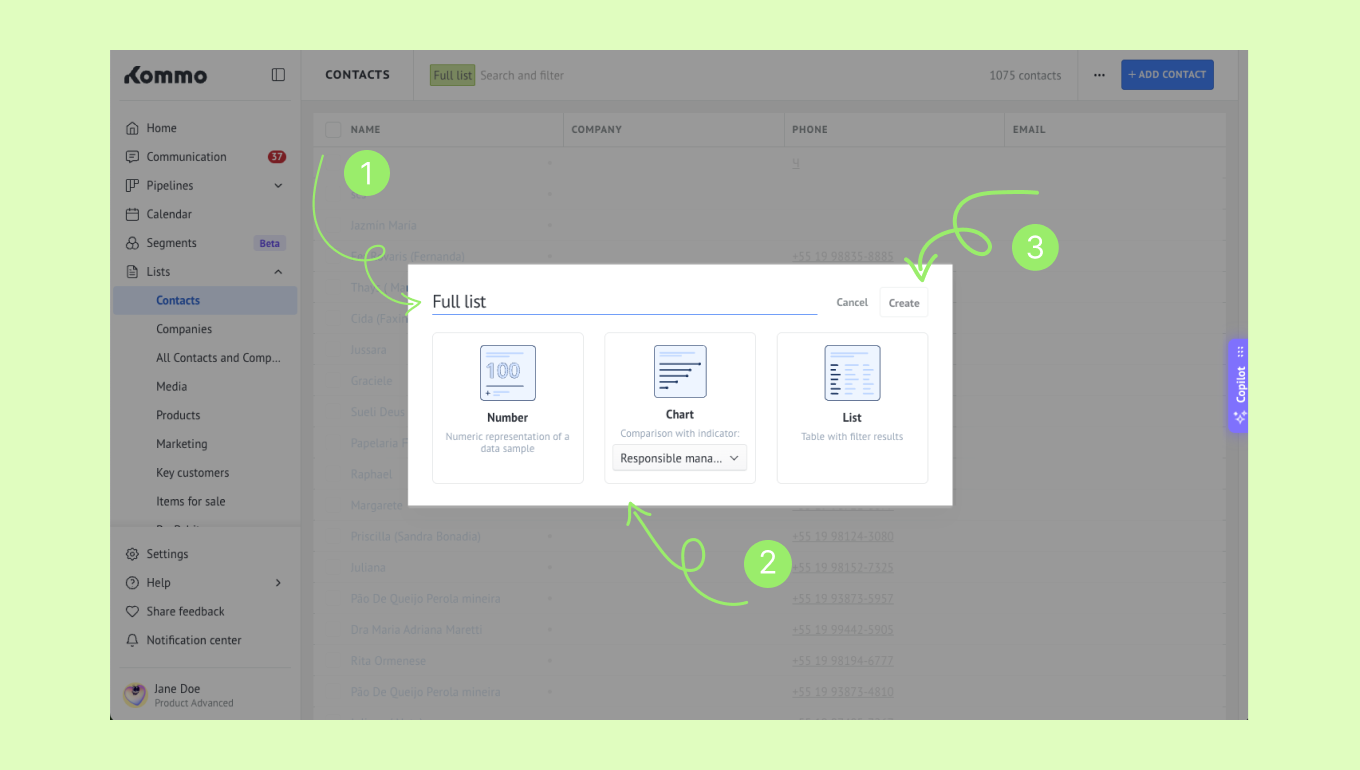
Enter a name for the widget and choose its view.
Click Create.
Note: You can do the same in every section that allows you to filter the list of data, for example:
Subsections of the Lists.
Customers section.
Subsections of the Pipelines.
Chat inbox subsection.
Task log report.
Delete a widget
Go to the upper-right corner of any widget.
Click the gear icon.
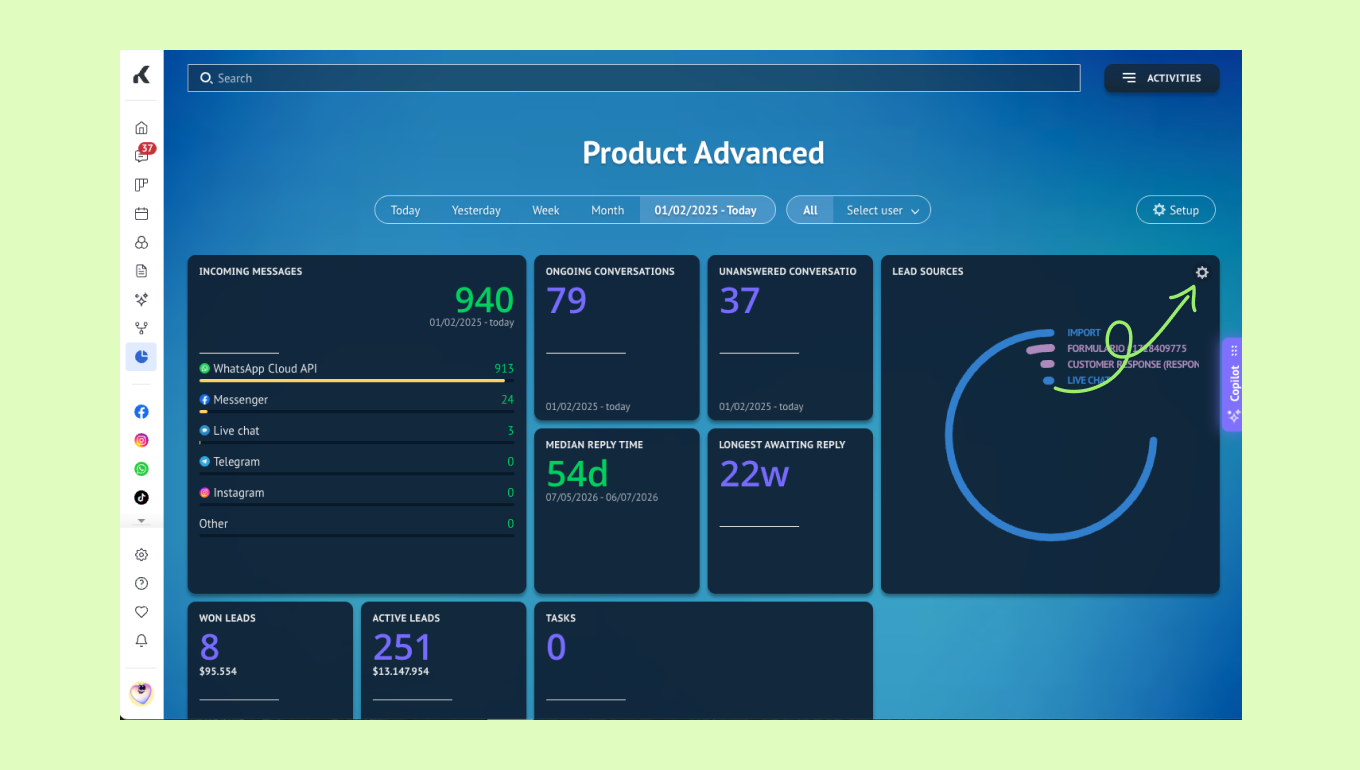
Click the garbage bin icon at the bottom right corner of the widget you want to delete.
Set up the dashboard
Step 1: Access the dashboard
To open the main dashboards, go to the left menu and select Insights → Dashboard.
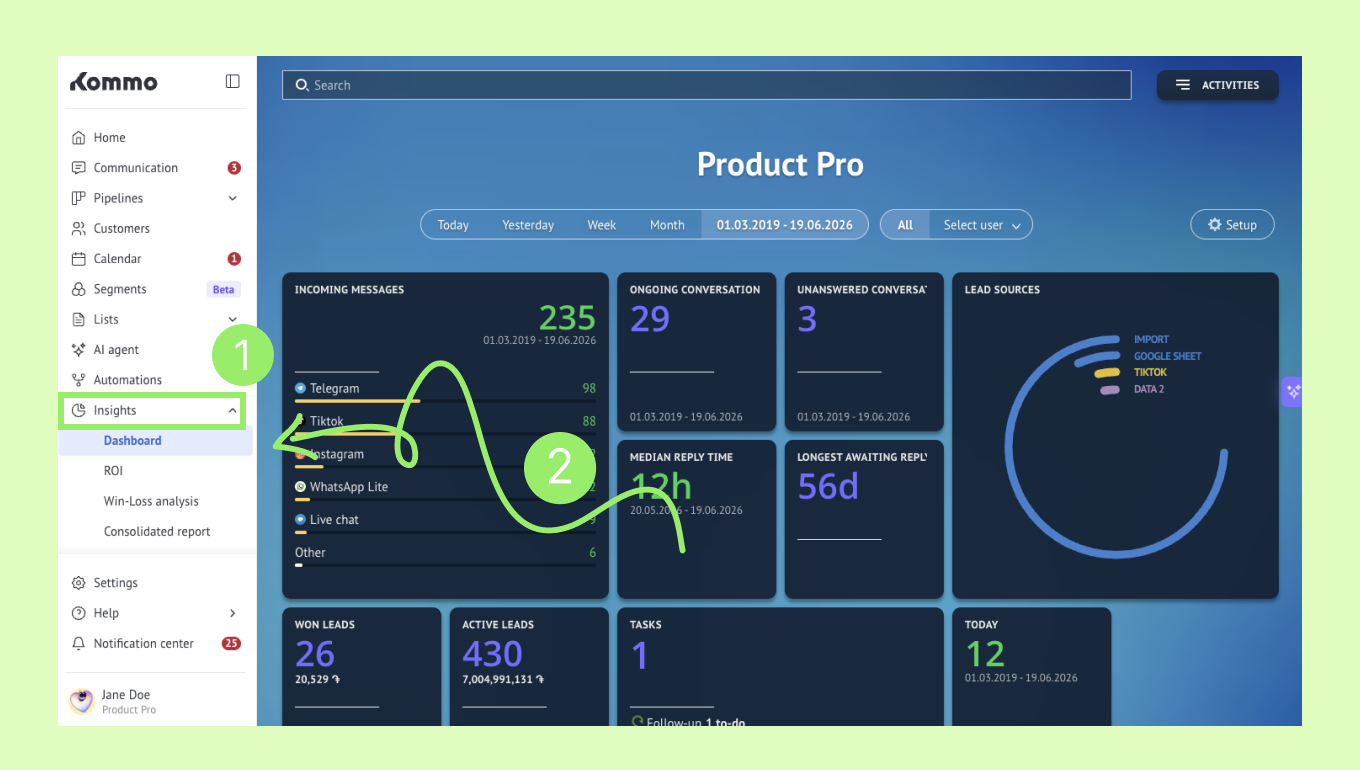
Here, you’ll see the default widgets with live data about what is happening with your clients.
Step 2: Filter the data in the reports
If you want to see more specific information than what is shown by default, dashboards make it easy to filter the data in your report widgets.
You can filter the displayed information by:
Time
User
Filter by time
To filter by time, use the bar above the widgets and choose one of the preset timeframes: Today, Yesterday, Week, or Month.
If you need a custom period, click Time to manually open the calendar and select the date range.
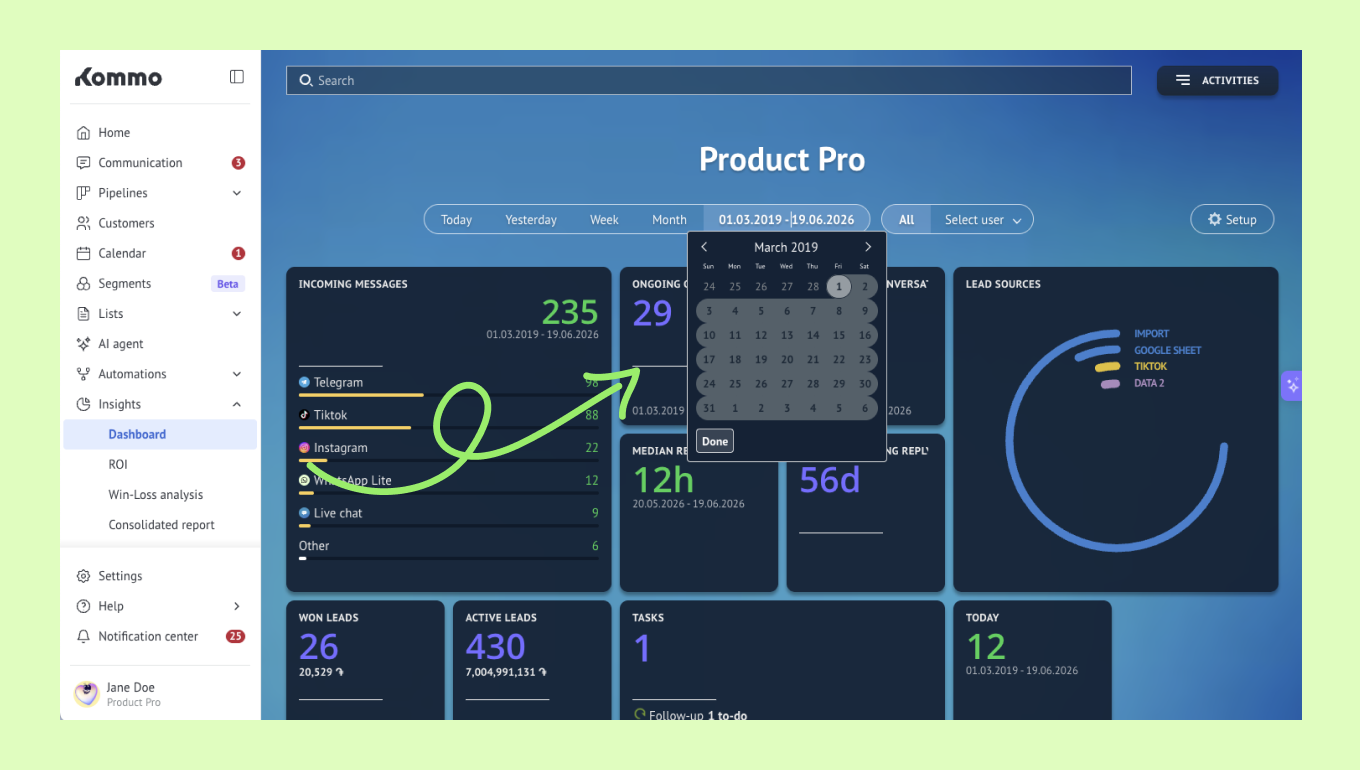
Important: Standard widgets displaying purple numbers (leads, contacts, tasks) do not support dashboard date filtering.
Filter by user
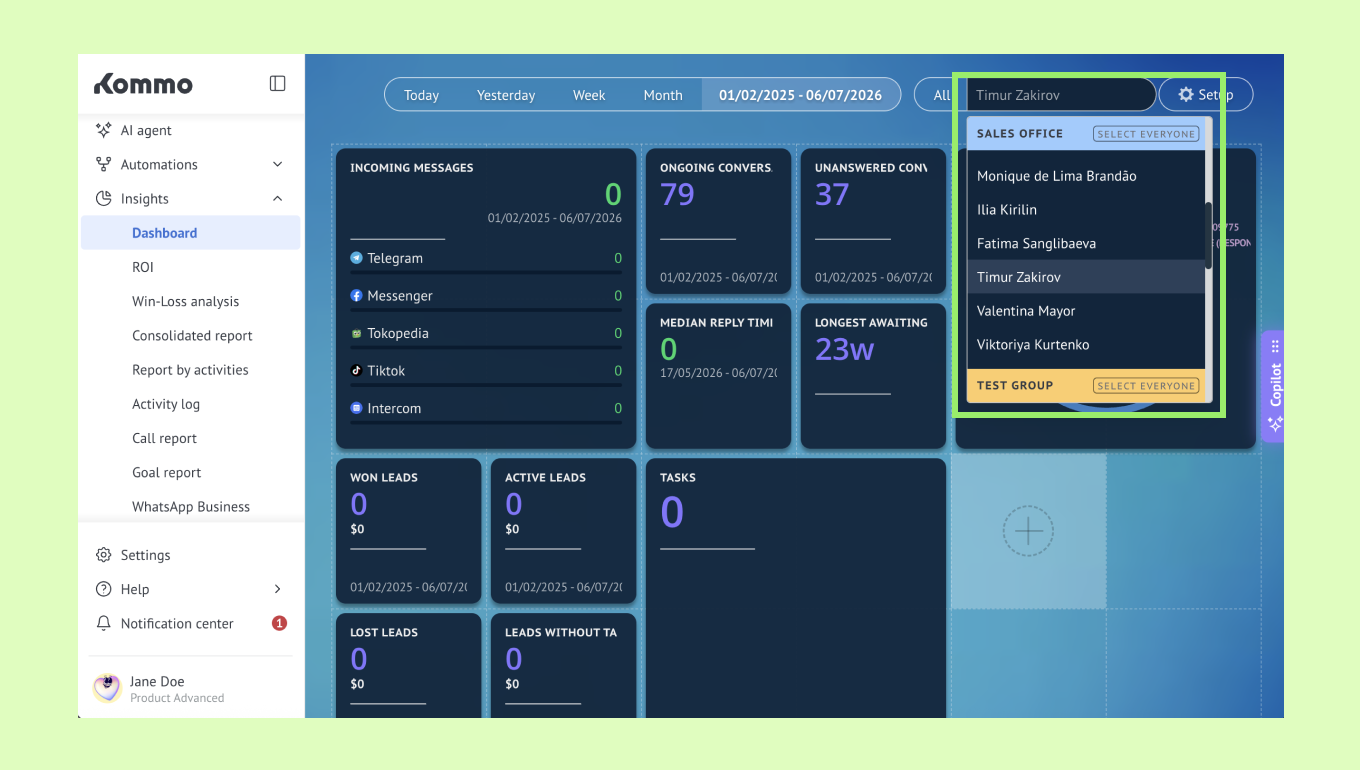
To filter by user, use the bar above the widgets and choose All if you want to see statistics for everyone.
You can also open the dropdown and select one or more specific users.
Step 3: Personalize the dashboard view
The dashboard not only gives you live insight into your business processes, but also lets you adjust the visual style to match your preferences.
To personalize the view:
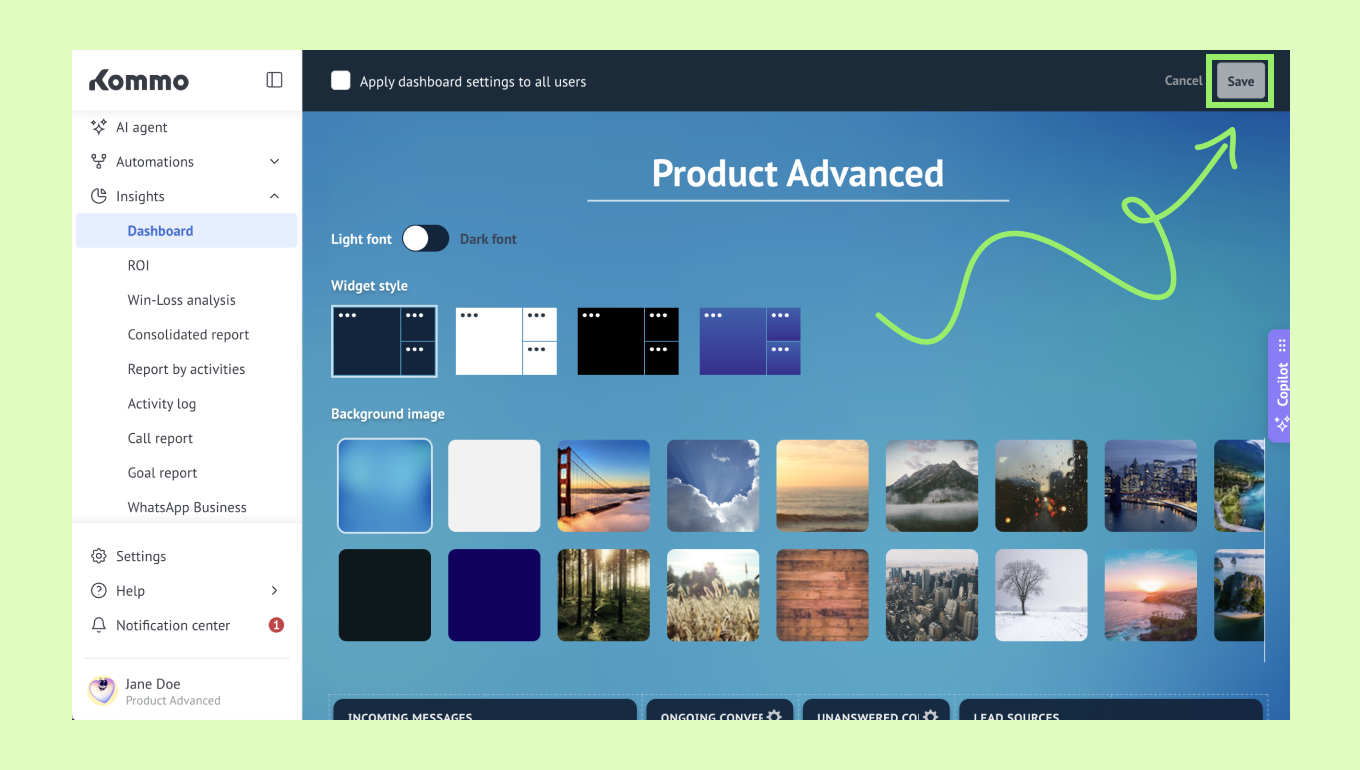
Click Setup in the upper-right corner of the dashboard.
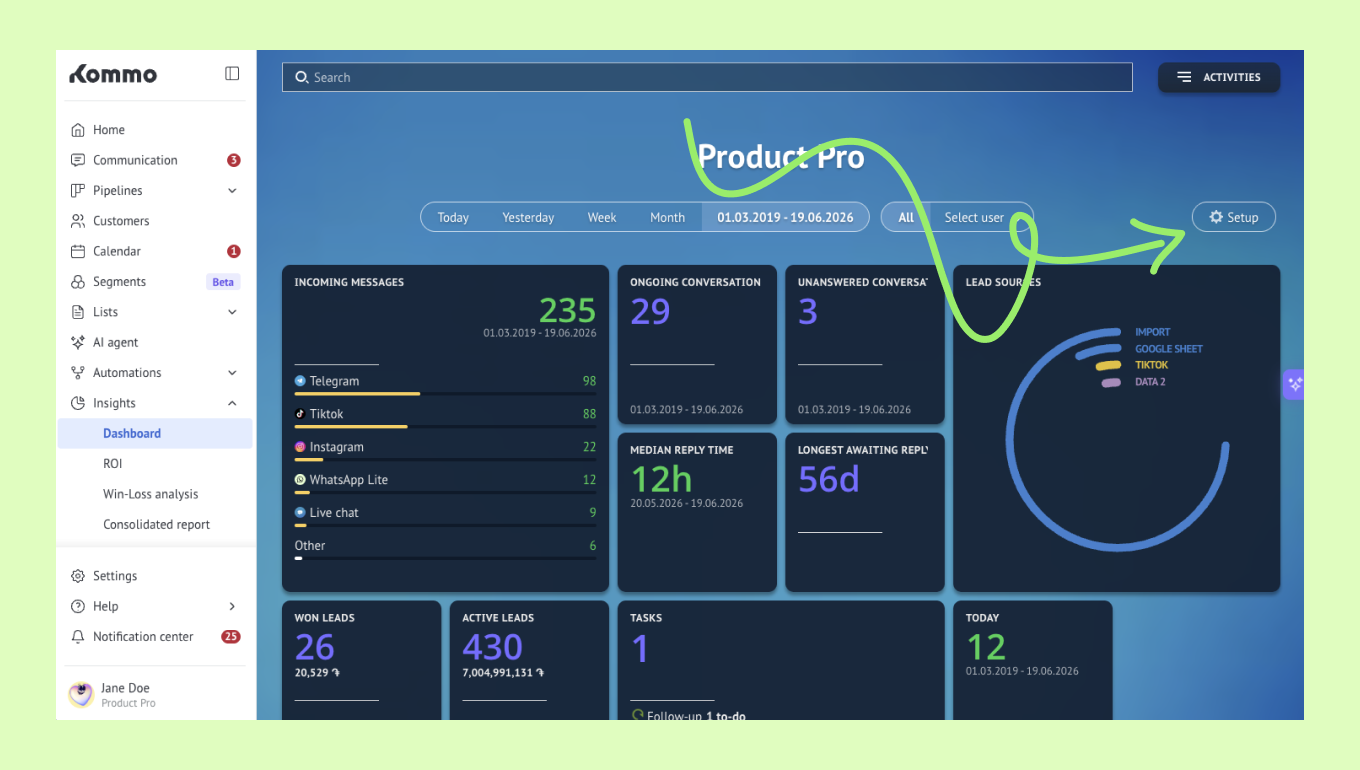
Edit the dashboard name in the top field.
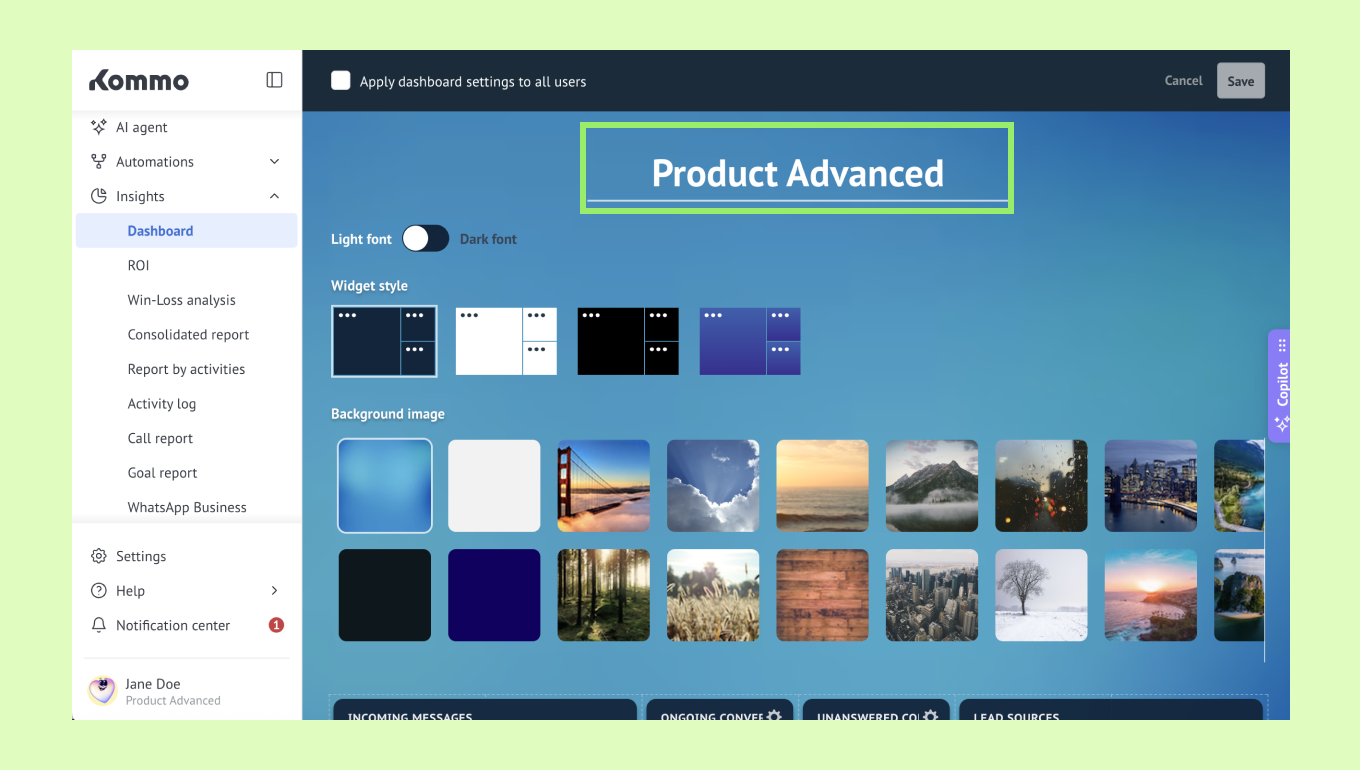
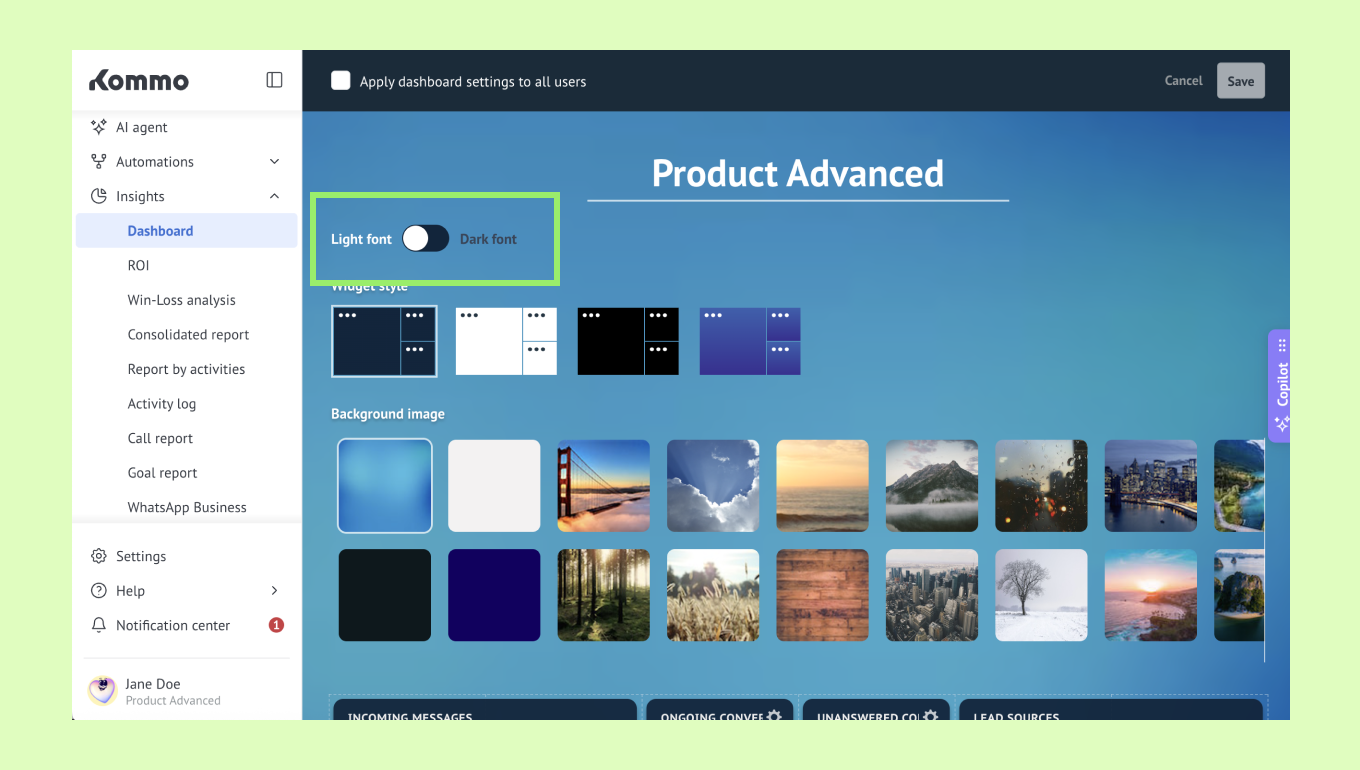
Choose the font style.
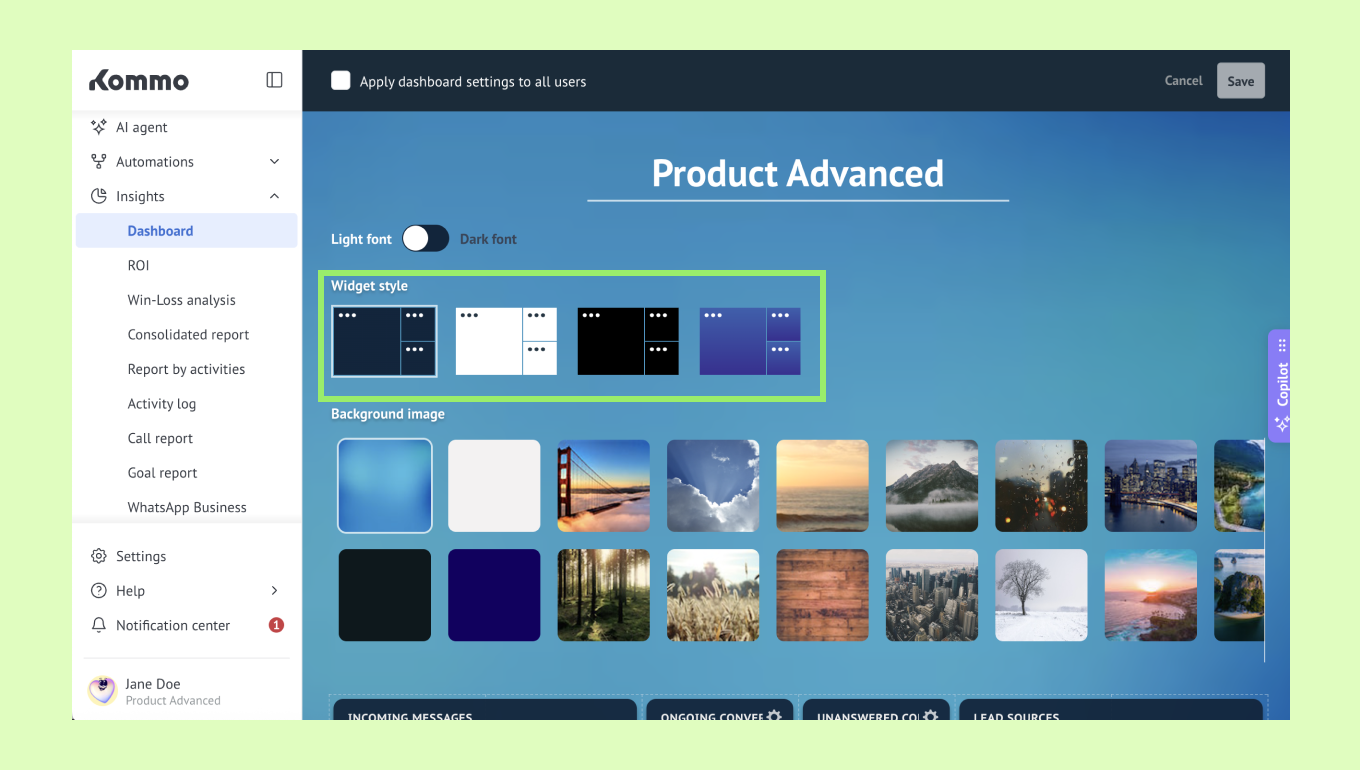
Select the widget style.
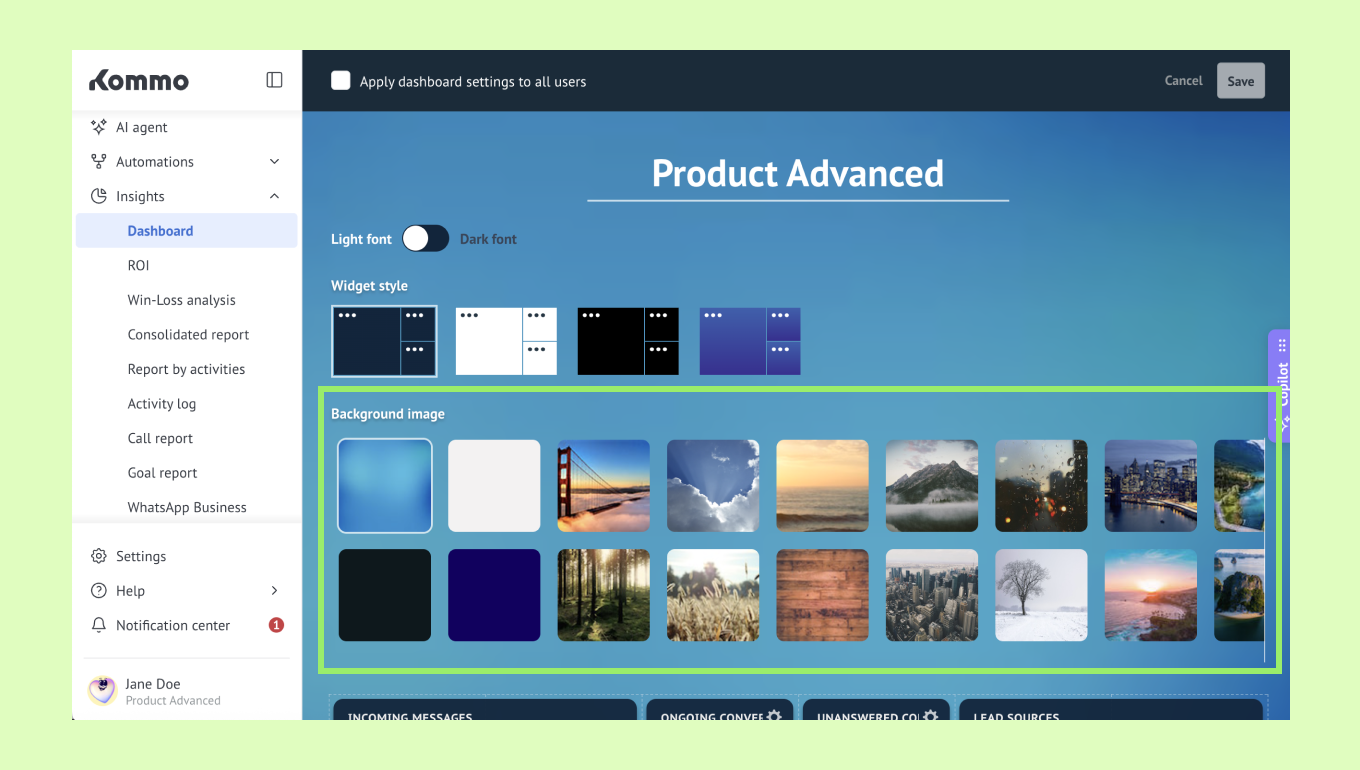
Select a background image.
Press the Save button.