What you’ll need:
Bookings with the AI agent are available on the Pro plan and 14-day trial.To automate bookings, you need an active AI package. Learn more about AI packages and how to purchase them.
Keep in mind:
The AI agent only replies to incoming messages and can’t start conversations.
To use the AI agent, you need to connect at least one channel to your Kommo account.
You can create multiple AI agents in the same workspace and configure each one for different booking flows, channels, or business scenarios.
The AI agent supports all languages but works best with Kommo's system languages: English, Spanish, Portuguese, Turkish, Indonesian, and Russian.
In Kommo, you can automate bookings with AI agents. This helps to reduce manual work and ensures every inquiry is answered right away.
How the AI agent assists clients with bookings
When a client reaches out to book a meeting or service, the AI agent handles the entire process. It guides them in choosing a time, checks your availability, offers open slots, and automatically adds the booking to your Kommo calendar once confirmed.
Learn more about the AI agents and how to set them up.
Set up automated bookings with the AI agent
Make sure your availability and booking types are already configured before setting up AI-agent bookings.
To learn how to set these up, check our article.
Once everything is configured, follow these steps:
Go to AI agents → AI agent list and select the AI agent you want to configure for bookings.
.png)
In the AI agent builder, open the Actions tab and click + Add action.
.png)
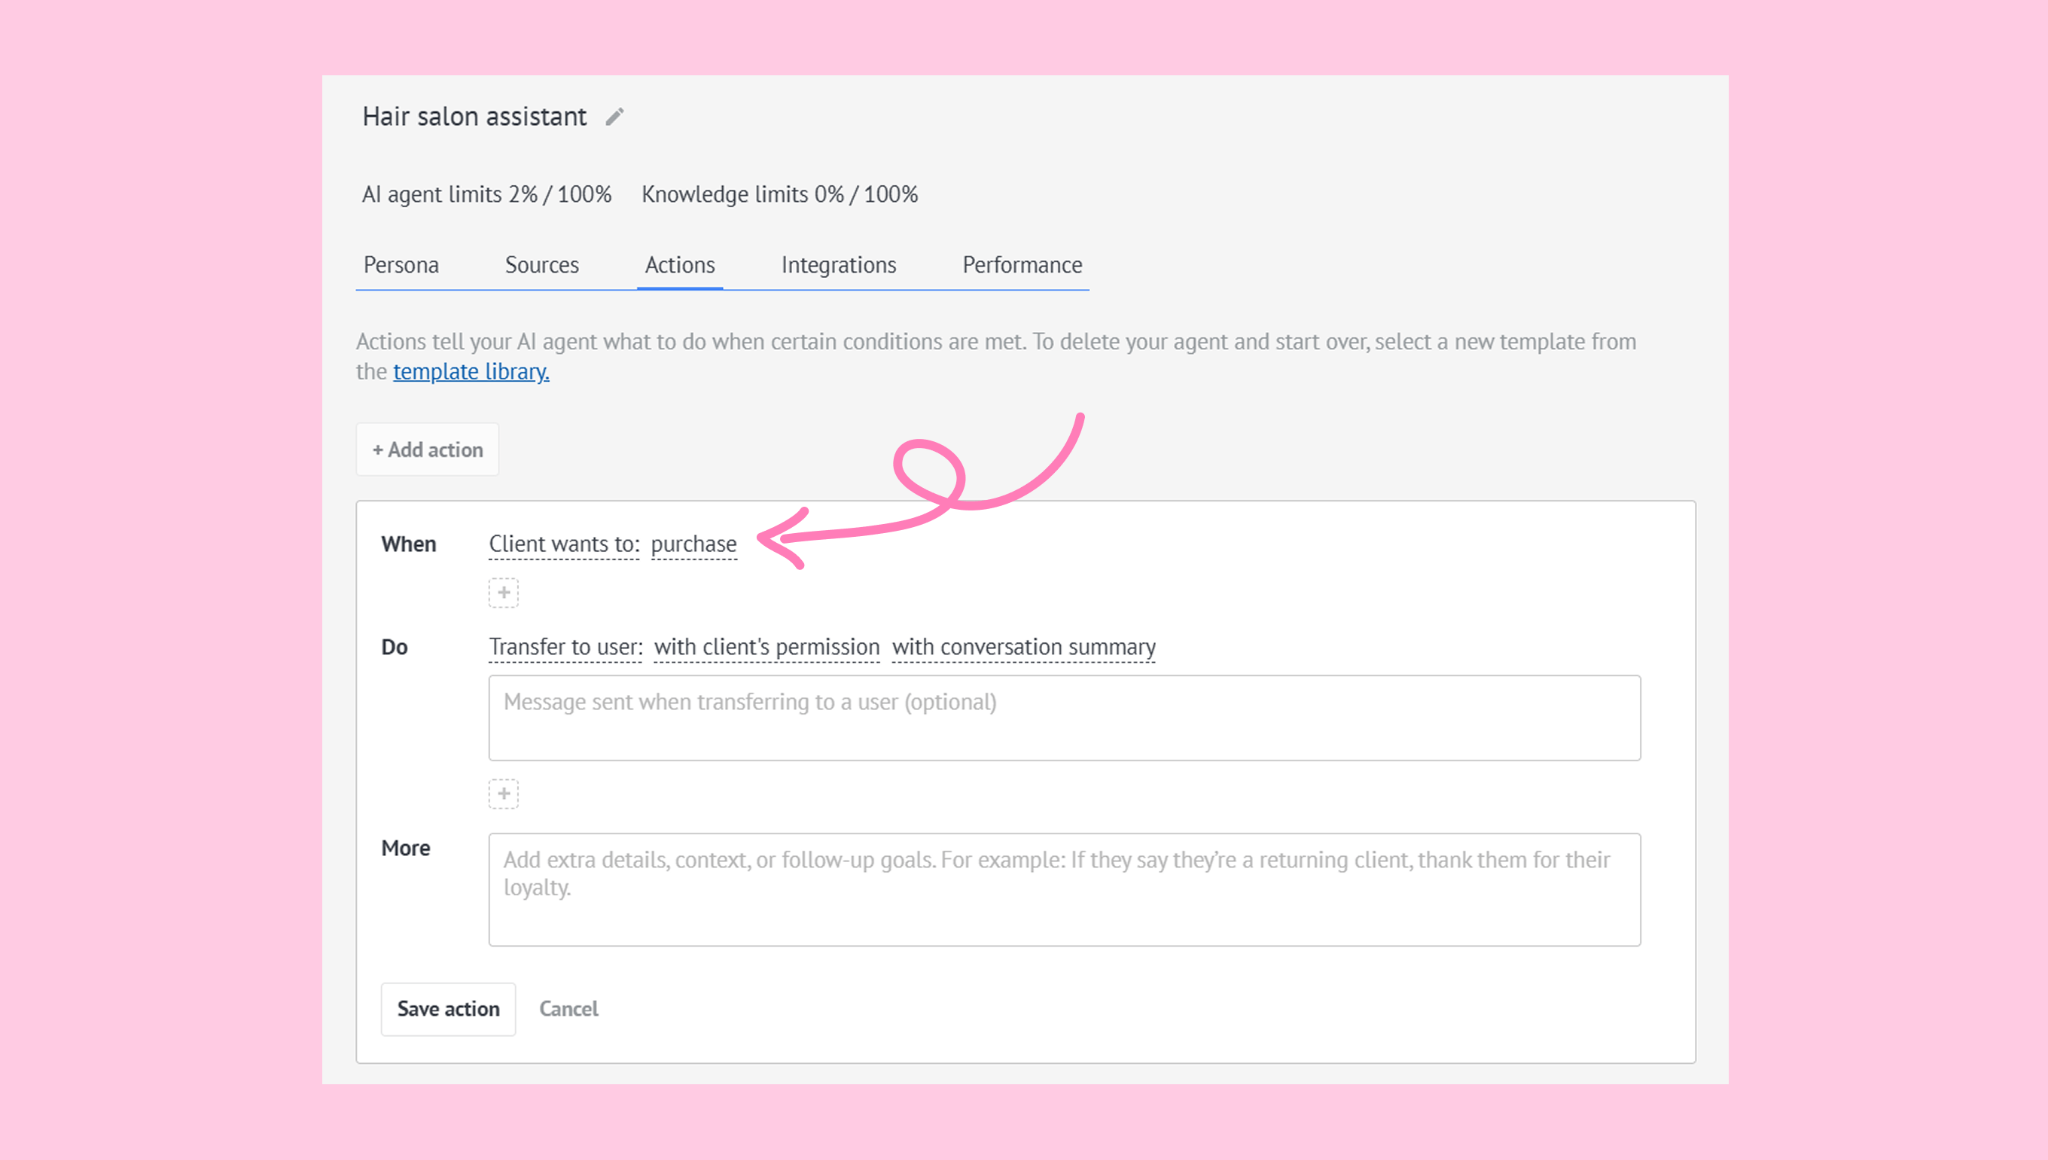
Set up the WHEN condition by clicking purchase:
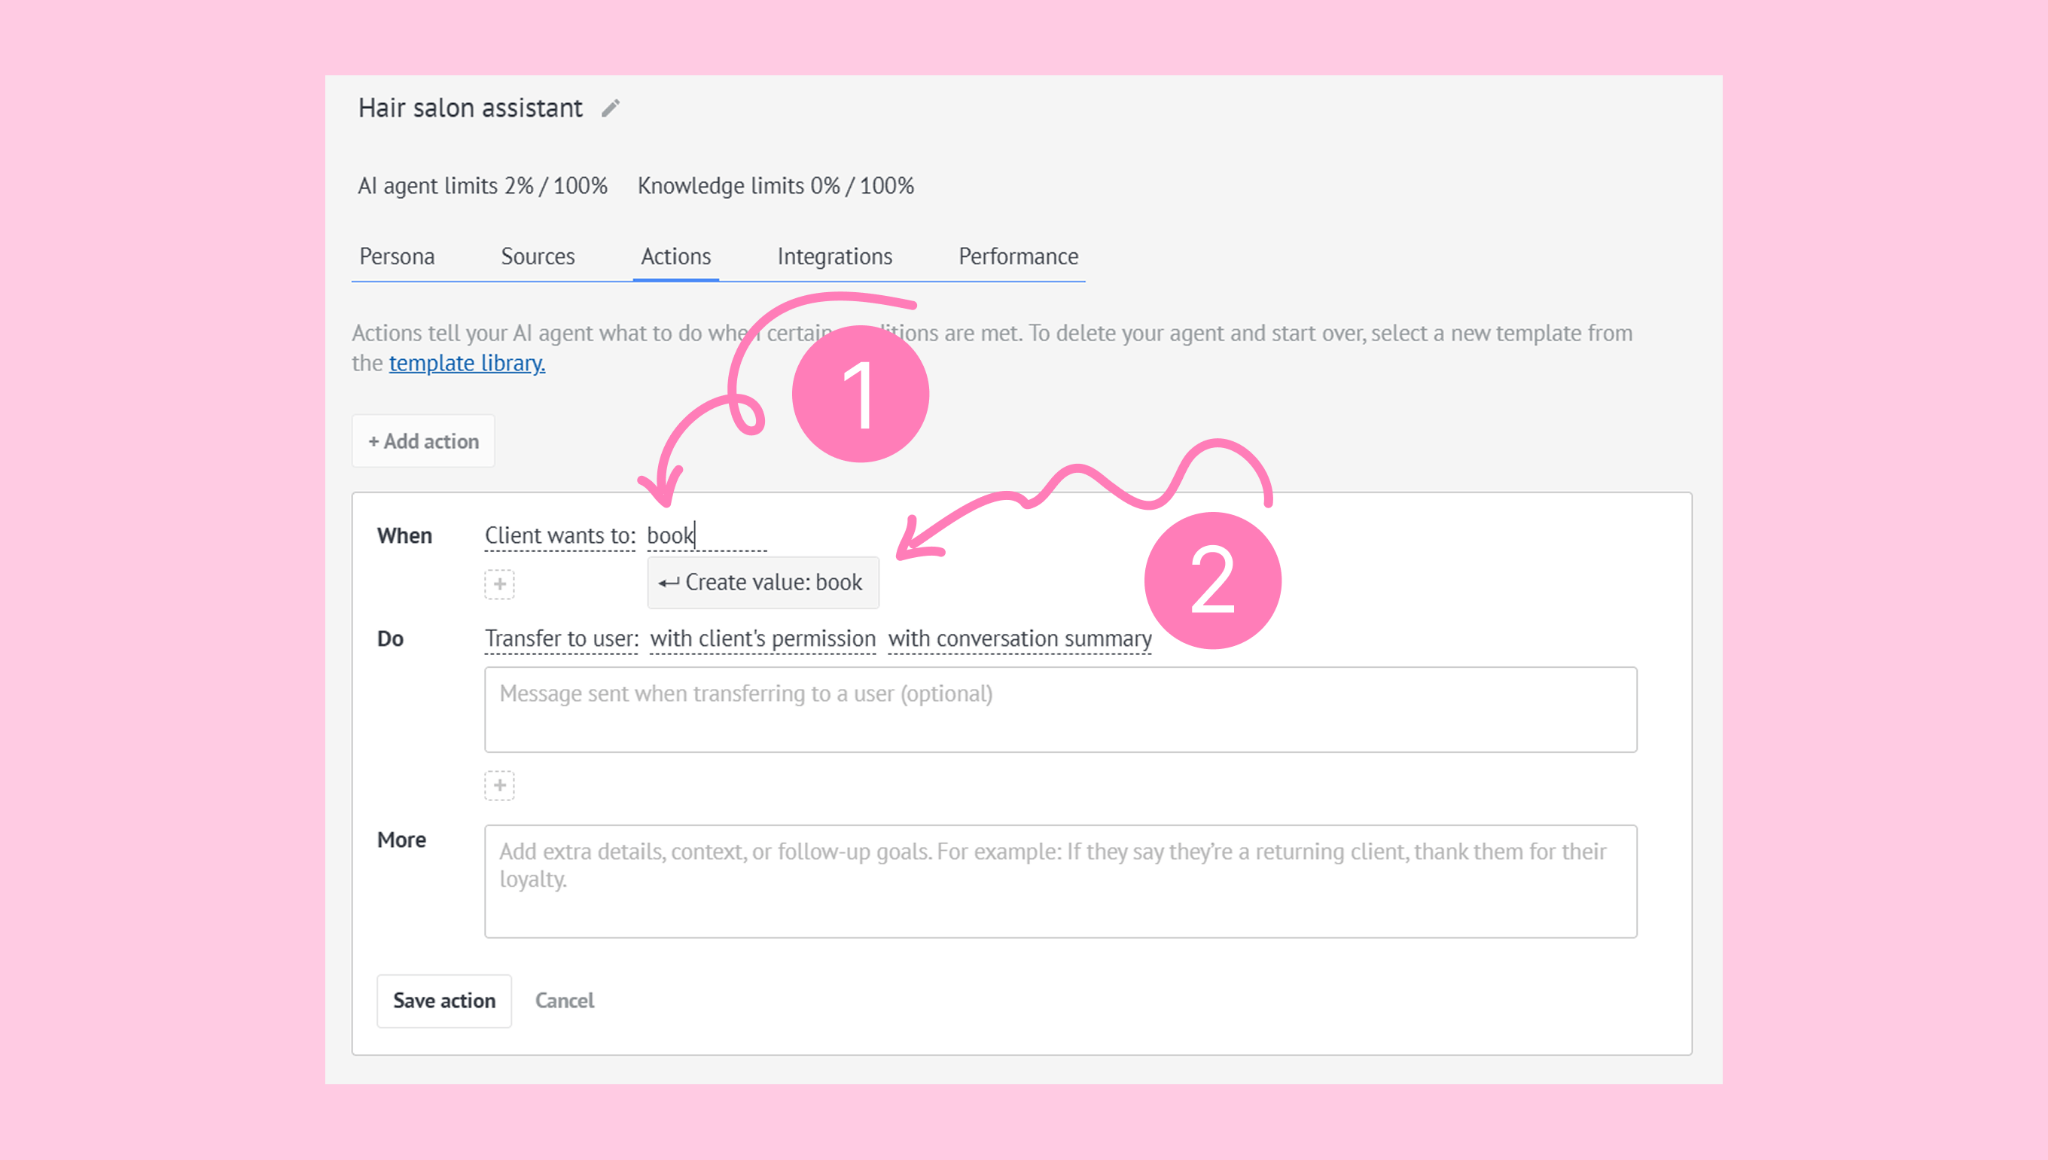
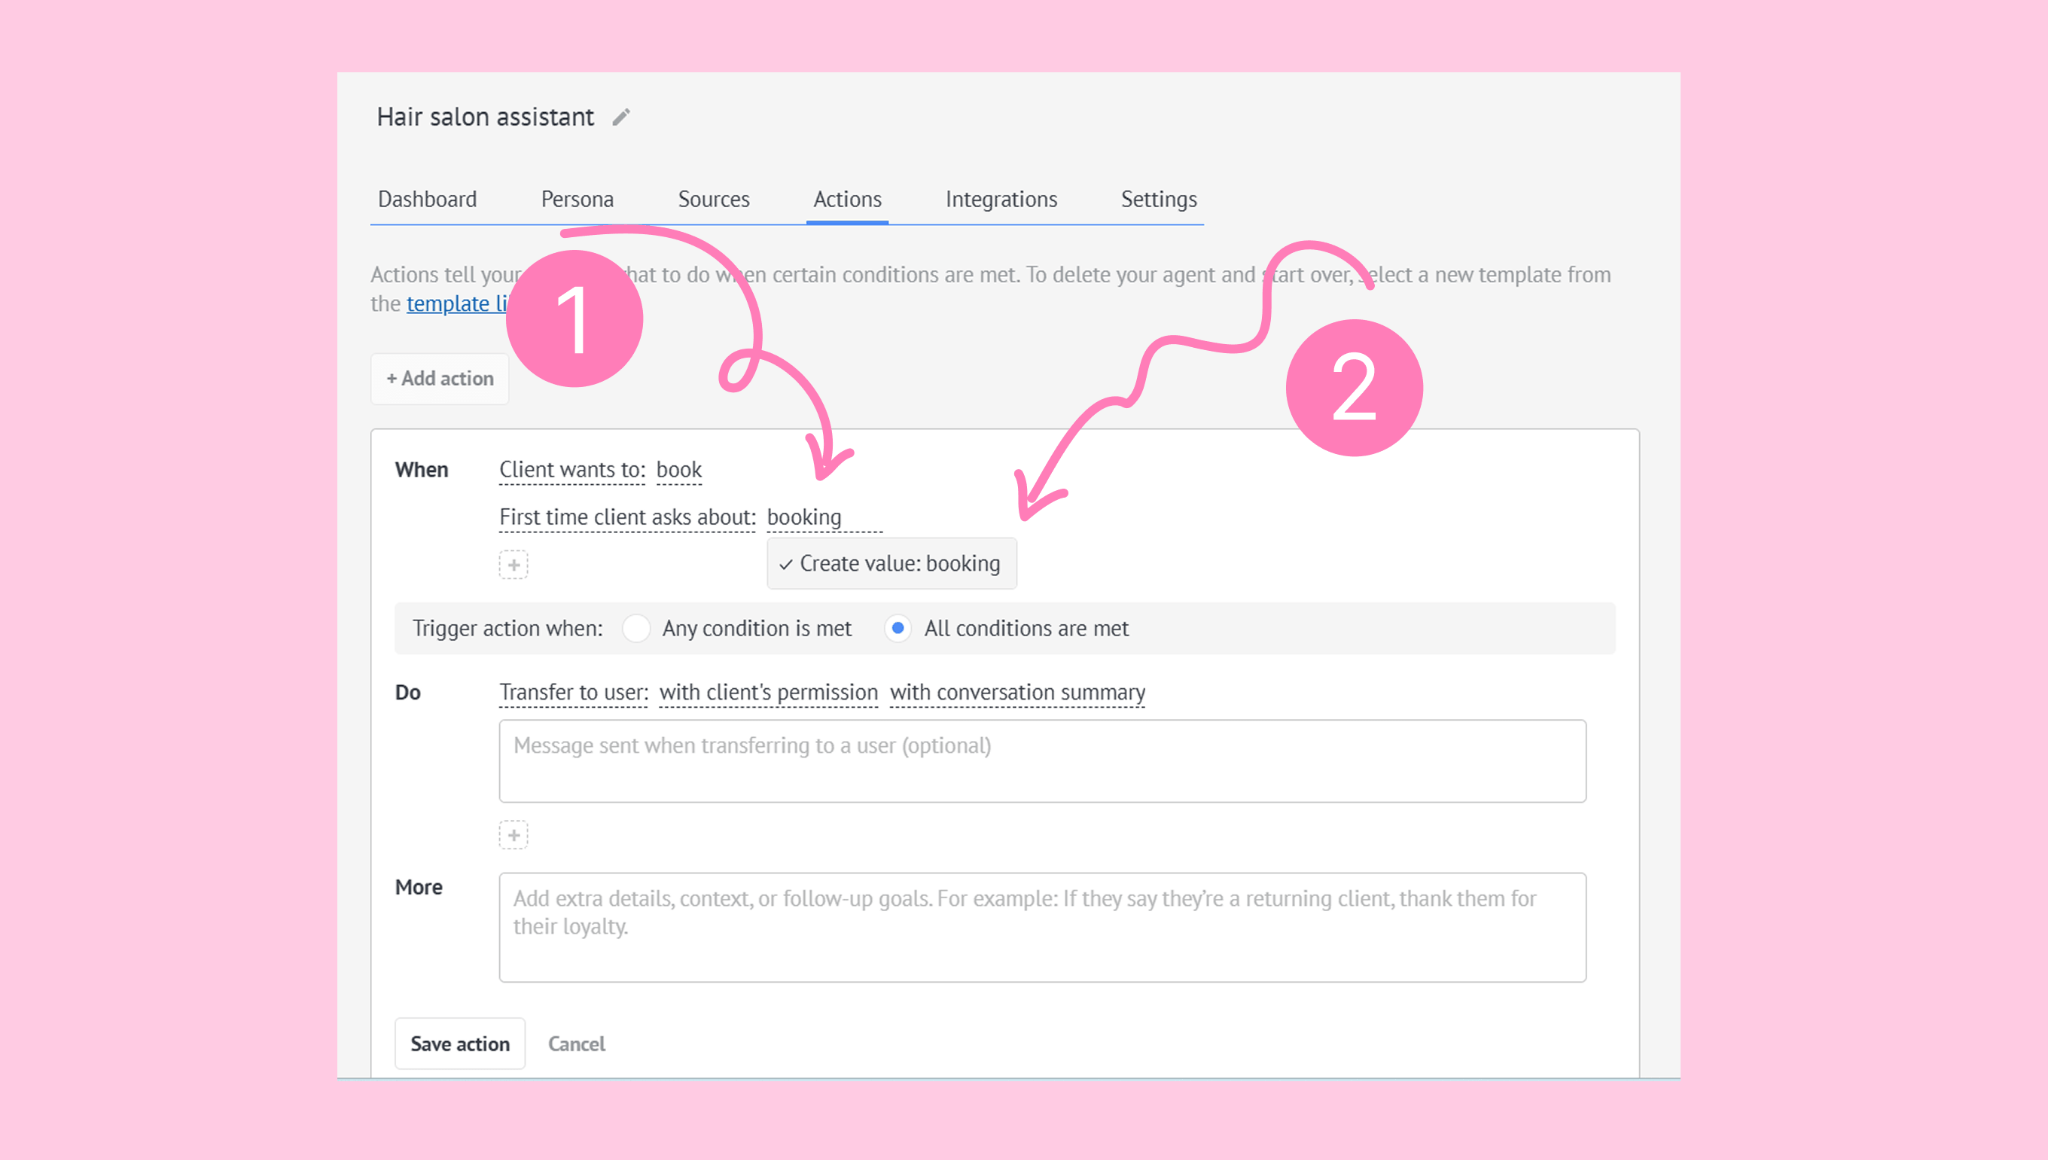
Next, enter your preferred keyword (for example, book). Click Create value.
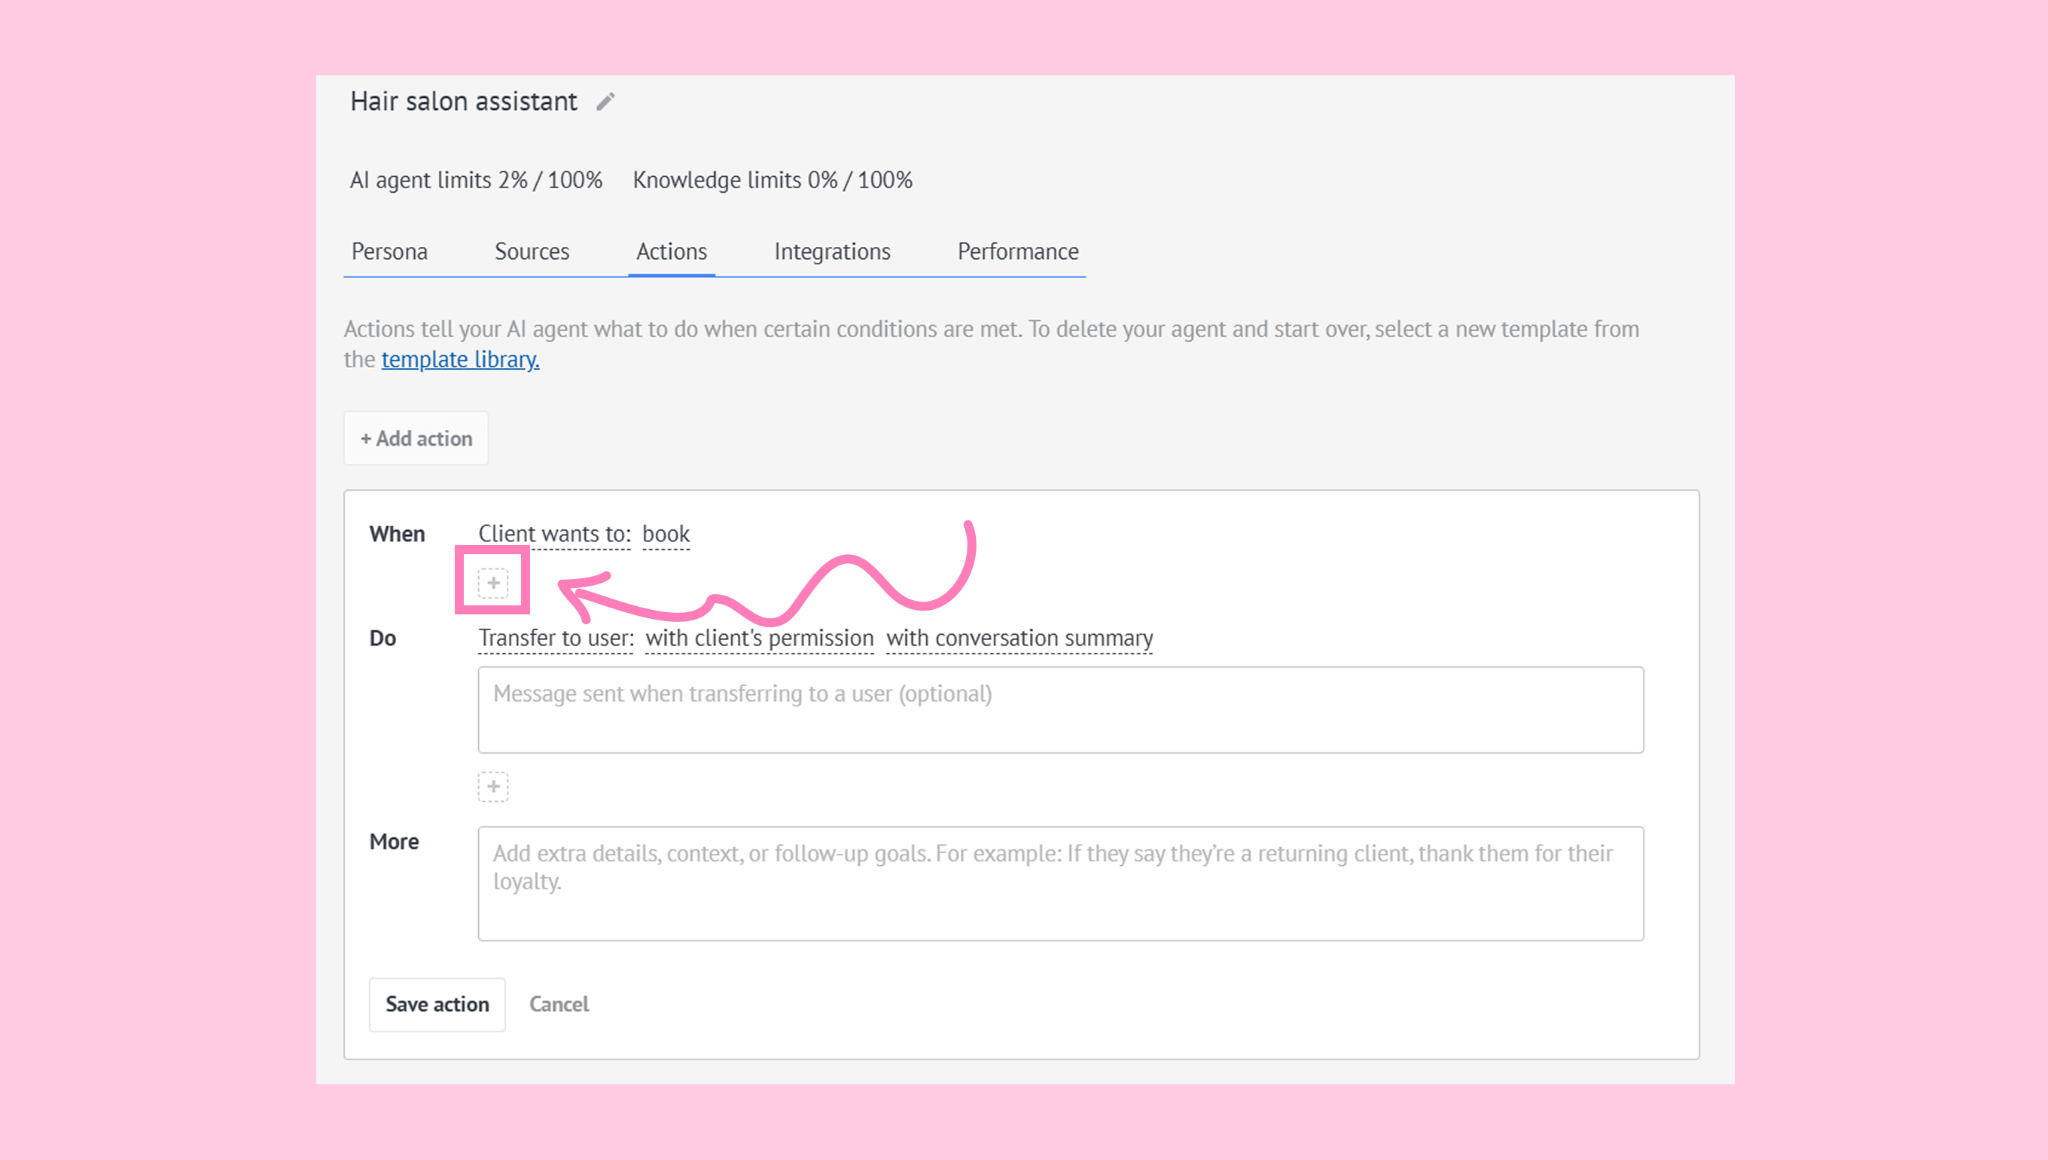
To add more conditions, click the + icon.
If you want to use another statement, click Client wants to → Select an option from a dropdown.
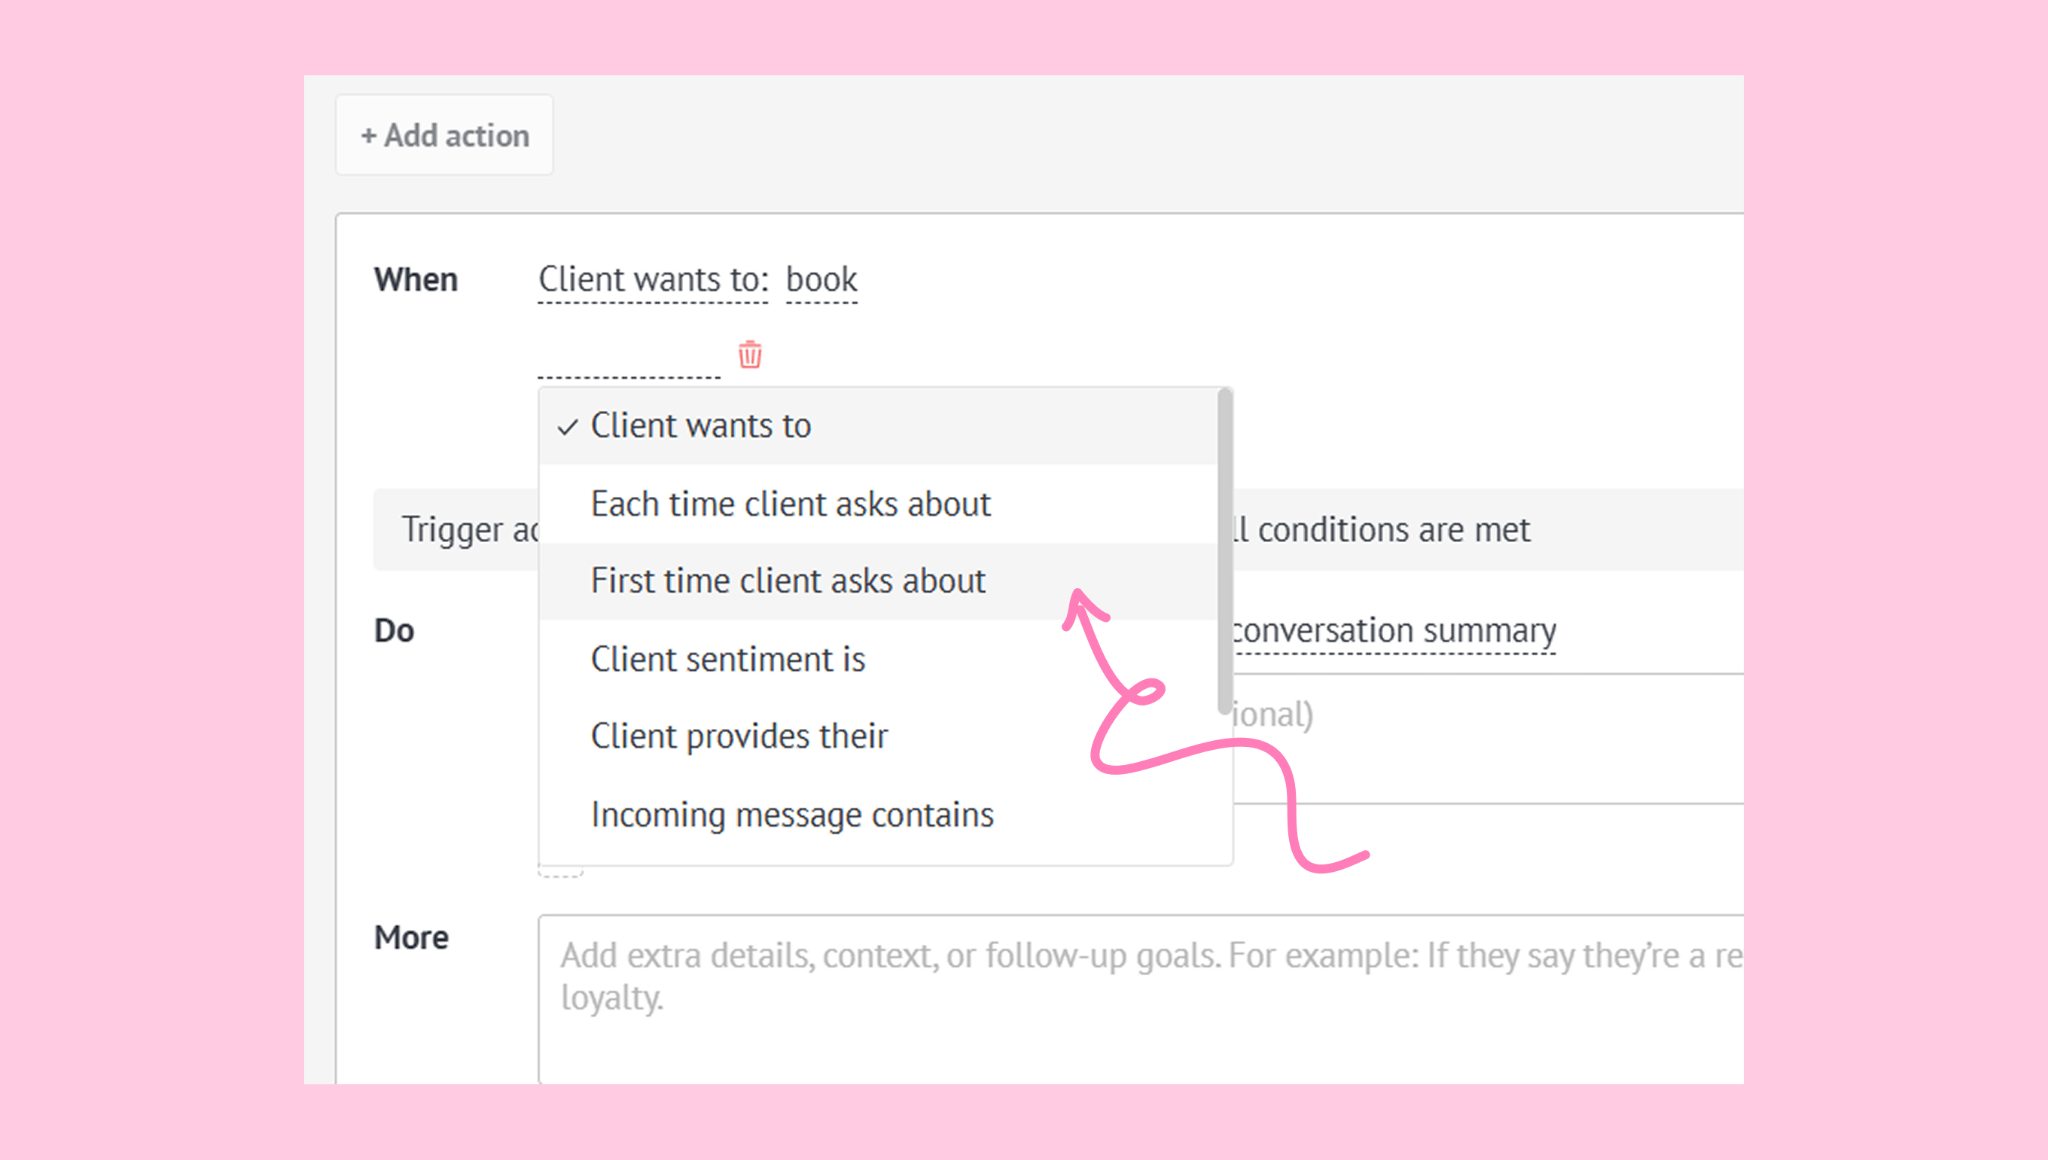
Click purchase → Enter another keyword. Click Create value or press enter.
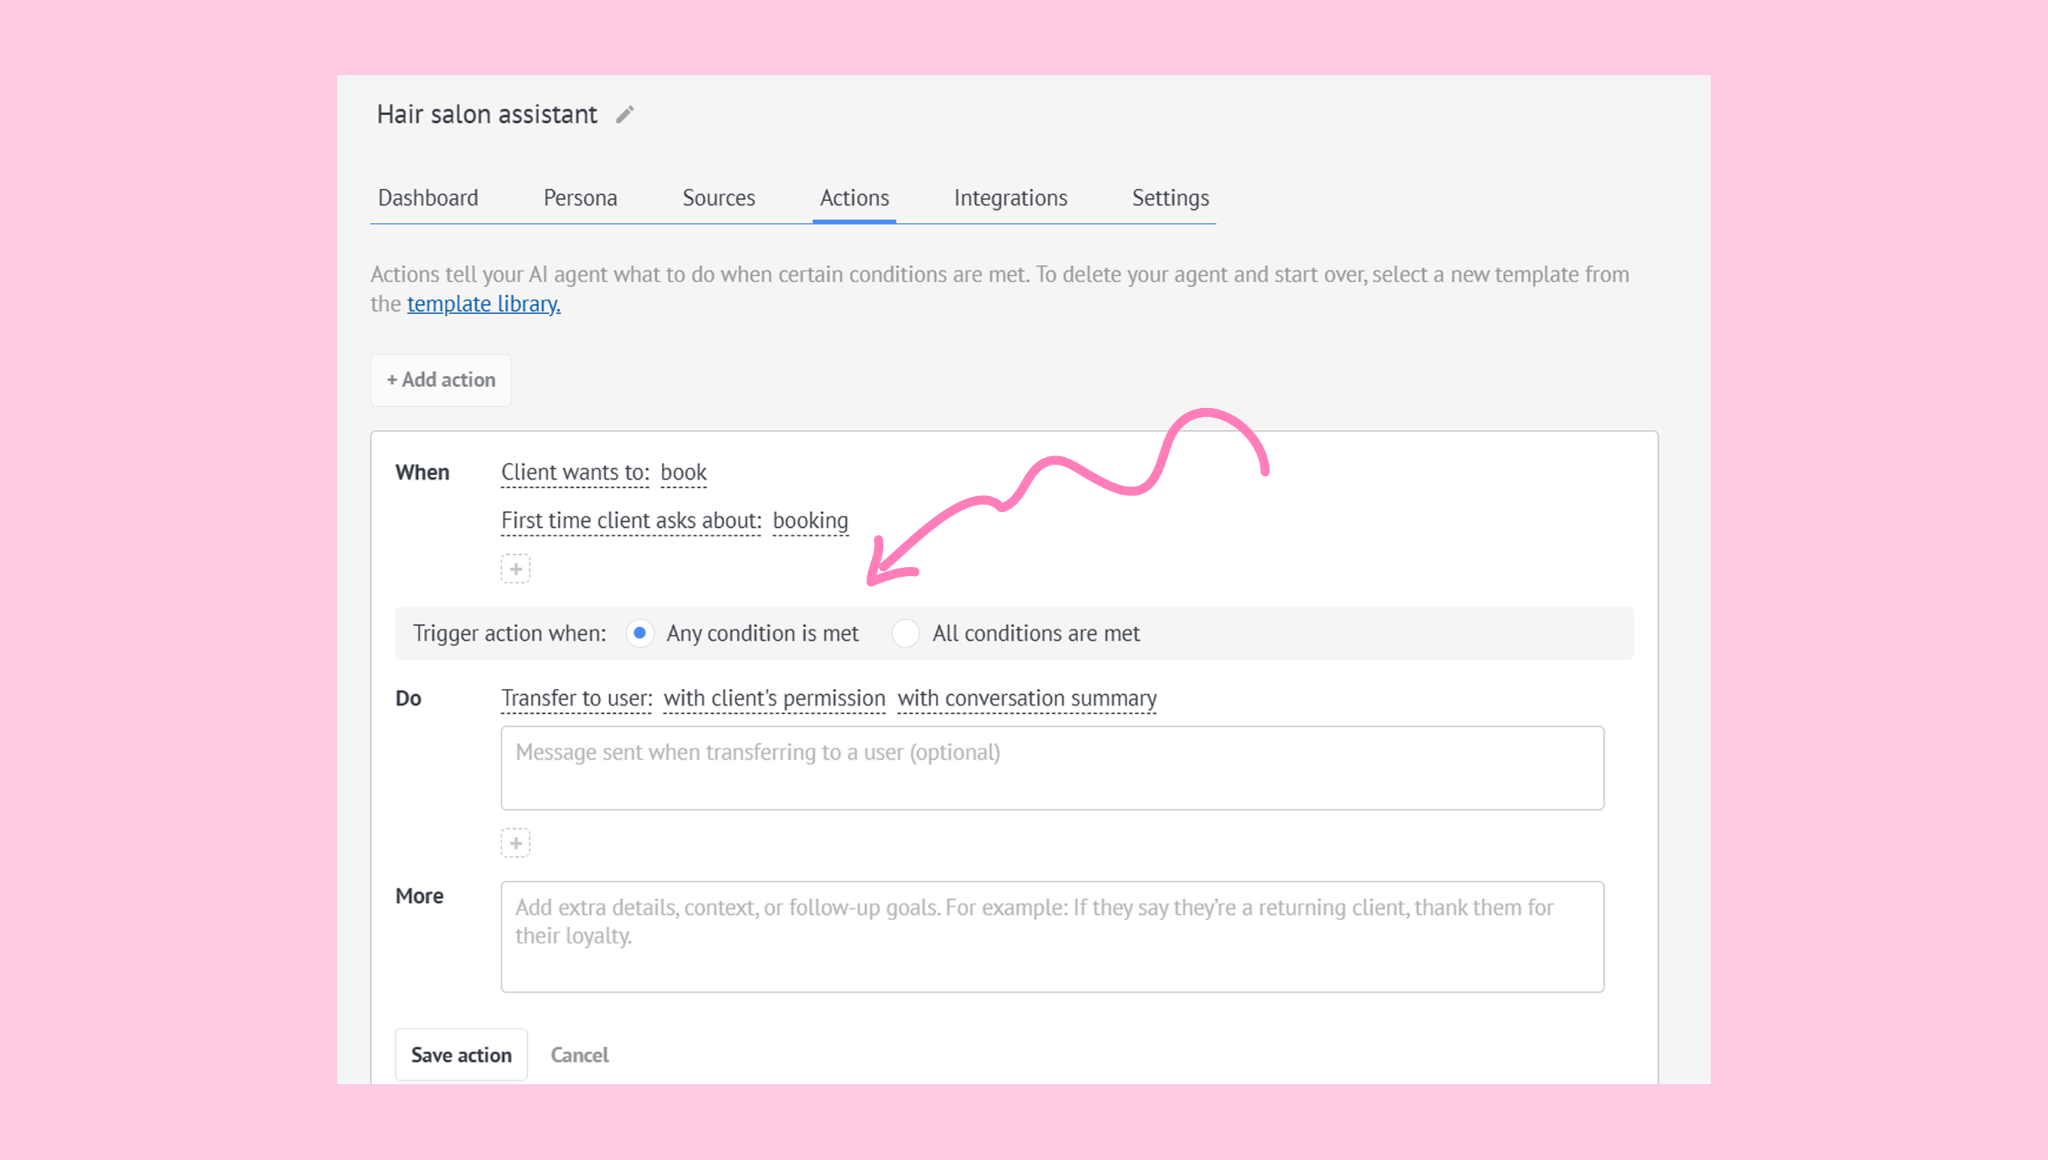
Select when you want the action to be triggered in the Trigger action when field.
Note: You can add up to 5 WHEN conditions.
Set up the DO setting by clicking Transfer to user and selecting Create booking in Calendar.
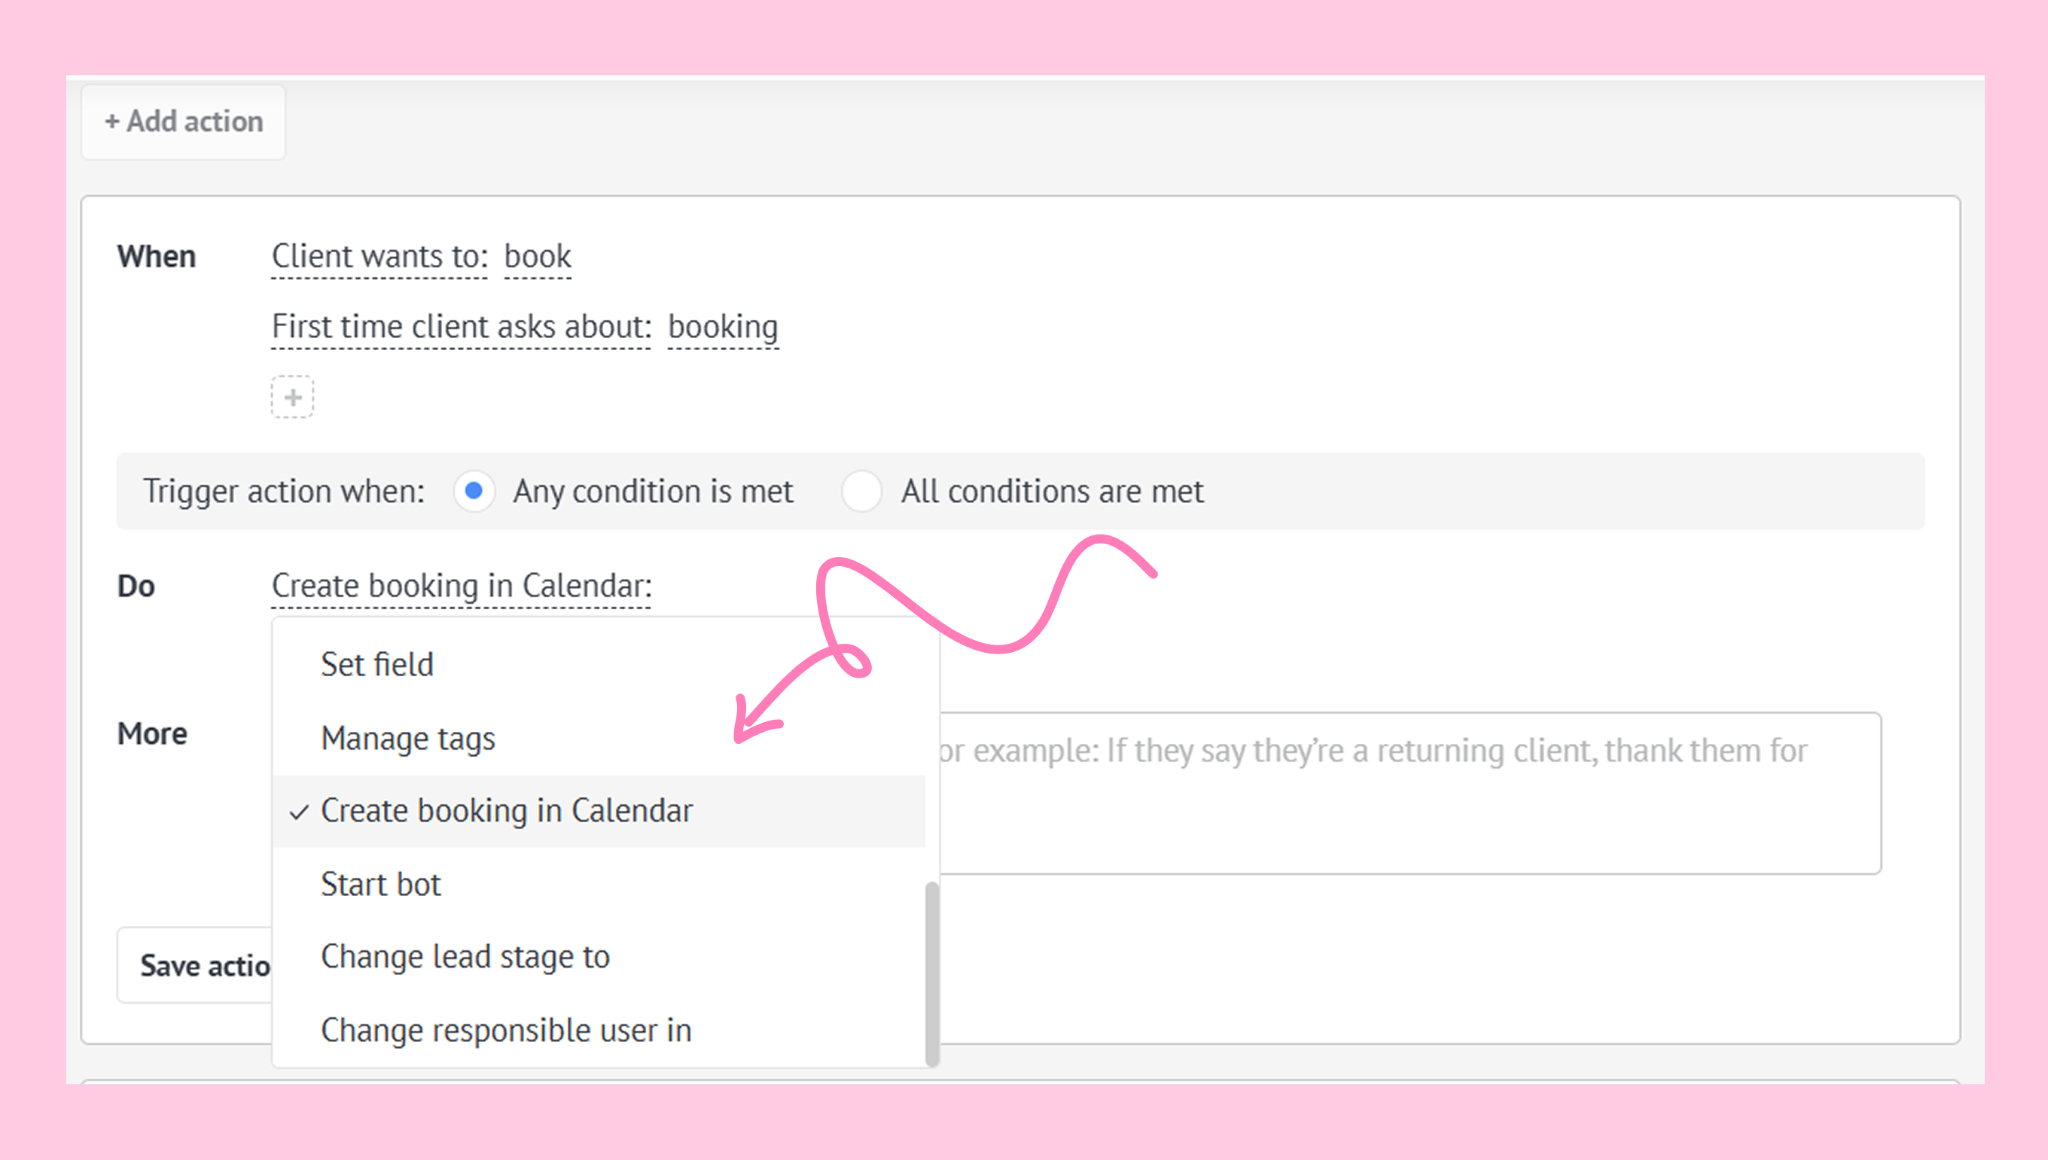
Select the booking type from the dropdown list.
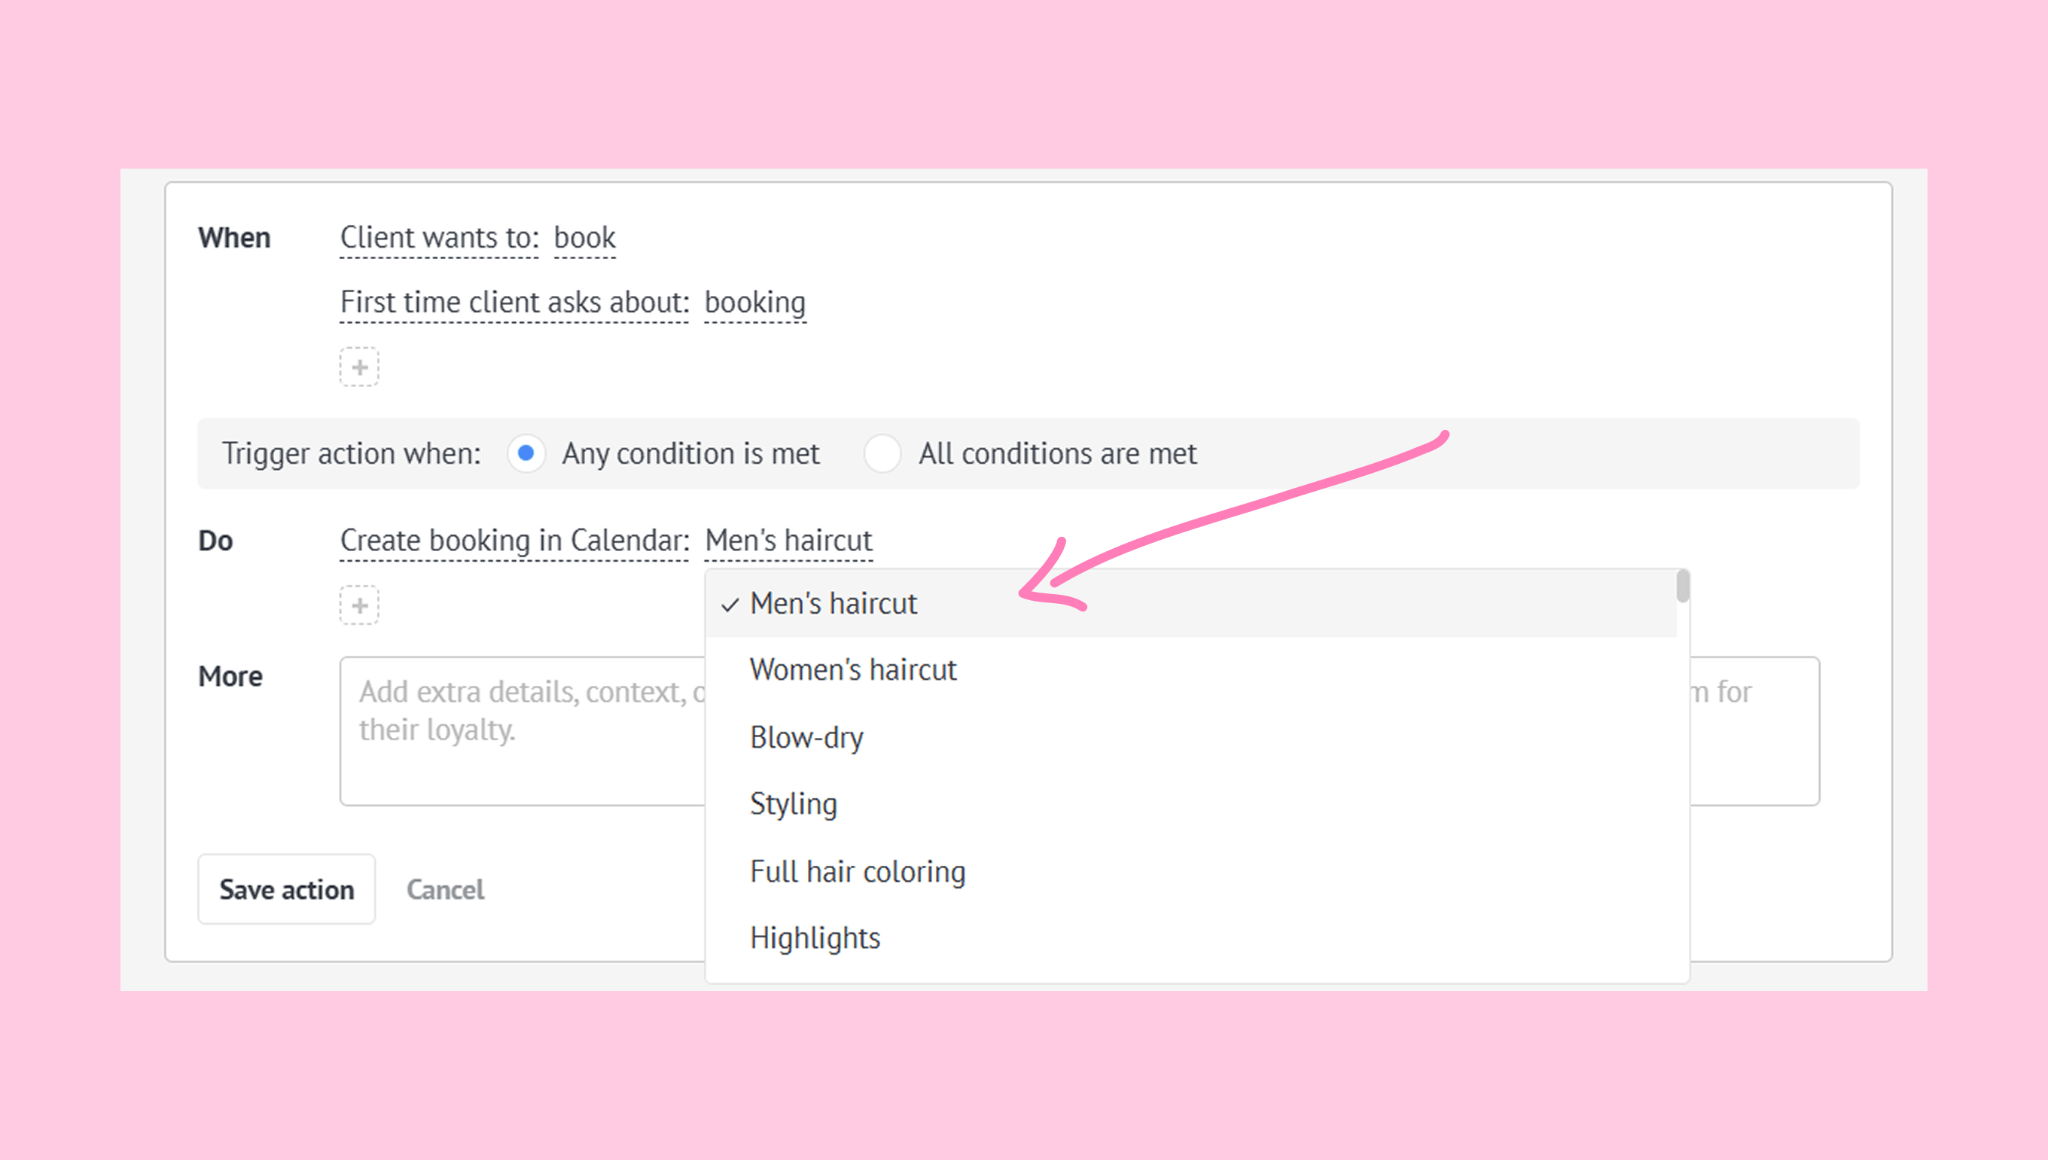
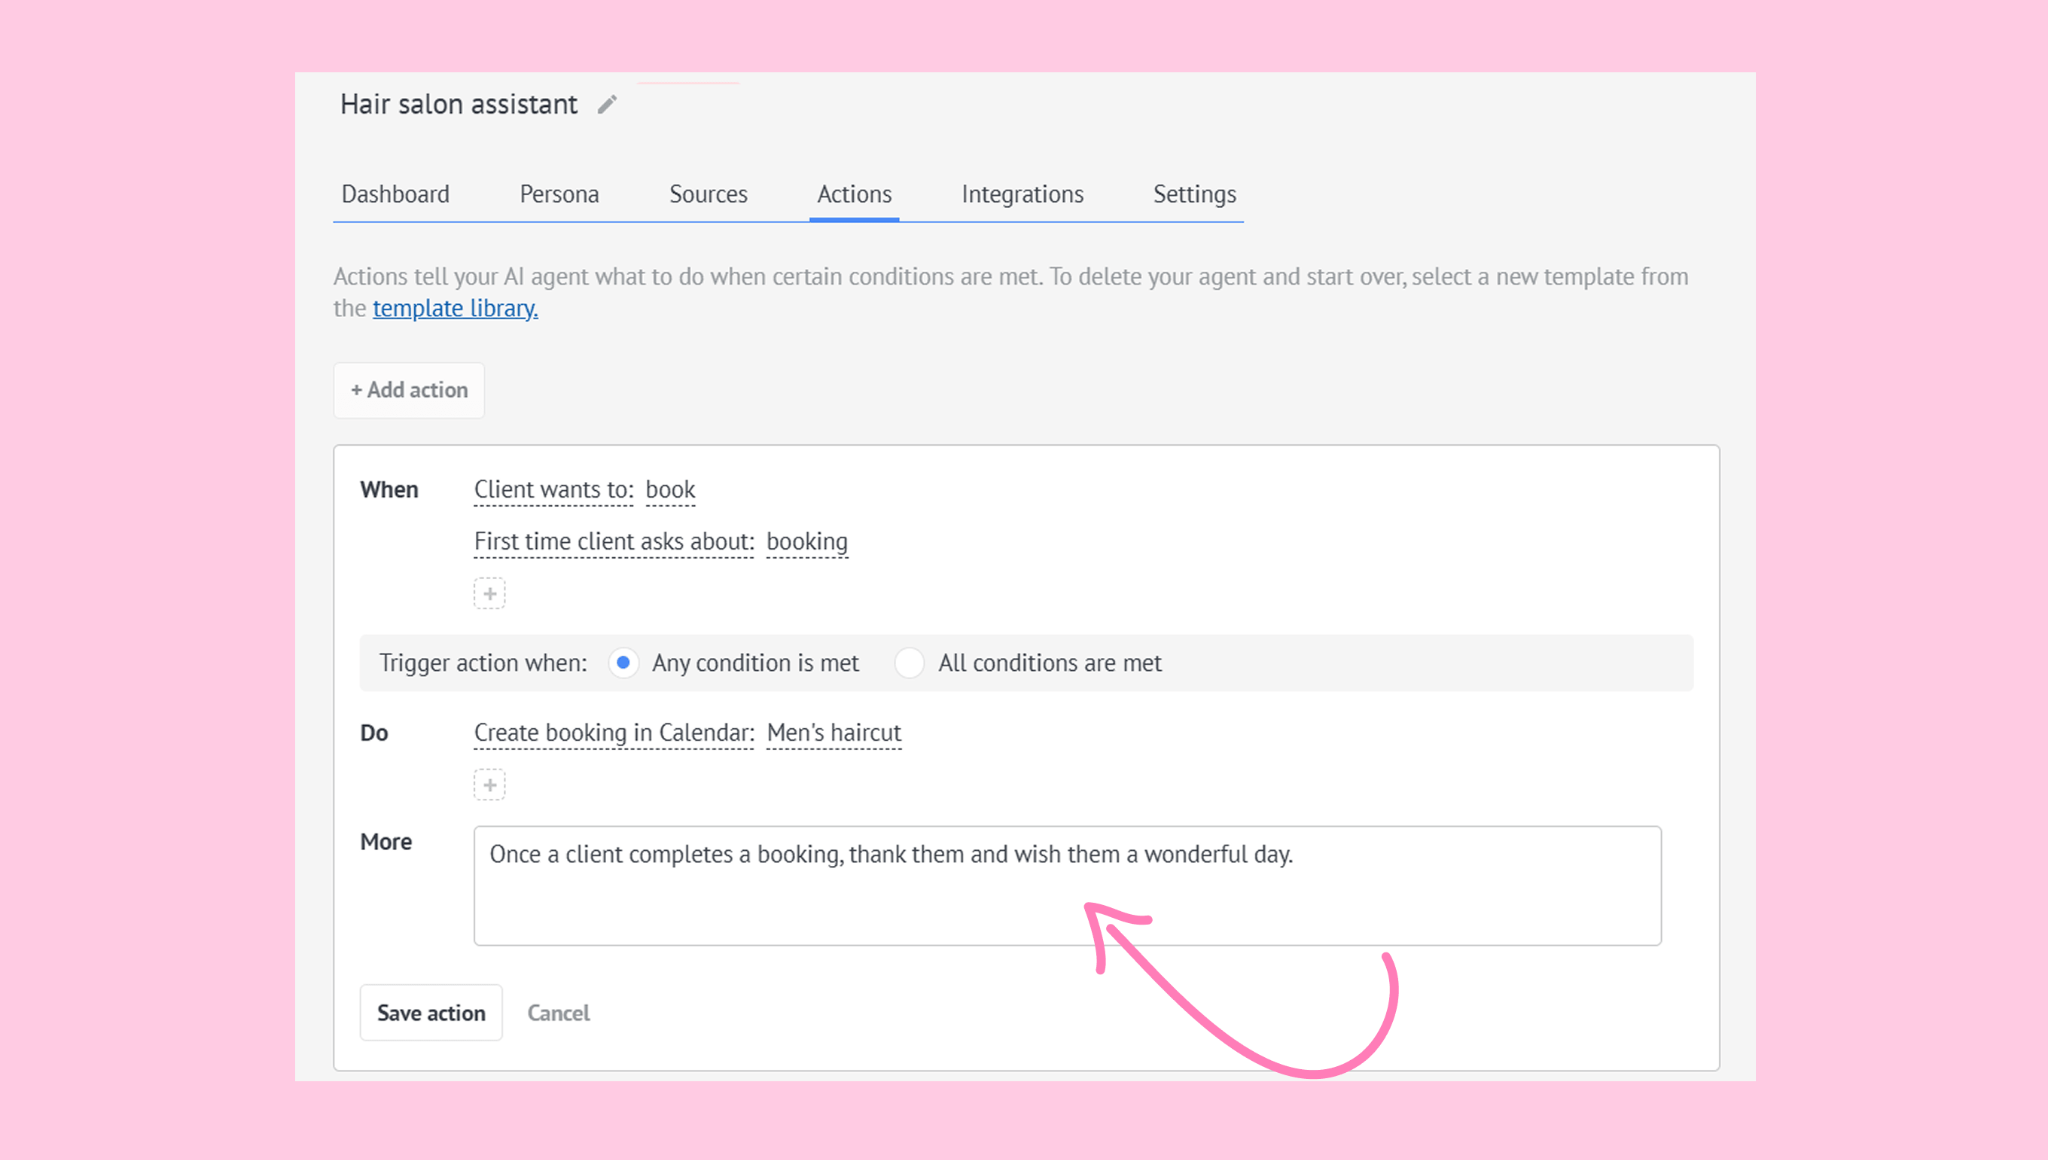
Set up the MORE condition (optional) by clicking the More field and writing a short description.
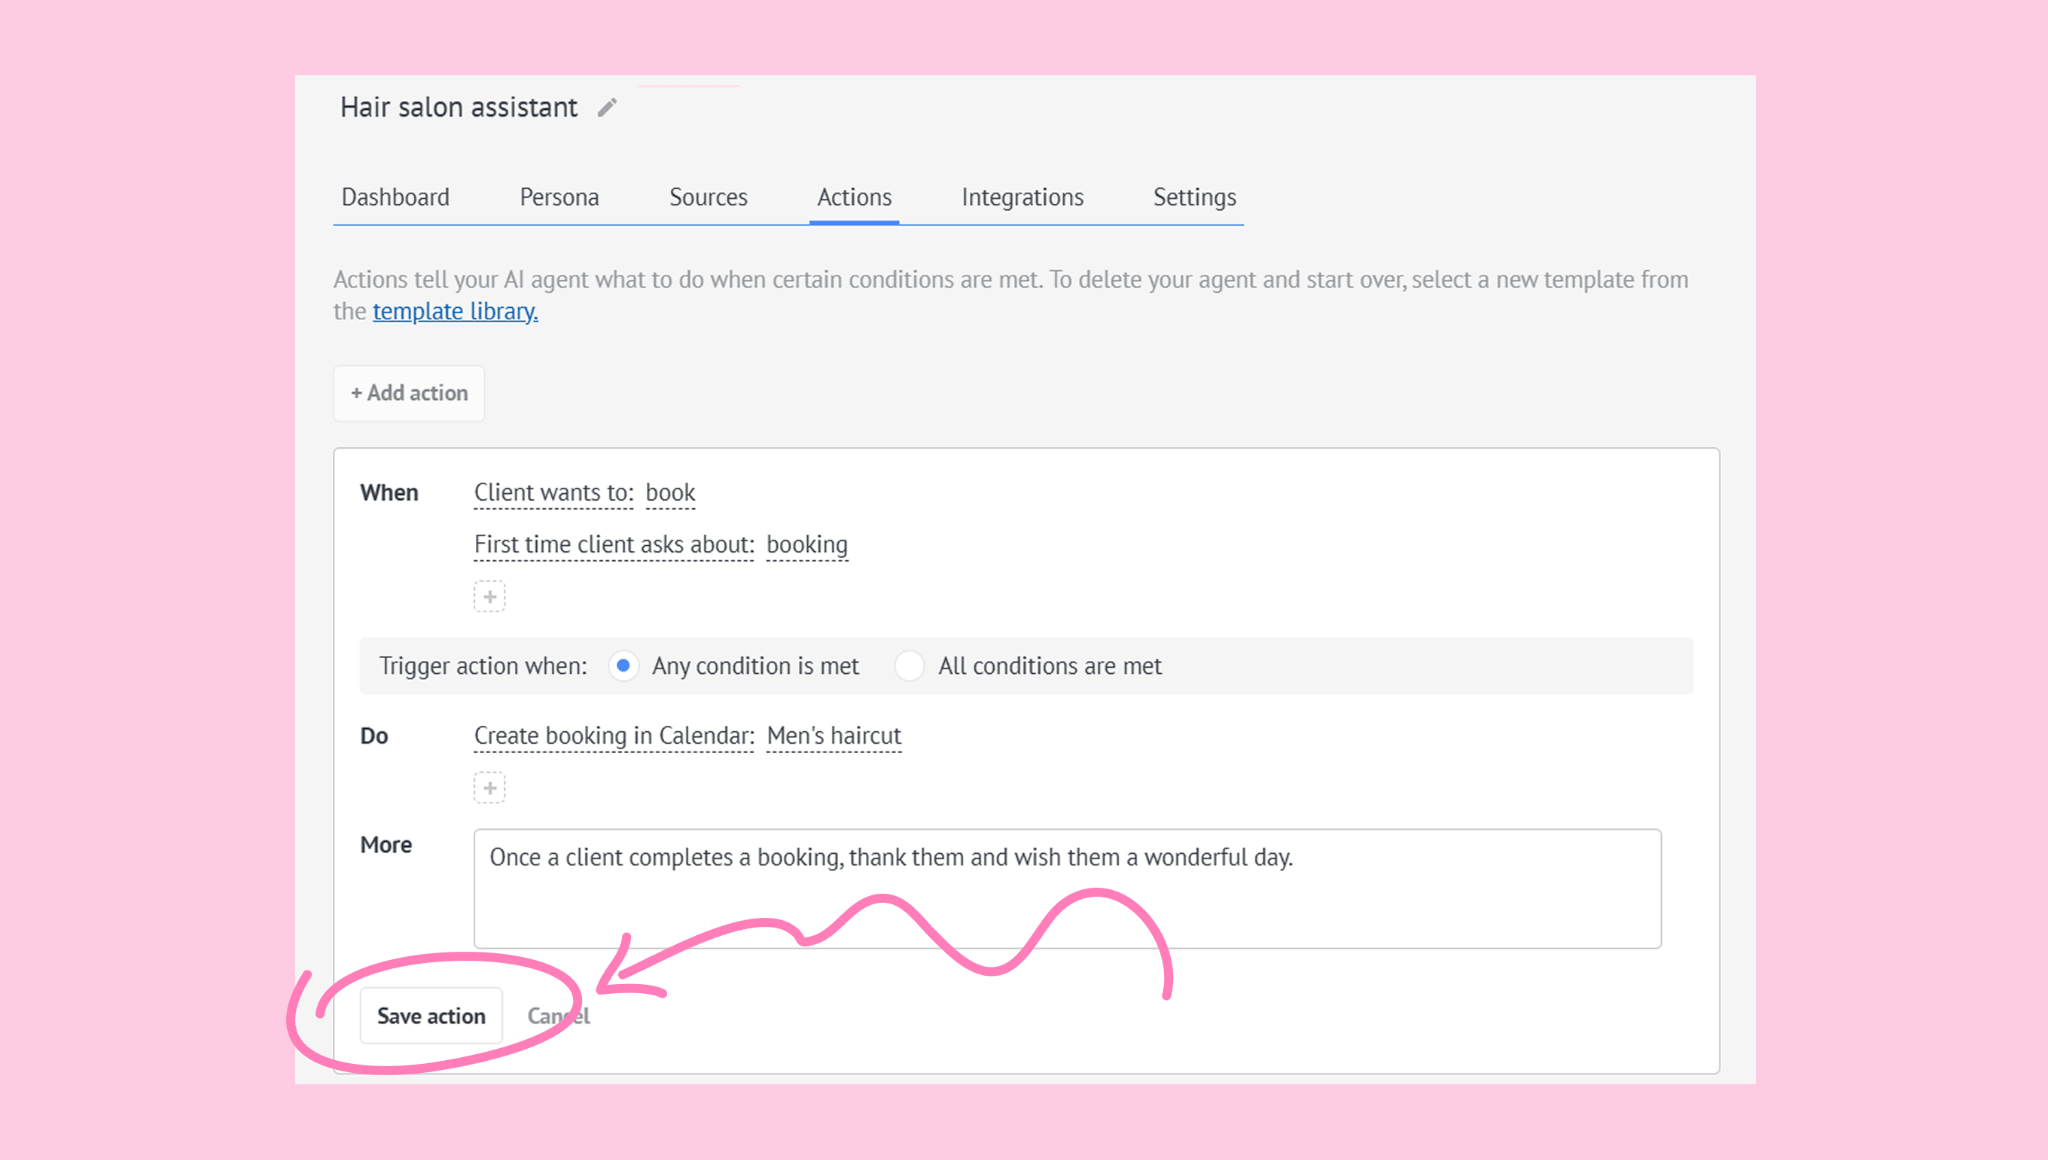
Click Save action.
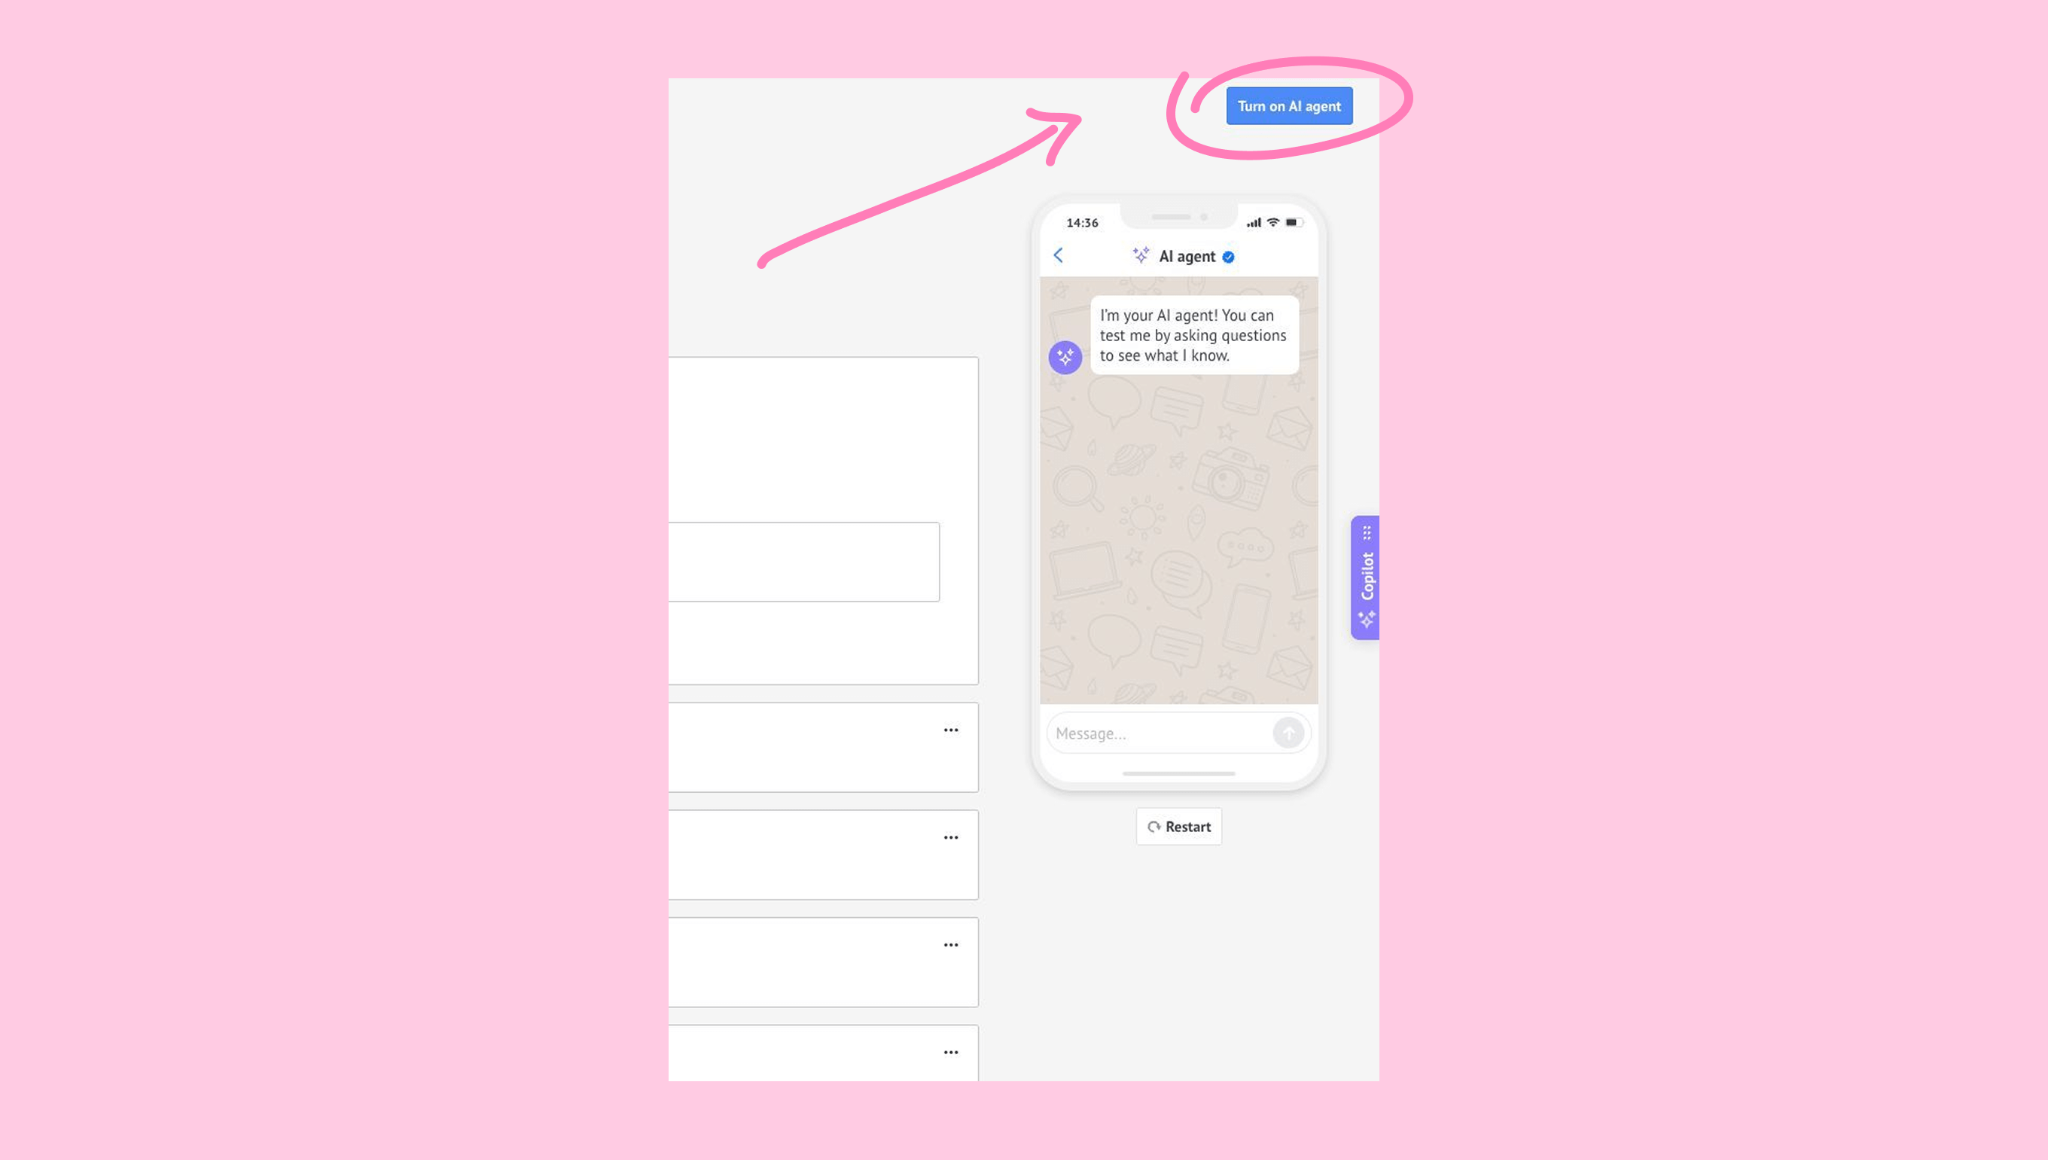
Click Turn on AI agent in the upper-right corner to activate the AI agent.