What you’ll need:
Any Kommo plan (Base, Advanced, Pro, Enterprise, or a 14-day trial)
Administrator (Admin) access in Kommo
Users already added to your workspace
Keep in mind:
Group access depends on the permission settings applied separately
Changes to groups affect visibility when Team-wide access is enabled
User groups help you structure your team (for example, Sales or Marketing) and apply team-wide access rules for pipelines and leads.
Create user groups
Use group settings to create and manage team structures:
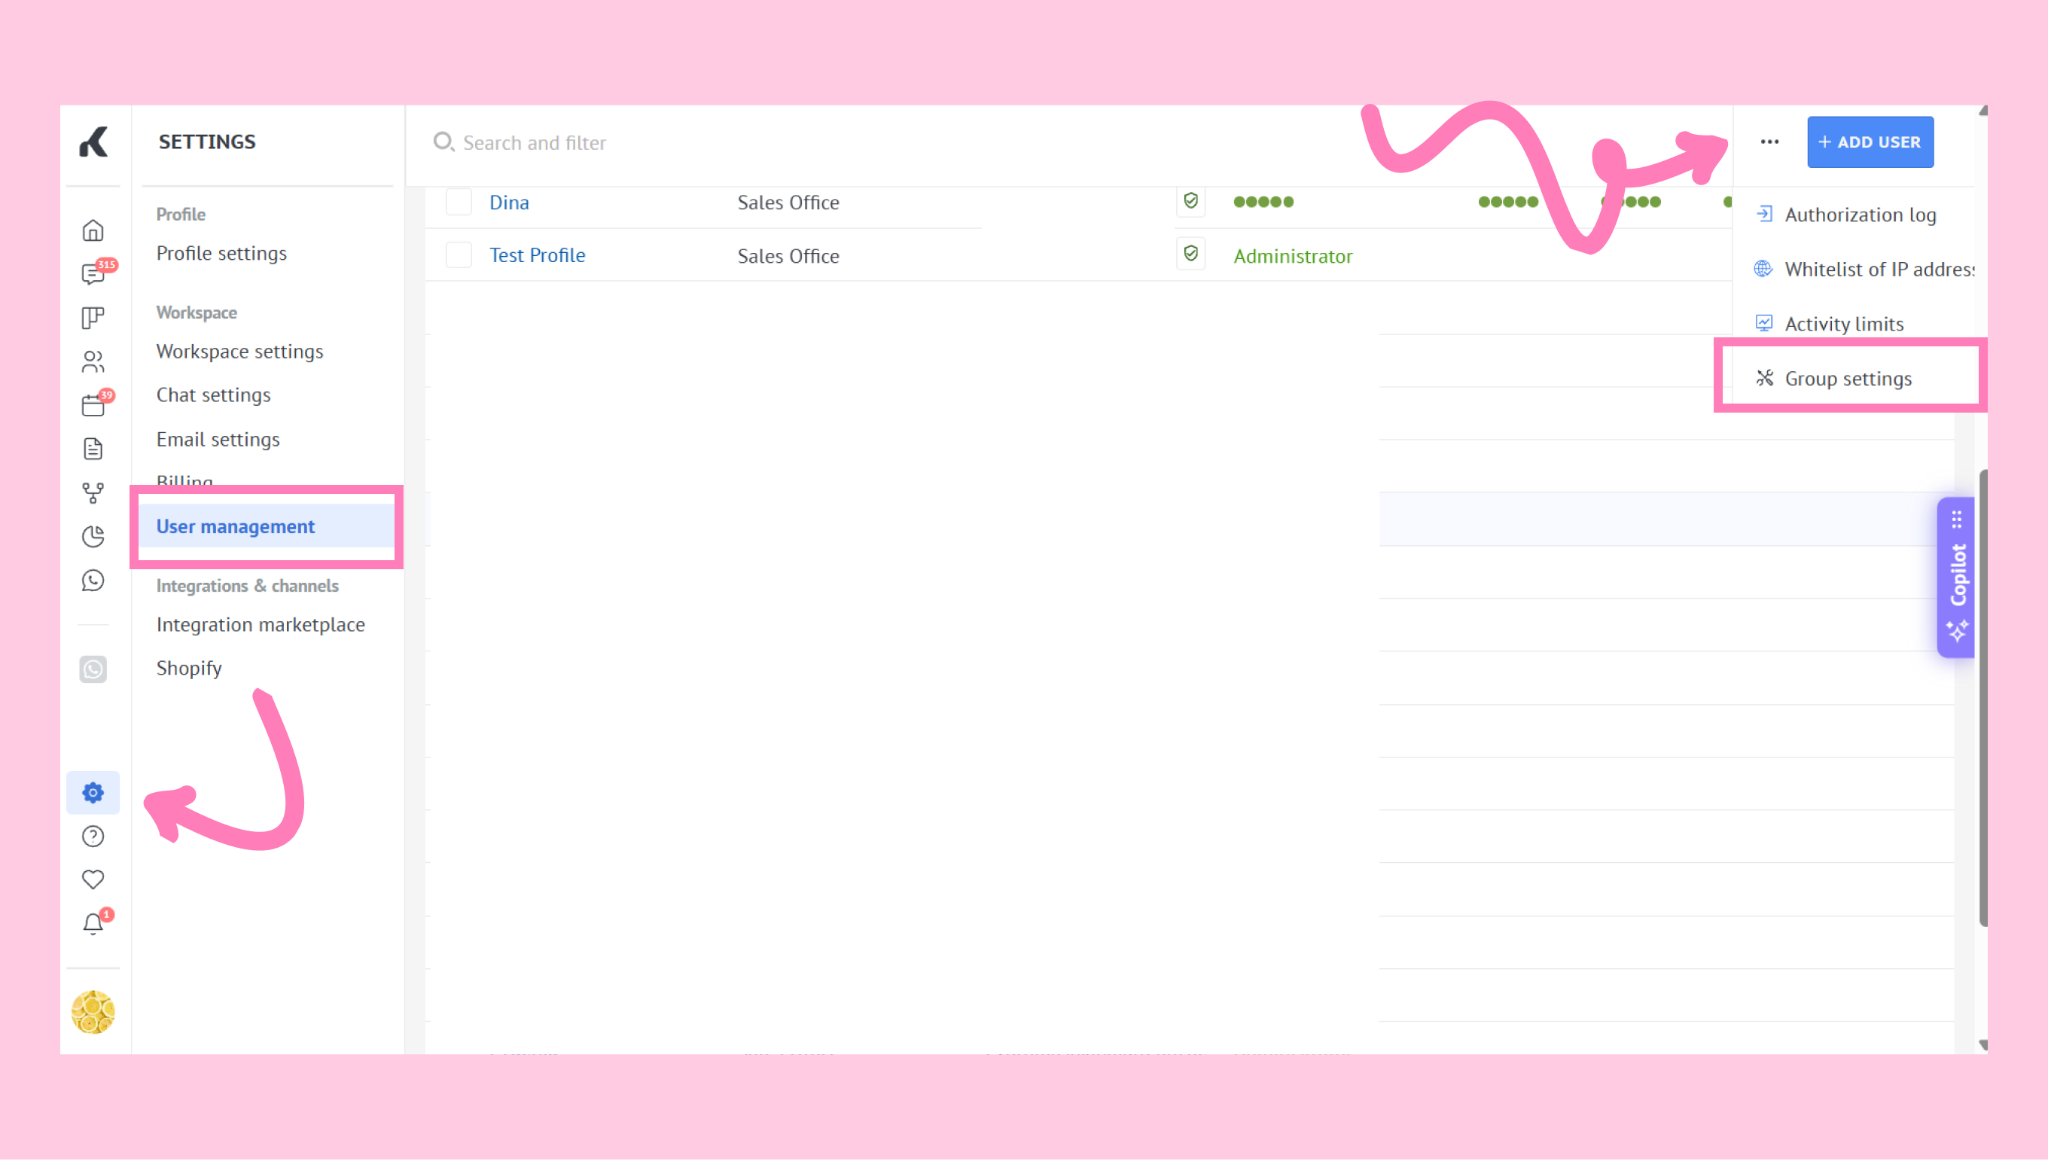
Go to Settings → User management.
Click the three dots in the upper-right corner → select Group settings.
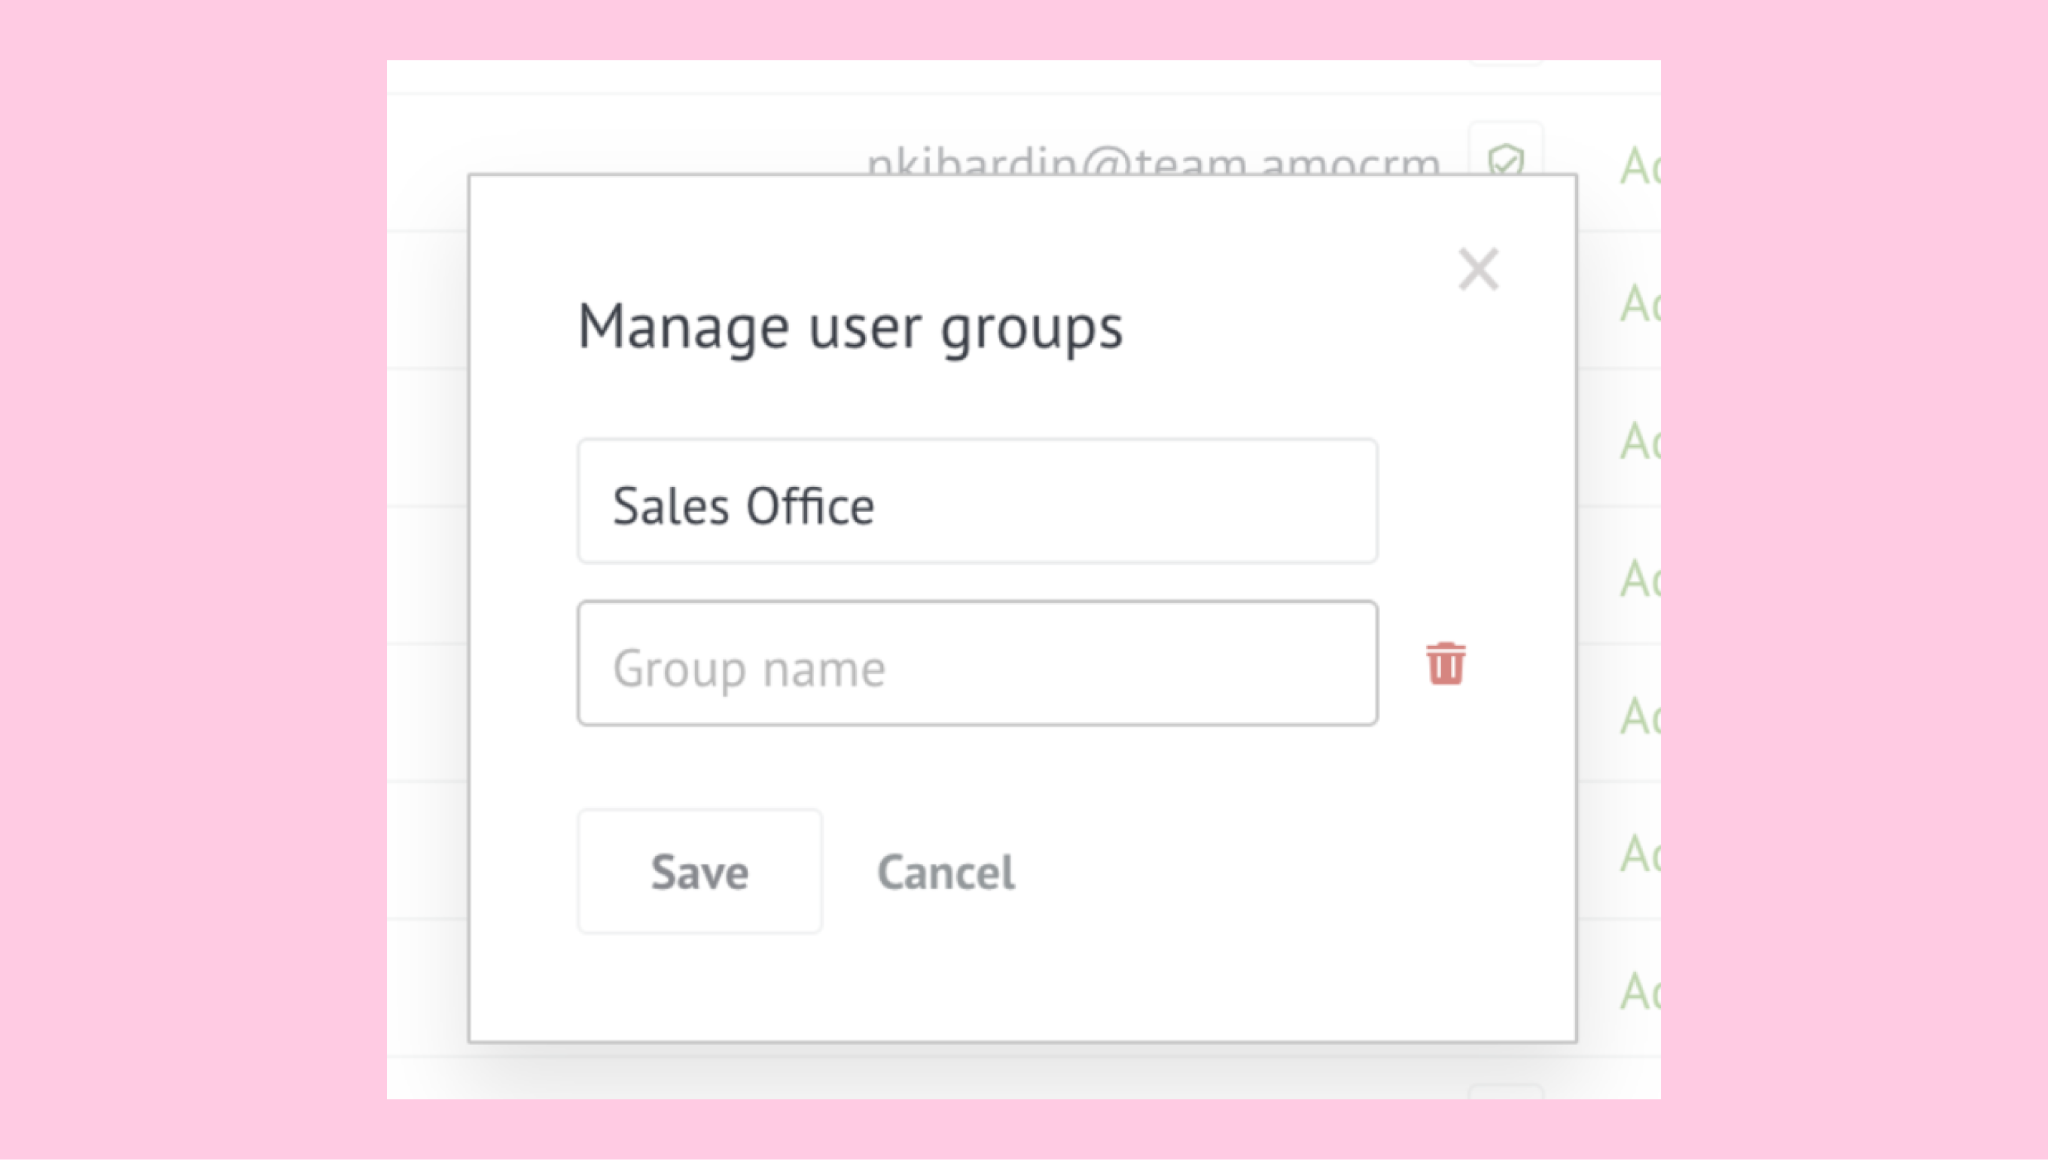
Create, rename, or delete groups as needed. Click Save.
Assign users to a group
Once groups are created, you can assign users to them at any time:
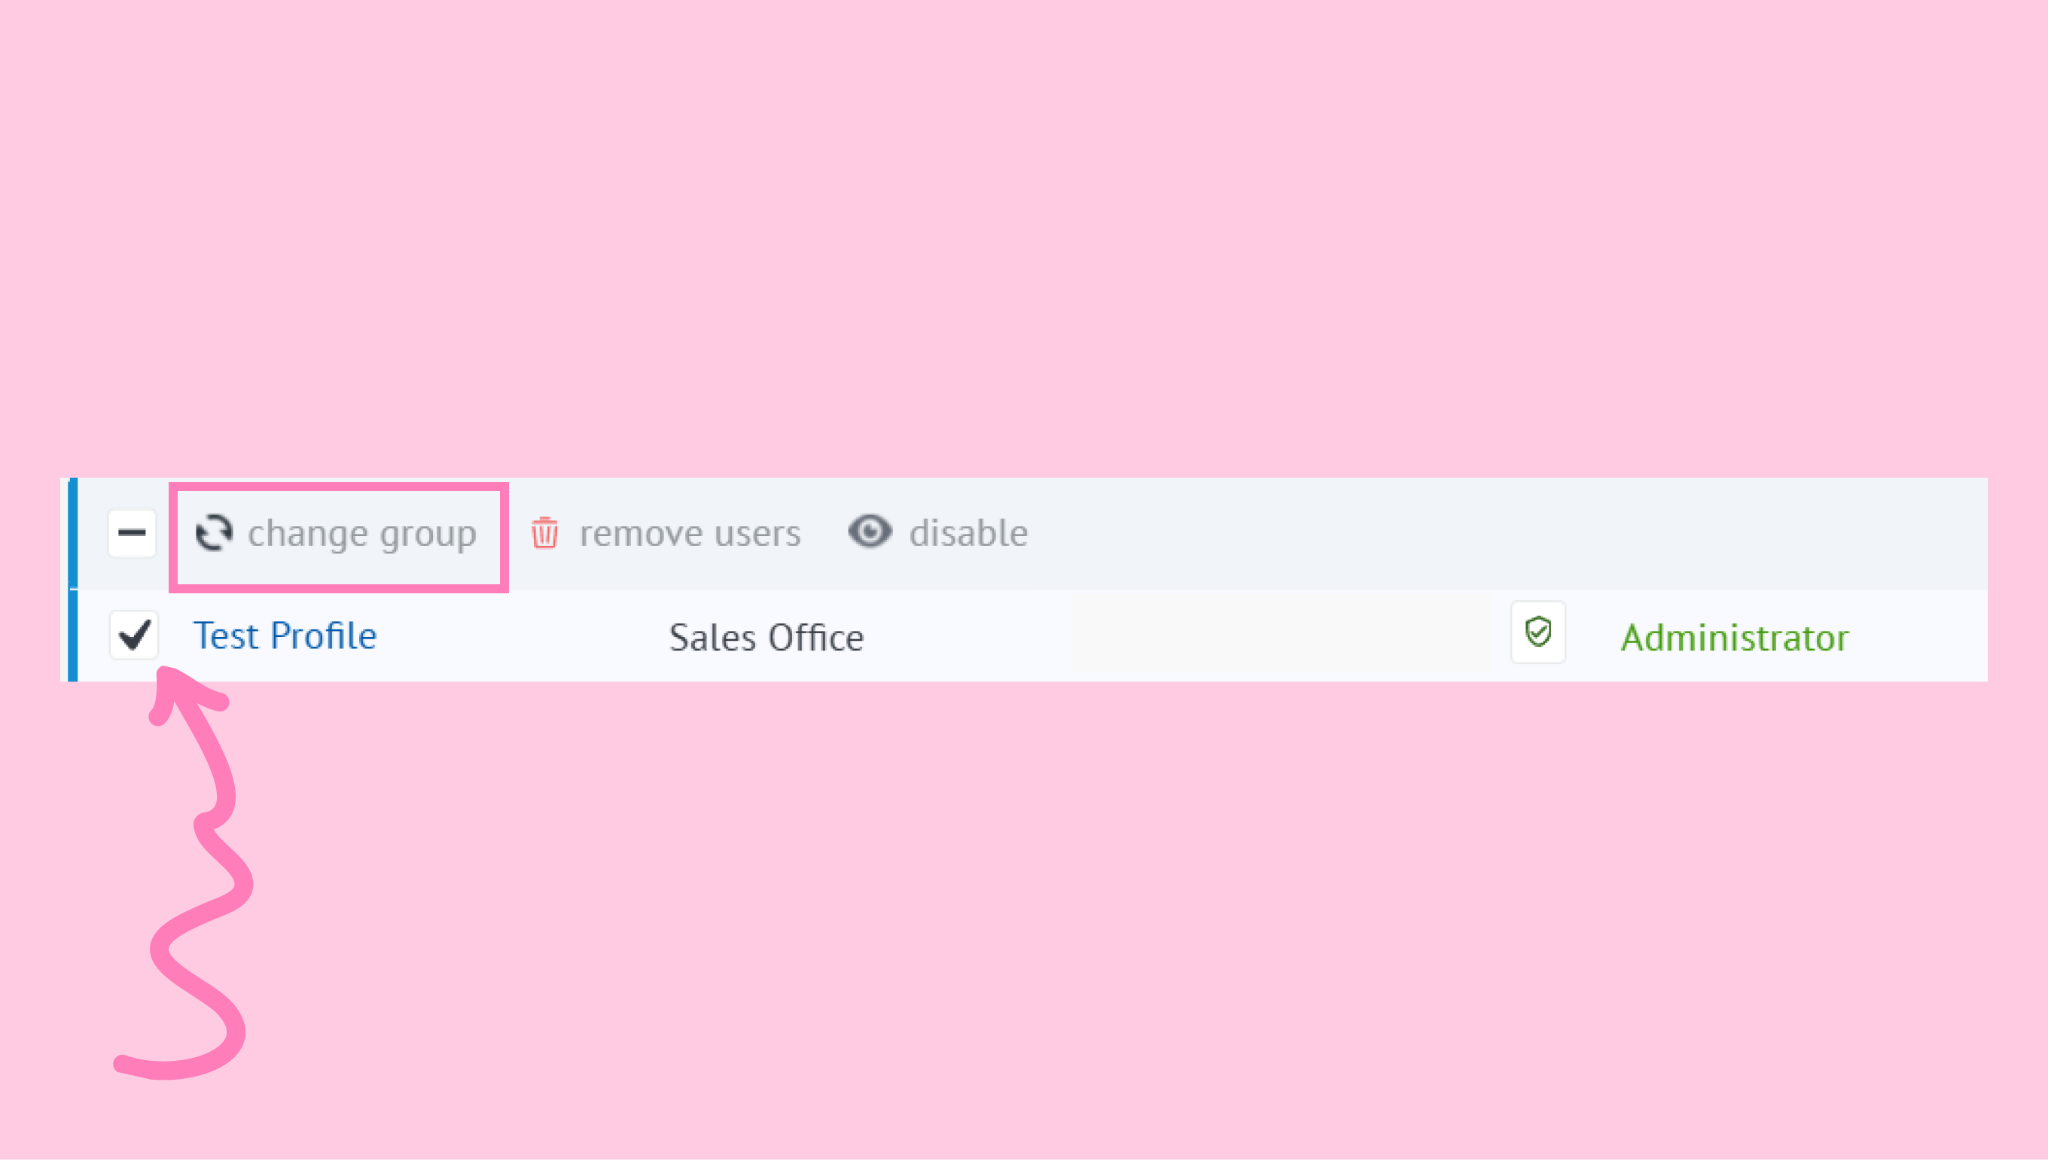
In User management, select one or more users using the checkboxes. Click Change group.
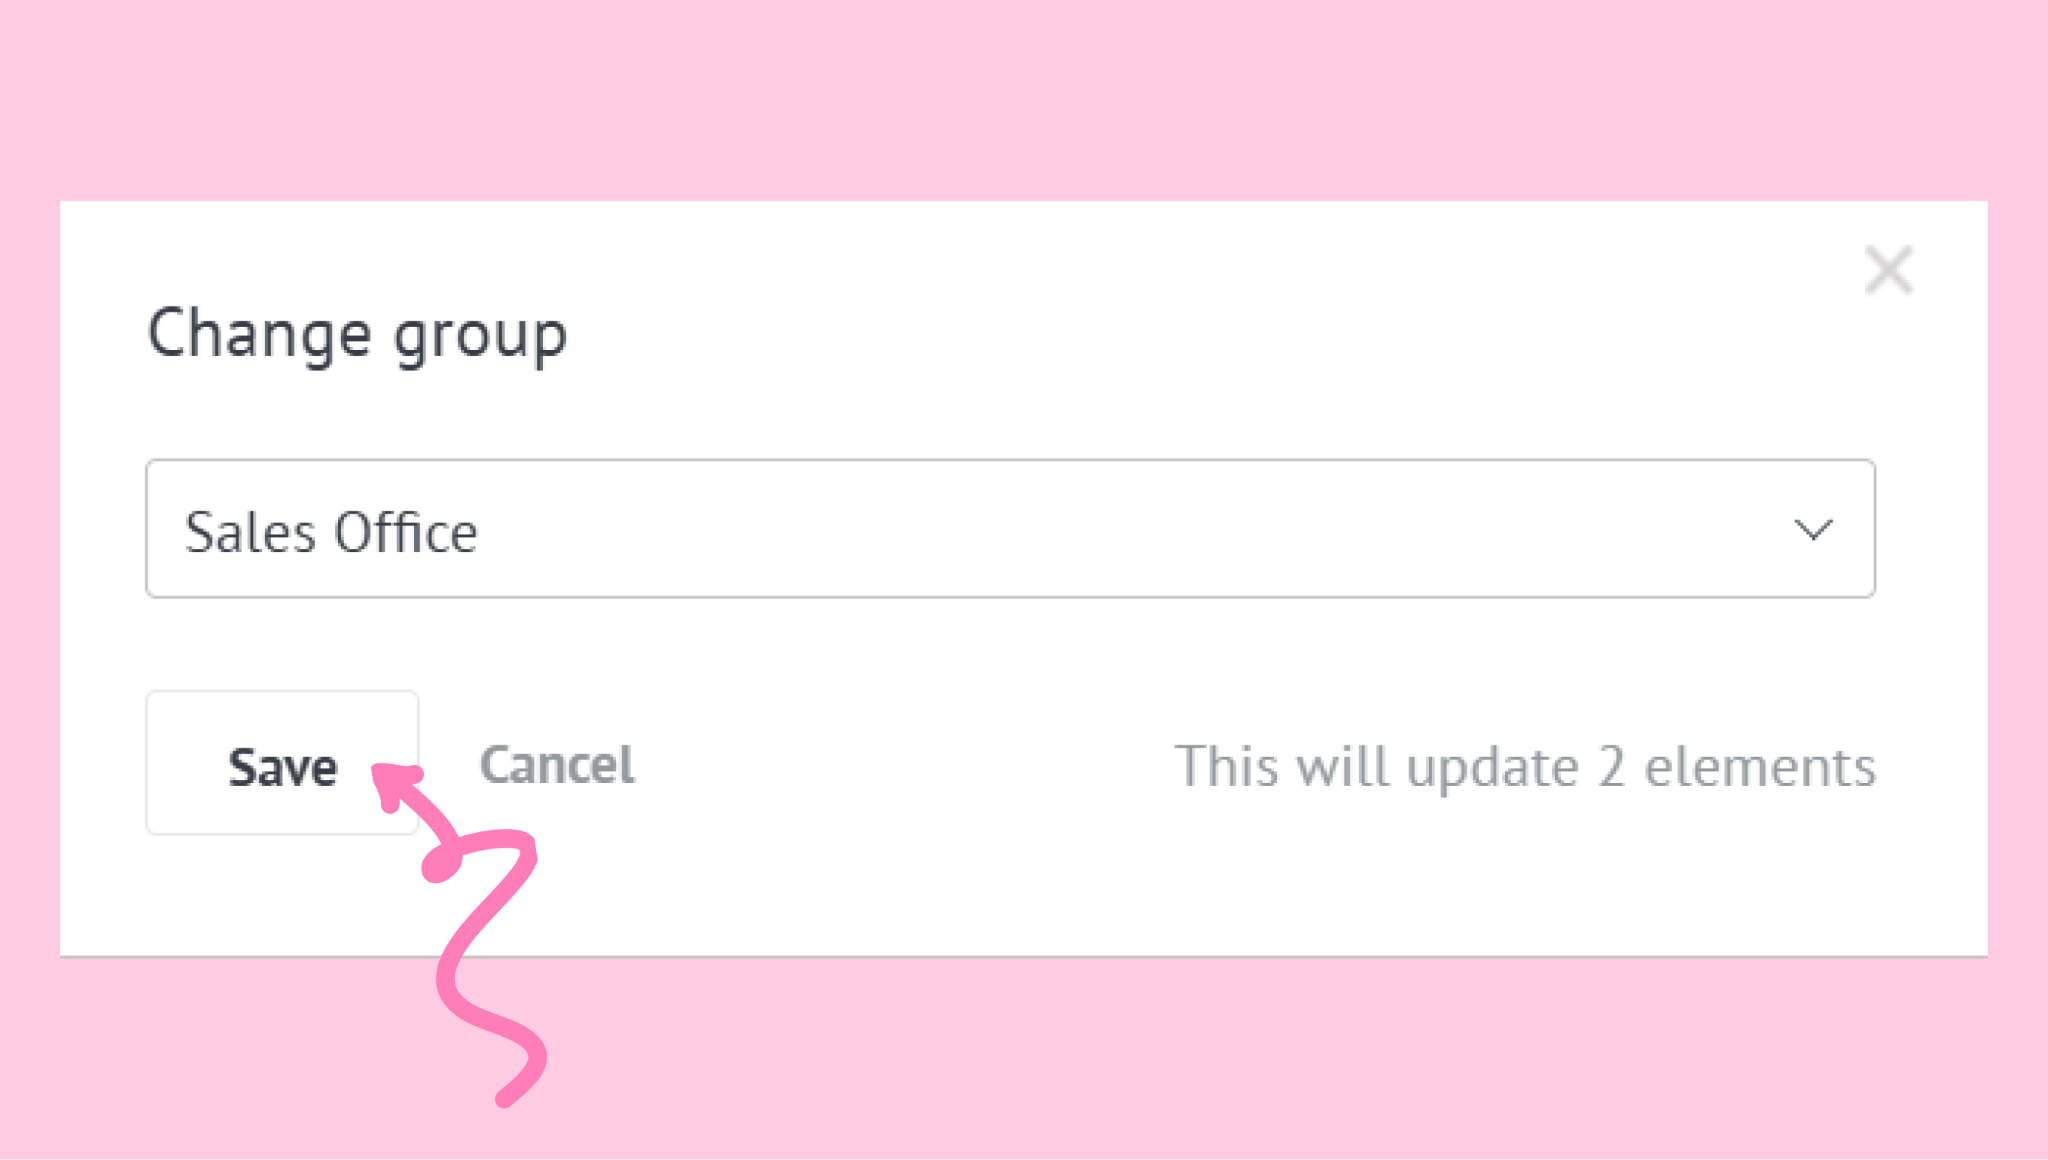
Choose a group from the dropdown. Click Save.
Tip: When adding a new user, you can assign them to a group right away from the same page.
Verify group assignment
Confirm that users were added to the correct group and access is applied properly:
Users will appear under the selected group
Their access follows group-level rules when Team-wide access is enabled in permissions
If you need more help with setup or troubleshooting, feel free to reach out to our support chat or contact us via WhatsApp. You can also hire a Kommo partner to do all the hard work for you.
Not a user yet? Sign up for our 14-day free trial or book a free live demo.